Epoxy Table: The Complete Guide to Epoxy and Resin Tables
Updated 9 October 2026
An epoxy table is a piece of furniture where cast resin does real design work: it fills the gap between two live edge slabs, turns a single board into a glossy slab of glass, carries colour, holds embedded objects or even glows with light. Whether you call it an epoxy table, a resin table or an epoxy resin table, the idea is the same, and it has become one of the most recognisable forms of modern handmade furniture. This guide is the starting point for everything on Go Bespoke about tables: what they are, the main styles, how they are made, what they cost, how to live with one and where to go next for deeper detail.
Go Bespoke is a London workshop that builds resin and fibre optic tables and films the builds for YouTube, so the advice here comes from the bench rather than a brochure. Every section links to a more detailed page, so treat this as a map.
What is an epoxy table?
Epoxy resin is a two-part material. Mix the resin with its hardener and a chemical reaction slowly turns the liquid into a hard, clear solid that bonds to everything it touches. A table maker uses that liquid stage in three ways: to cast thick sections such as a river channel, to fill knots, cracks and voids in timber, and to coat a finished surface with a thin, glossy, protective layer.
So an epoxy table might be almost entirely resin, mostly wood with a resin inlay, or a conventional timber top with a resin finish. What sets it apart from a varnished table is that the resin is part of the structure and the look, not just a skin. If you are new to the material itself, our epoxy resin guide for beginners explains the chemistry in plain terms.
The main styles of epoxy and resin tables
Most resin tables fall into a handful of families. Each has its own page with design notes, timber advice and build tips.
- River tables. Two slabs with their live edges facing inwards and a channel of coloured or clear resin between them. This is the classic look most people picture, explored fully in our river table guide.
- Live edge tables. A single slab keeps its natural outer edge, with resin used to fill splits and voids so the wood stays the star. See the live edge epoxy table page.
- Walnut tables. Dark, figured walnut is the most popular timber for resin work because it frames clear, black and metallic resin so well. The walnut epoxy table page covers grades and pairings.
- Ocean tables. Layered blues, turquoise and white lacing imitating waves breaking onto a timber beach. Technique and colour layering are on the ocean epoxy table page.
- Clear tables. Water-clear resin that shows every detail of the timber or the objects suspended inside, covered on the clear epoxy table page.
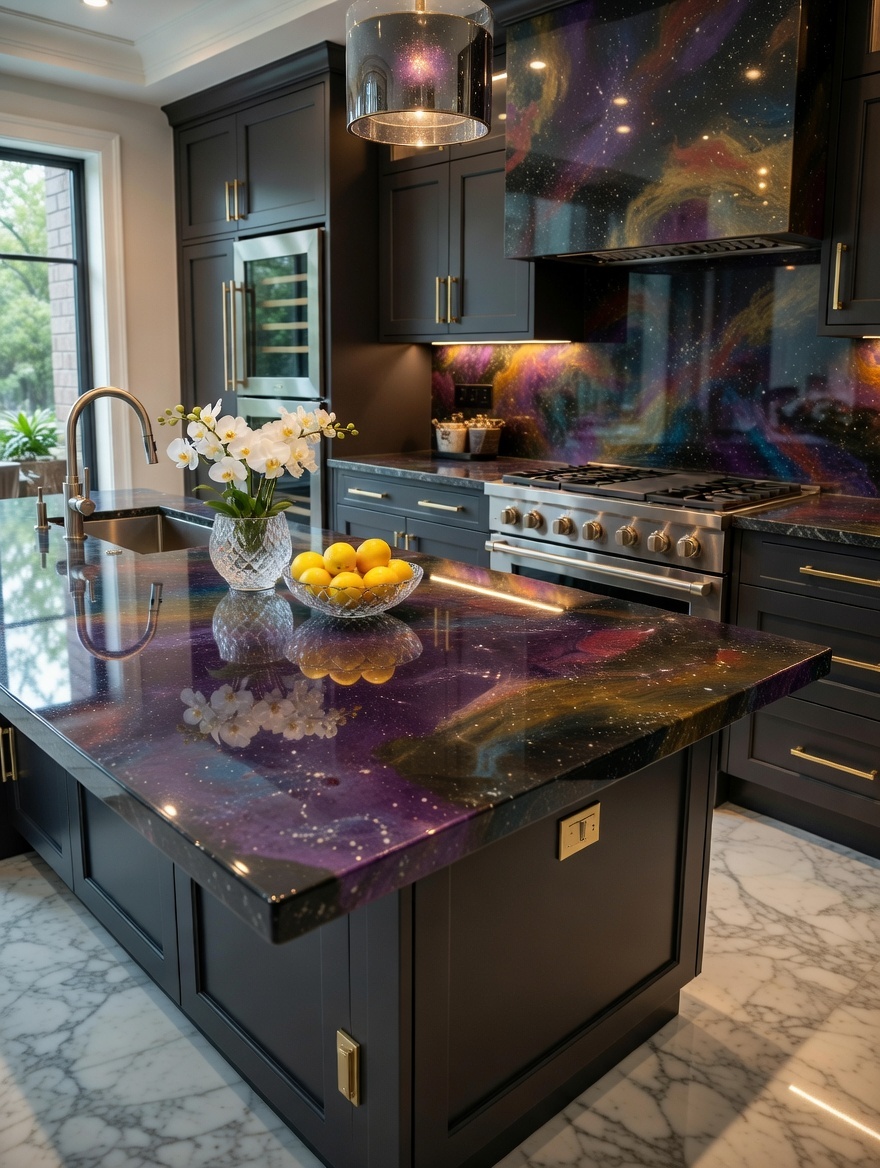
- Metallic tables. Resin loaded with metallic pigments that swirl like molten copper, gold or marble. See metallic epoxy.
- Illuminated tables. LED strips or fibre optic strands built into the resin so the table glows after dark. Our lighting hub, the fiber optic resin table guide, and the dedicated LED epoxy table page explain the wiring and design.
For a broad visual tour of combinations, from galaxy pours to geode inlays, browse our epoxy table ideas.
Epoxy tables by room and use
The style tells you how a table looks; the use tells you how it must be built. A dining table needs a stiff top that will not sag over a long span, a base that clears knees and chair arms, and a hard-wearing finish. Our epoxy dining table page goes into sizes per seat and base types. A coffee table is lower, smaller and often more adventurous in colour or lighting, which is why the resin coffee table is many people’s first commission or first build. Bars and counters take the hardest wear of all, from spilled drinks to elbows, and the bar top epoxy page explains the coating systems used there.
Beyond tables, the same techniques produce shelving, desks, headboards, vanity tops and wall panels. Our resin furniture page shows how the material translates to other pieces.
Wood and resin: getting the partnership right
A wood and resin table pairs two materials that behave very differently. Timber absorbs and releases moisture with the seasons and moves across its width; cured resin barely moves at all. If the timber goes into the mould too wet, it shrinks afterwards and can pull away from the resin, leaving hairline gaps or cracks. That is why good makers start with kiln-dried or properly seasoned slabs, let them acclimatise in a heated workshop and check moisture readings before the pour.
Three other details make the partnership last:
- Seal the timber first. A thin brushed seal coat stops air escaping from the grain into the main pour as bubbles. Our page on sealing wood for epoxy explains the method.
- Fix the top so it can move. Slotted holes, Z-clips or figure-eight fasteners hold the top to its base while letting the timber expand and contract slightly.
- Pair colours deliberately. Warm timbers glow beside cool blues and greys, pale oak and ash suit deep saturated resins, and dark walnut looks dramatic beside clear, smoky or metallic pours.
How an epoxy resin table is made
Every build differs, but the sequence is broadly the same. Our step-by-step how to make a resin table tutorial covers it in detail, and there are dedicated walkthroughs for making a river table and making a live edge table. In outline:
- Choose and prepare the timber. Remove loose bark and soft wood, flatten the slabs and check they are dry.
- Build the mould. Melamine board lined with release tape or sheathing, every joint sealed with silicone, set dead level.
- Seal and fix the slabs. Brush on a seal coat and clamp or screw the slabs down so they cannot float.
- Pour the resin. Thick sections use a slow-curing casting resin poured in stages within the manufacturer’s maximum depth. Our deep pour epoxy page and the how to pour epoxy resin hub cover mixing, temperatures and bubble control.
- Cure, demould and flatten. After several days the slab comes out of the mould and is flattened with a router sled or wide belt sander.
- Sand and finish. Work through the grits, then apply a hardwax oil, a flood coat or polish the resin to gloss. See how to polish epoxy resin.
- Fit the base. Steel, timber or a bespoke frame, attached with fixings that allow for movement.
Safety runs through every step: work in a well-ventilated room, wear nitrile gloves and eye protection when mixing, use a respirator with organic vapour filters for long sessions, and wear a dust mask when sanding cured resin. Keep the room within the temperature range on the datasheet, usually around 20 to 25 degrees Celsius, for the whole cure.
Choosing the right epoxy for a table
There are two broad kinds of resin in table work, and mixing them up is the most common beginner mistake. Casting or deep pour resin is thin, slow and designed to be poured several centimetres deep without overheating. Table top or coating epoxy is thicker and faster, made to be poured a few millimetres thick as a self-levelling, glossy, hard-wearing finish. A river table usually uses both: casting resin for the river, coating resin or oil for the top. Our pages on epoxy resin for tables, the best epoxy for a river table and table top epoxy compare products and explain when to use each. If you want to begin with a ready-matched set, an epoxy resin kit takes the guesswork out of ratios, and UV resistant epoxy is worth considering for tables near bright windows.
How much does an epoxy table cost?
Costs depend on size, timber, depth of pour and finish. For a DIY build, resin is often the largest single expense: a deep river on a dining table can use tens of litres. Use our epoxy calculator to estimate volume before you buy, and remember to add around ten per cent for waste and the seal coat.
For finished tables, typical market ranges in the UK run from several hundred pounds for a small side table, through roughly £800 to £3,000 for a coffee table, to anywhere from £2,500 to well over £10,000 for a large dining table in figured timber. US prices follow a similar pattern in dollars. Treat these as typical ranges rather than quotes: rare slabs, lighting and unusual sizes all push the figure up. Our guide to epoxy tables for sale explains what you are paying for and how to judge quality.
Buy, commission or build?
There are three routes to owning an epoxy table, and each suits a different person.
- Buy ready-made if you have found a piece you love and it fits your room. You see exactly what you get and it arrives sooner.
- Commission if you need a specific size, colour, timber or feature such as lighting. Our page on custom epoxy tables walks through the commissioning process step by step.
- Build it yourself if you have space, patience and basic woodworking tools. Start with a small coffee or side table before attempting a dining table, because mistakes are cheaper at that scale.
Living with a resin table
A fully cured epoxy surface is waterproof, tough and easy to clean with a soft cloth and mild washing-up liquid. It is not invincible, so a few habits keep it looking new:
- Never put hot pans or dishes straight onto the resin. Most epoxies soften well below the temperature of a pan fresh from the hob, so always use a trivet.
- Use coasters and placemats. Sharp objects scratch resin much as they scratch glass.
- Avoid abrasive cleaners and solvents, which dull the shine.
- Keep clear and white tables out of strong direct sunlight, which can slowly warm the tone even with UV stabilisers.
- Light scratches can be polished out; deeper damage can be sanded and recoated.
Common mistakes to avoid
- Pouring too deep in one go. Exceeding the stated depth causes overheating, cracking and yellowing.
- Leaky moulds. Resin finds every gap. Seal every joint and test with a small pour first.
- Wet timber. It shrinks after the pour and pulls away from the resin.
- A cold workshop. Cold resin is thick, traps bubbles and can cure cloudy or soft.
- Rushing the finish. Skipped grits show up as swirl marks under a gloss coat.
Top 10 most-watched on YouTube
Video 1 of 10 — one of the most-viewed YouTube videos for “epoxy table: the complete guide to epoxy and resin tables”: 68 Gold Watches in Epoxy! Amazing Table of Oak and Epoxy! by Positive couple. Позитивная парочка. (16,909,994 views as of 13 October 2026).
If you want to go deeper into what you are actually pouring, Wikipedia’s overview of epoxy covers the chemistry, how hardeners and temperature affect curing, why epoxies yellow over time, and the skin and respiratory health risks worth knowing about before you start.
Watch it being made
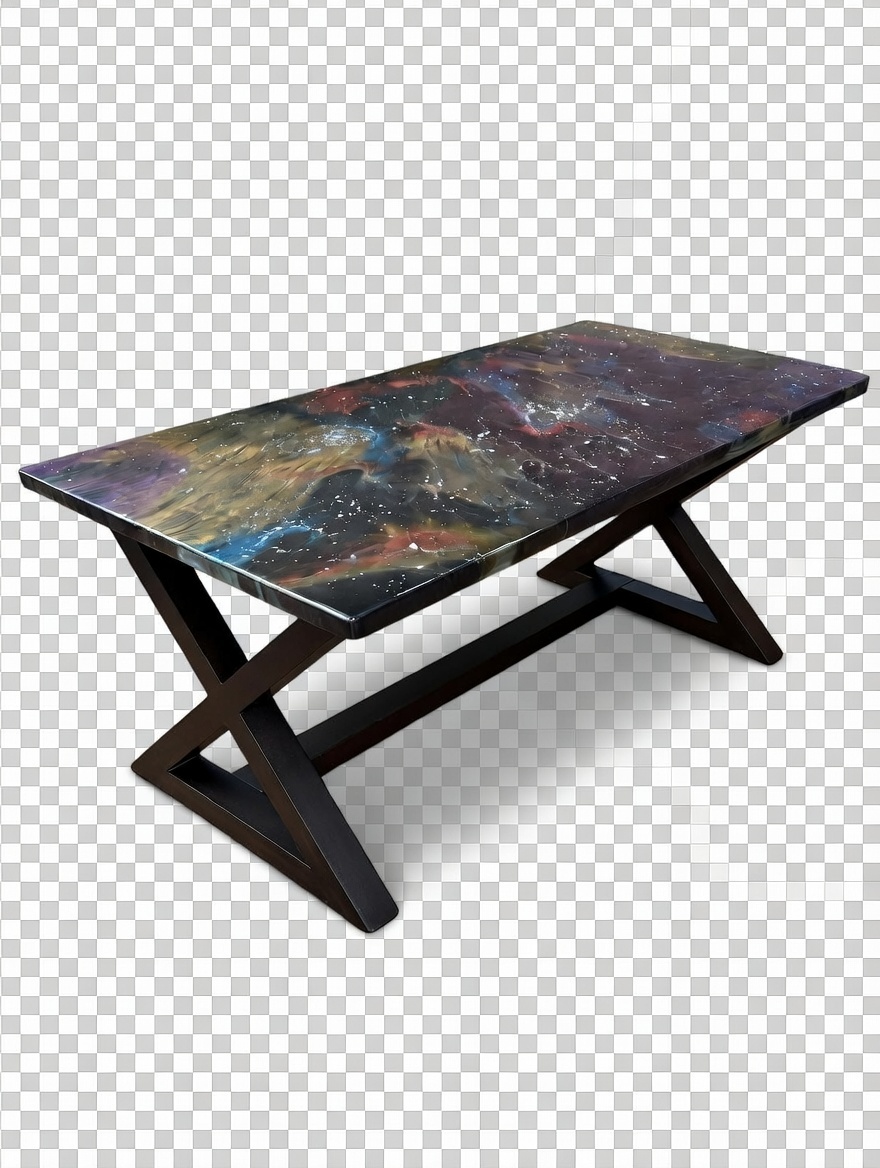
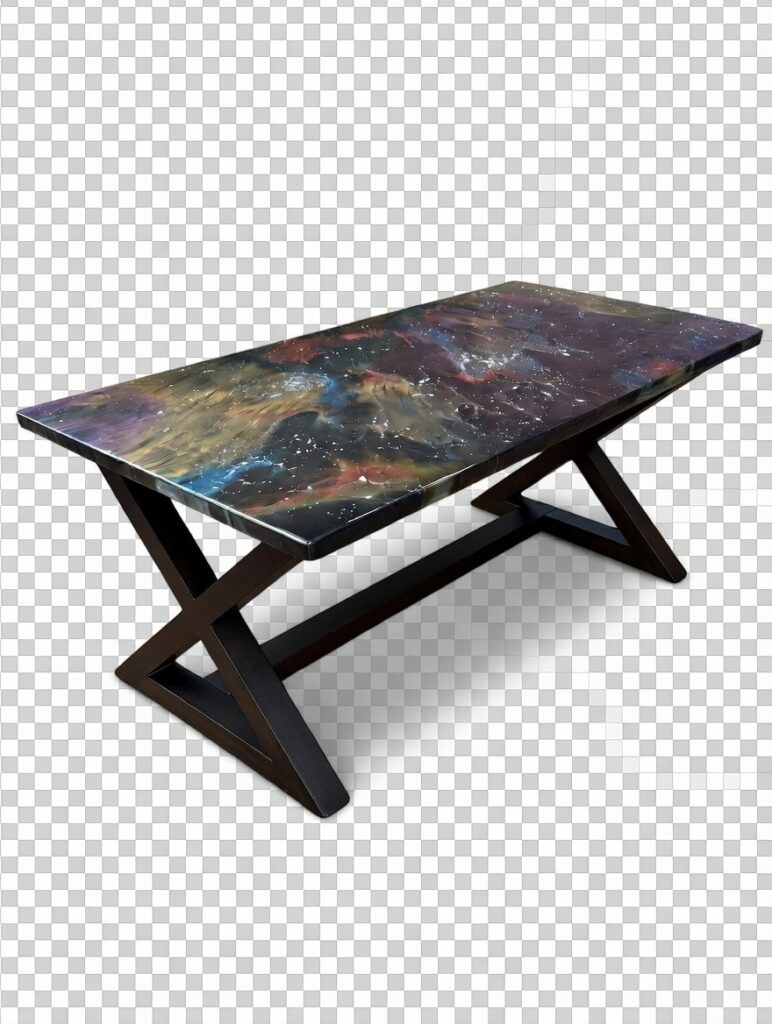
See one of our tables come together in the workshop: a nebula resin top with fibre optic stars, from the first pour to the lights going on.
Resin art nebula resin table with fibre optic art. More builds on the Go Bespoke YouTube channel.
Frequently asked questions
Is an epoxy table durable enough for everyday use?
Yes, when it is made with properly dried timber, the right resin for each job and a hard-wearing finish. It resists water and everyday spills well. The main things to avoid are direct heat from pans and dragging sharp or gritty objects across the surface.
What is the difference between a resin table and an epoxy resin table?
In practice, very little. Almost all resin tables are made with epoxy, because it bonds strongly to wood and cures clear. Some art pieces use polyester or polyurethane resins, but for furniture epoxy is the standard choice.
How long does it take to make an epoxy river table?
The resin alone may need several days to cure between stages, and flattening, sanding and finishing add more time. A small table can be finished in a couple of weeks of part-time work; a large dining table often takes several weeks in a professional workshop.
Can I put an epoxy coating on an existing table top?
Yes. A table top epoxy flood coat can be poured over a sanded, clean, level wooden table to give a glossy, sealed surface. Remove old wax or polish first and follow the maximum thickness per coat on the datasheet.
Does an epoxy table turn yellow?
All epoxies can shift in tone over years, especially in strong sunlight. Choosing a resin with UV stabilisers, avoiding over-thick pours and keeping the table out of direct sun keeps any change to a minimum.
What wood is best for an epoxy table?
Walnut, oak, elm, maple and ash are all popular. The most important thing is that the timber is dry and stable; after that, choose a species and colour that suit the resin and the room.
Start your own epoxy table
Whether you want to build your first coffee table or have a showpiece dining table made, the pages linked above will take you through every decision. If you would rather have one built for you in our London workshop, with or without fibre optic lighting, get in touch to discuss a bespoke commission.
All guides in this section
- Clear Epoxy TableHow to get a crystal clear epoxy table: water-white resins, avoiding haze and yellowing, and showing off timber or objects beneath the…
- Custom Epoxy Tables: Commissioning a Bespoke Resin TableCustom epoxy tables commissioned step by step: brief, design, slab choice, colour samples, lighting, build, delivery, typical timescales and budgets.
- Epoxy Dining TableChoose an epoxy dining table that seats everyone: sizing, timber species, resin styles, bases and day-to-day care for a family dining table.
- Epoxy Resin Conference Table: Boardroom River TablesEpoxy resin conference table guide: seat-by-seat sizing, cable management, timber and resin options, typical costs and lead times for bespoke boardroom tables.
- Epoxy Resin Table UK: Buying Wood & Resin TablesBuying an epoxy resin table UK-made or imported? Table types, typical prices, quality checks and questions to ask before you buy.
- Epoxy Table Ideas: 30 Designs to Inspire Your Next Build30 epoxy table ideas grouped by style: river, ocean, geode, fibre optic galaxy, metallic, walnut, modern and luxury designs for every room.
- Epoxy Tables for Sale: How to Buy a Resin TableEpoxy tables for sale: what to check, sizes, timbers, lead times, typical UK and US prices and questions to ask before buying…
- Live Edge Epoxy TableA live edge epoxy table keeps the tree's natural outline and pairs it with resin. Learn about slabs, edge styles, resin colours…
- Ocean Epoxy TableCreate a realistic ocean epoxy table: deep-to-shallow colour gradients, sandy shorelines, pebbles and aerial beach styling explained.
- Resin Coffee TableChoose a resin coffee table that suits your living room: height and proportion, round or rectangular, storage ideas and living with kids…
- Resin Dining Table UK: Oak, Walnut & Bespoke OptionsResin dining table UK guide: oak and walnut options, sizes and seating, typical £ prices, delivery tips and bespoke commissions from a…
- Resin FurnitureExplore resin furniture beyond tables: shelves, consoles, benches, headboards, lamps, wall panels and worktops designed as functional sculpture.
- River TableThe complete river table guide: how they are made, choosing timber and resin colours, costs in pounds or dollars, and caring for…
- River Tables for Sale: What to Pay & How to CommissionRiver tables for sale explained: typical UK & US prices, quality checks, lead times and how to commission a custom epoxy river…
- Table with Resin Top: Wood & Epoxy Tops for Any BaseBuying a table with resin top for your own base: sizes, thickness, fixing so wood can move, restaurant and outdoor use, typical…
- Walnut Epoxy TableWhy a walnut epoxy table is so special: heartwood and sapwood, the best resin colours to pair with it and finishing options…
- Wood and Resin Table: Choosing Timber, Resin & DesignPlan a wood and resin table: which timbers pair with which resin colours, design anatomy, moisture content, resin types, finishes and typical…