LED Epoxy Table: Lighting Resin Tables With LEDs
Updated 16 October 2026
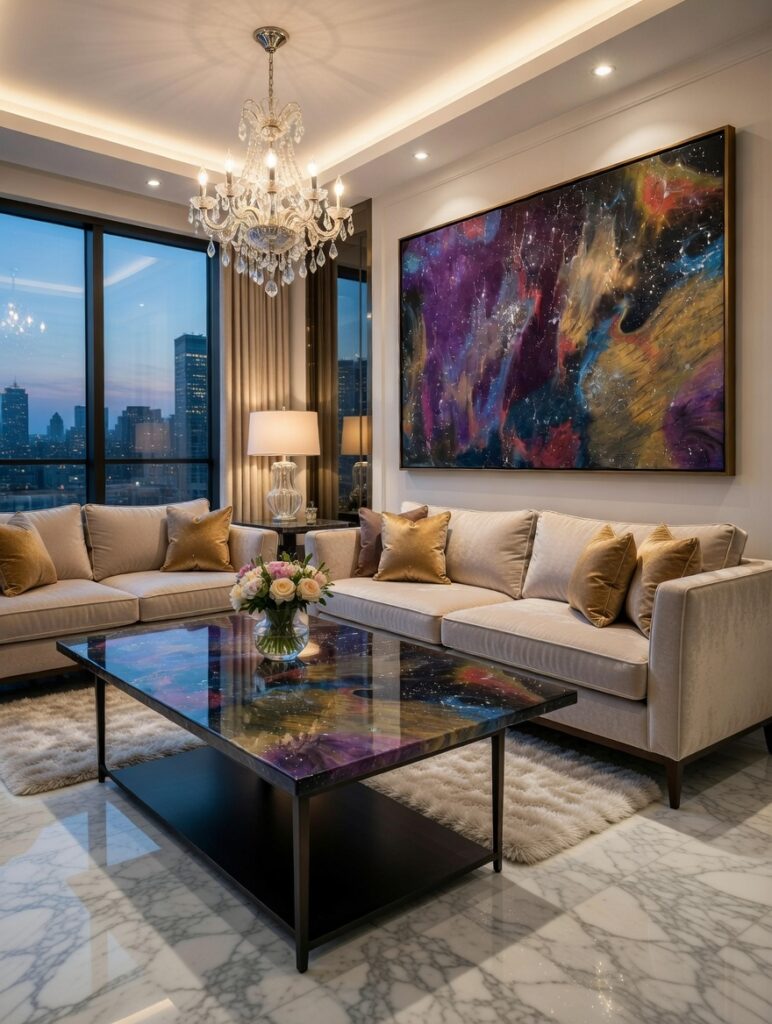
An LED epoxy table glows with a soft, even light that seems to come from inside the resin itself. A river turns into lit water, a translucent top becomes a giant lamp, or a halo of colour spreads across the floor beneath the base. LED strips are cheap to run, available in every colour and easy to control from a phone, which makes them the most popular way to light resin furniture.
They are also the easiest to get wrong. A row of harsh dots showing through the surface, a dark section that has failed inside the cast, or a power supply cooking in a sealed cavity are all common mistakes. This guide covers how to plan an LED resin table properly: when to choose LEDs over fibre optics, waterproof ratings, heat, the three main lighting layouts, drivers and controllers, electrical safety and the specific challenges of an LED river table.
LED strips vs fibre optics: which suits your table?
Both light a resin table, but they do different things.
| LED strips | Fibre optics | |
|---|---|---|
| Effect | Areas, bands and lines of glow | Individual points of light, like stars |
| Where the light is made | In or under the table, along the strip | In one light engine; strands carry it to the surface |
| Heat at the light | Some warmth along the strip | None at the surface |
| Best for | Lit rivers, glowing tops, edges, underglow | Galaxy and starry night designs |
| Serviceability | Good if strips sit in channels; poor if fully cast in | Good; the engine is a separate box |
If you want a sky full of stars, read our fiber optic resin table guide, which is the lighting hub for this site. If you want the resin itself to glow, an LED epoxy resin table is the better tool. Many of the most striking pieces combine the two: LEDs to light a translucent river and fibres to scatter stars through it.
Three ways to light an LED epoxy table
1. Lighting through the resin (backlit or underlit)
Strips sit beneath the resin, in a channel routed into a base board or the underside of the top, and shine up through a diffusing layer. This gives the classic glowing river or lightbox look. Because the strips sit in an open channel rather than being cast solid, they can usually be replaced later.
2. Edge lighting
Strips run along the edge of the resin and push light sideways into it. Clear or lightly tinted resin carries the light across, and anything with texture, such as embedded objects, cracks or a sanded pattern, catches it and glows. Edge lighting suits thinner tops and gives a subtler effect.
3. Underglow
Strips fixed inside the base or apron point at the floor, so you see the reflected halo rather than the light source. The resin top stays calm and the table seems to hover. Underglow works with any table, including ones that were never designed to be lit, and pale floors reflect it far better than dark rugs.
Waterproof LEDs and IP ratings
An IP (Ingress Protection) rating tells you how well a strip is sealed. The second digit refers to water and matters most near resin.
- IP20: bare strip, no water protection. Only for dry spots away from resin, such as inside a base.
- IP65: a thin silicone coat over the top face. Fine under a table, but the coating can react unpredictably with liquid epoxy.
- IP67: strip inside a silicone sleeve. A good choice for channels.
- IP68: fully encapsulated in solid silicone. The most robust option where the strip will touch resin.
A rating only applies to the strip as sold. Cutting it or soldering new joints breaks the seal, so every cut end must be capped and sealed, and the sealant left to cure, before any resin goes near it. Pour in a warm, dry room with dry timber; trapped moisture causes cloudy patches and can corrode the strip over time.
Heat: why it matters inside resin
LEDs are efficient but not cold. Every strip gives off some heat, and cured epoxy is a poor conductor, so a strip sealed solid inside a thick pour has nowhere to shed it. Over time that shortens LED life and can yellow the resin closest to the strip.
- Choose lower-power strips and run them below full brightness; a softer glow usually looks better anyway.
- Mount strips on aluminium profiles where possible, which act as heatsinks.
- Prefer open channels beneath the resin to fully cast-in strips.
- Never pour hot-curing resin directly onto a strip. A thick mass of fast resin can reach temperatures that damage silicone sleeves and solder joints; use a slow deep pour epoxy and follow its layer limits.
How to hide LED hotspots
A strip is a row of tiny bright points, and clear resin shows every one. Turning dots into a smooth glow takes diffusion and distance.
- Use COB strip. Chip-on-board strip produces an almost continuous line of light with no gaps to hide.
- Add a diffuser. An opal acrylic sheet, a frosted channel cover or a thin resin layer tinted with a very small amount of white pigment scatters the light.
- Increase the distance. The further the strip sits below the diffuser, the more the light blends. Even a small air gap helps.
- Tint the resin. Translucent colour above the diffuser hides the hardware and gives the glow its hue. Test on offcuts: too much pigment kills the light, too little shows the dots. Our guide to colouring epoxy resin covers ratios.
Drivers, power supplies and controllers
Most strips run on 12V or 24V DC. A driver (power supply) converts mains to that voltage, and a controller handles colour, brightness and effects.
- Size the driver with headroom. Add up the wattage of every strip and choose a driver rated around 20–30% above that figure, so it never runs flat out.
- Prefer 24V for longer runs. It suffers less voltage drop, the effect where the far end of a strip looks dimmer or a different shade. On long runs, feed power in at both ends.
- Keep drivers out of the resin. Drivers and controllers must stay accessible and ventilated, in the base or behind a removable panel, never sealed into the cast.
- Choose RF or Wi-Fi control. RF remotes work through wood and resin so the receiver can be hidden. Wi-Fi controllers add app control, scenes, timers and voice assistants.
- Single colour, RGB or RGBW. Warm white suits dining tables; RGB gives colour but a slightly tinted white; RGBW adds a true white channel.
From our workshop: lighting, power and charging under a coffee table
Most of the work on a lit table happens underneath, where nobody sees it. When we built our Jaded Copper coffee table (a copper and teal resin top with an infinity mirror set into the centre), the top was flipped onto the bench so the lighting and power could be fitted from below. That one table ended up with:
- Edge lighting: a red COB LED strip runs around the edge. COB strips have no visible dots, so the edge glows as one continuous line of light.
- Underglow: an RGBW strip under the table washes the floor around it with colour. It is controlled by a remote or a phone app, so the colour and brightness can change with the mood of the room.
- Built-in phone charging: two USB-C sockets and one standard USB socket, so three phones can charge at once, with illuminated push switches for the lighting.
- Two ways to power it: a 12V DC mains power supply for everyday use, and a LiFePO4 battery so the table can run without a cable, for example in the middle of a room or outdoors. A table can have either or both.
Smart home control: many of our tables, and some of our resin wall art, are also fitted with a Wi-Fi smart switch, so the lighting can be turned on and off by voice through Alexa or Google Home, from a phone anywhere, or on a schedule.
The board we use is a small two-channel Wi-Fi relay module that runs from the same low-voltage DC supply as the lights (it accepts anything from 5V to 36V DC) and connects to the free eWeLink app, which links to Alexa and Google Home. Each channel is a passive (dry-contact) relay, so one channel can switch the edge strip and the other the underglow or a phone-charging circuit, each with its own voice command. It also has inching (momentary) and self-locking (on/off) modes, which is handy for wall art that should light for a set time. The relay simply switches power on and off; colour and brightness still come from the LED controller’s remote or app. We fit it next to the power supply, away from metal, so it keeps a good Wi-Fi signal.
The same approach is built into our nebula fibre optic table, which also has phone charging; you can see it on our YouTube channel.
A few lessons from doing this for real. Keep everything at low voltage (12V DC) inside the table, and keep the mains power supply where it can breathe and be reached. Choose LiFePO4 over other lithium chemistries for a battery that lives inside furniture, as it is far more stable, and always use the matching charger and a battery with a built-in management board. Fuse the battery output, label every wire, and leave a removable panel so drivers and controllers can be reached later without taking the table apart. If you would like a table with lighting, charging or battery power built in, we can design it around how you will use it. Ask us for a quote.
Electrical safety
The strip itself runs at low voltage, but the driver is connected to the mains, so treat it like any appliance. Use a quality, certified driver rather than an unbranded one, keep it ventilated and away from heat sources, and make sure connectors are enclosed where children and pets cannot reach them. Solder joints and seal them with heat-shrink rather than relying on clip connectors, which can loosen. Any fixed wiring, floor boxes or fused spurs should be installed by a qualified electrician. If you ever notice flickering, buzzing, a burning smell or a driver too hot to touch, switch off at the wall and have it checked.
What an LED epoxy table typically costs
The lighting itself is usually a small share of the budget. As a typical guide, quality strip, aluminium profiles and diffusers for a coffee table often come to £40–£150, and a certified driver with an RF or Wi-Fi controller to £30–£120. The resin, timber and labour dominate the cost of a finished LED epoxy table, and the extra work of routing channels, building diffusers and hiding cables adds time compared with an unlit piece. For a feel of finished prices, see our epoxy tables for sale.
LED river table: specific tips
An LED river table is the most popular lit design, and also the most demanding, because the river is long, narrow and irregular.
- Follow the river. Map the river onto a full-size template and lay strips along its centre line, adding parallel runs where it widens into pools.
- Step back from the banks. Keep light slightly in from the live edges so the timber reads as a crisp dark silhouette.
- Build the light into the base. A recessed channel or frosted acrylic panel beneath the river, designed before the pour, gives far better results than strips added afterwards.
- Choose translucent resin. Clear resin reveals the hardware; heavy pigment blocks the glow. Translucent blues, greens and ambers work well.
The casting itself follows our step-by-step guide on how to make a river table, and our river table page covers design options. For choosing resin, see the best epoxy for river table builds. Ocean themes are especially effective lit from beneath, as shown in our ocean epoxy table ideas.
Building and caring for an epoxy table with LED lights
Whatever layout you choose, the same rules keep it working for years: bench-test every strip for an hour before it goes anywhere near resin, keep every joint and the driver accessible, and photograph the wiring before the top is closed up. For the general sequence of any resin top, from timber preparation to final finish, our epoxy table guide is the place to start.
Day to day, clean the top with a microfibre cloth and mild soapy water, spraying the cloth rather than the table so nothing drips into cable entries. Use coasters for hot drinks, vacuum dust from driver vents occasionally, and check plugs and cables every few months. If a section goes dark, the cause is usually a connector or the driver rather than the LEDs themselves, which is another reason to keep them reachable.
Top 10 most-watched on YouTube
Video 1 of 10 — one of the most-viewed YouTube videos for “led epoxy table: lighting resin tables with leds”: INSANE Galaxy Epoxy Table Build with Hidden LED Lights! 🤯 by Fast BuildsX (6,539,611 views as of 13 October 2026).
To understand why LEDs suit resin furniture so well, Wikipedia’s article on light-emitting diodes explains how they work, why heat management matters even for low-power strips, and how their efficiency and lifespan compare with older lighting.
Watch it being made
See one of our tables come together in the workshop: a nebula resin top with fibre optic stars, from the first pour to the lights going on.
Resin art nebula resin table with fibre optic art. More builds on the Go Bespoke YouTube channel.
Frequently asked questions
Can a resin table have USB charging and a battery?
Yes. USB-C and standard USB sockets can be set into the frame or apron and run from the same 12V system as the lights, and a LiFePO4 battery can power the table without a mains cable. On our own tables we fit a 12V power supply, a battery, or both, with switches and sockets placed where they are easy to reach but out of sight.
Can a resin table’s lights work with Alexa?
Yes, if a Wi-Fi smart switch or smart LED controller is built in. On our tables we use a Wi-Fi relay module that joins your home network through the eWeLink app and links to Alexa or Google Home, so you can say “Alexa, turn on the table lights” or set them on a schedule. A relay switches circuits on and off; if you also want to change colours by voice, choose a smart LED controller that supports your system. Either way, keep the module somewhere with a good Wi-Fi signal, as a metal frame or thick timber can weaken it.
Can you put LED lights directly in epoxy resin?
You can, using sealed IP68 strip, but it is rarely the best option. Strips cast solid cannot be repaired and struggle to shed heat. An open channel beneath the resin with a diffuser gives the same look and stays serviceable.
Do LED strips get hot inside a resin table?
They get warm rather than hot. Running them below full brightness, mounting them on aluminium profiles and keeping them in open channels stops heat building up in the resin.
What voltage LED strip is best for an epoxy table with LED lights?
Low-voltage 12V or 24V DC strip. 24V is generally better for longer runs such as a river, because it suffers less voltage drop.
How do you stop LEDs showing as dots through resin?
Use COB strip or add a diffuser, increase the distance between the strip and the surface, and use translucent rather than clear resin above it.
Is an LED resin table safe?
Yes, when built with certified low-voltage components, a ventilated and accessible driver and properly sealed connections. Fixed mains wiring should always be done by a qualified electrician.
Thinking about a lit table for your home or venue? Contact Go Bespoke, our London workshop, to talk through a bespoke LED or fibre optic commission.