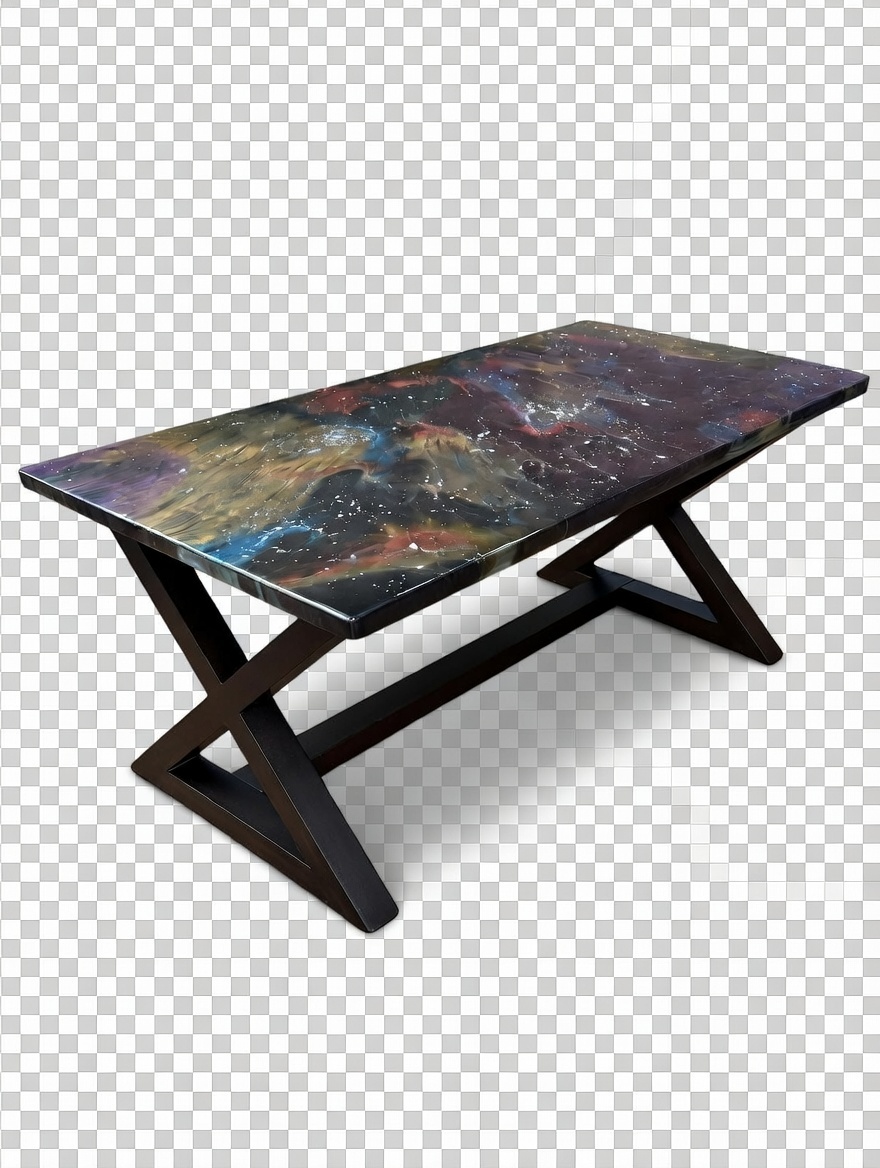
How to Make a River Table
Updated 17 October 2026

Learning how to make a river table comes down to a handful of decisions made before a drop of resin is mixed: how you split the slab, which way the edges face, how you build the mould, and how flat that mould sits. Get those right and the pour is almost an anticlimax. Get them wrong and resin escapes across the workshop floor or cures into a wedge.
This guide follows the river-specific stages: ripping a slab and orienting the edges, building a melamine mould, sealing it so it holds, and levelling everything so the pour cures flat. It is the groundwork that turns two pieces of timber and a liquid into a stable, finished river table top.

How to make a river table: ripping the slab
Most rivers begin with a single live edge slab cut lengthways into two. The cut line decides the river’s width and shape, so study the slab before marking anything. A wide, sweeping channel suits a bold colour such as a blue resin river table, while a narrow one reads as a subtle stream.
- Look for the natural river. A crack, a hollow centre or a run of soft wood often suggests where the cut should go.
- Remove the pith. The very centre of the tree is prone to cracking, so many makers rip along it and discard a thin strip.
- Use a track saw or bandsaw. A straight, clean rip gives you two square outer edges for the table’s sides.
- Keep the pieces in order. Mark which face is up and which end is which, so the grain flows naturally once reassembled.
Orienting the edges
Once ripped, you choose how the two halves face each other. The traditional river layout turns the live edges inwards, facing across the gap, with the straight sawn edges on the outside. Flipping one half end-for-end, or swapping sides, changes the river’s shape completely.
Lay the pieces on the bench and try several arrangements. Look for a river that narrows and widens in a pleasing rhythm, perhaps pinching almost closed at one point. Avoid a uniform parallel channel, which looks static. The shape of the river is the defining design choice of any epoxy river table, so take your time here. Once you are happy, trace the outline of both pieces onto a sheet of card or the mould base so you can return them to exactly the same position.
How to make a river table mould from melamine
Melamine-faced board is the most popular mould material because epoxy releases from it readily and the surface is smooth and flat.
- Cut a base. Make it larger than the finished top on every side, leaving room for the walls and a margin for trimming.
- Cut the walls. Strips of melamine stand on edge around the base, tall enough to rise above the slab’s thickness.
- Fix the walls from the outside. Screw through the walls into the base edge, pre-drilling to avoid chipping the melamine. Keep screws out of the cavity.
- Add bracing. Long walls bow under the weight of liquid resin. Blocks or angle brackets on the outside stop the walls from pushing outwards.
- Apply release tape. Cover every inside surface and seam with a smooth, wide packing or sheathing tape designed for resin release, burnishing it flat to avoid wrinkles that transfer to the cast.
Sealing the mould so it holds
Resin finds any gap, however small, and a slow leak overnight can empty a river. When you learn how to make a river table, sealing is the lesson most people learn the hard way, so it is worth doing obsessively.
Run a neat bead of silicone sealant along every inside corner where wall meets base and wall meets wall, then smooth it into a small cove with a gloved finger. Let it cure fully before pouring, as uncured silicone can contaminate the resin. Some makers also caulk the outside seams as a second line of defence.
Clamping the timber down matters just as much. Wood floats in epoxy, so the slabs must be held firmly against the base with clamps or weighted bars across the top. Seal the underside edges where wood meets base with a thin bead of hot glue or silicone to stop resin creeping beneath. Test the mould by filling the bottom with a little water, or by running a light seal coat, and watching for weeping before committing.
Levelling the pour
Epoxy self-levels relative to gravity, not to your mould. If the mould is tilted, the resin will be deeper at one end, and you will lose timber when you flatten the top.
- Use a solid table or trestles. The mould must sit on something rigid that will not sag over days of curing.
- Shim with a long level. Check across the length, the width and both diagonals, adjusting with plastic shims.
- Check again after loading. Clamps and slab weight can shift the mould, so recheck once everything is in place.
- Control temperature. Keep the room warm and steady through the cure, as cold floors and draughts cause uneven curing. Check the cure temperature range on your chosen resin, as the best epoxy for a river table is formulated for thick, slow-curing pours.
What happens after the pour
Once the resin has fully cured, the mould comes apart. Unscrew the walls, ease them away, and the release tape should let the cast lift cleanly from the base. Expect the top surface to be uneven, with a meniscus at the edges and the timber sitting slightly proud or low. That is normal. The next stages are flattening, trimming the ends square and finishing, and they go far more smoothly when the mould was level and well sealed. Those later stages, from mixing the resin to the final polish, are covered in how to make an epoxy river table. Keep the melamine walls if they survive intact, as a well-made mould can often be reused for the next project with fresh tape and sealant. Reusing moulds is one small way to keep down the cost of an epoxy river table.
Safety in the workshop
River pours use large volumes of resin, so ventilate thoroughly, wear nitrile gloves and eye protection, and use a respirator with organic vapour cartridges while mixing and pouring. Sawing and flattening produce fine dust; wear a dust mask and use extraction during the woodworking stages.
Slabs that move after the pour are the most common cause of cracked rivers. The US Forest Products Laboratory’s Wood Handbook chapter on Moisture Relations and Physical Properties of Wood explains how timber gains and loses moisture and why it shrinks and swells.
Frequently asked questions
Why is melamine used for river table moulds?
Its smooth, non-porous face releases cured epoxy easily, especially when lined with release tape, and the board is flat and rigid enough to support a heavy pour.
How do I stop the timber floating during the pour?
Clamp the slabs firmly to the mould base or weigh them down with bars across the top, and seal the underside edges so resin cannot creep beneath them.
Does the mould really need to be perfectly level?
Yes. Resin settles level to gravity, so a tilted mould gives an uneven thickness and forces you to remove extra timber when flattening.
Watch a river table take shape
Following a build from slab to finished top makes the mould stages far easier to picture. The Go Bespoke YouTube channel, @go-bespoke, shares resin table builds, pours and finished pieces.
Top 10 most-watched on YouTube
Video 1 of 10 — one of the most-viewed YouTube videos for “how to make a river table”: I Built a River Table for Real Fish by John Malecki (2,741,953 views as of 13 October 2026).
Planning a river table of your own? Get in touch for a bespoke quote.