Custom Epoxy Tables: Commissioning a Bespoke Resin Table
Updated 10 October 2026
Custom epoxy tables start with a blank page rather than a catalogue. You decide the footprint, the timber, the colour and depth of the resin, the edge, the base and whether the top should light up at night, and a maker turns those decisions into a piece that exists nowhere else. If you have never commissioned furniture before, the process can feel opaque. This page explains exactly how commissioning a bespoke resin table works, stage by stage, so you know what to prepare, what decisions are coming and what a good maker should be doing at each point.
Why commission custom epoxy tables?
The honest answer is fit. A commissioned table can be made to the exact length of an alcove or the shape of an awkward room, matched to flooring and fabrics, and planned around practical needs such as a cable route through a desk or extra legroom at the ends of a dining table. It also gives you a say in the story: the tree the slabs came from, the colour of the river, the detail on the edge. If you simply need a good table soon and have seen one that suits you, buying ready-made is quicker, and our guide to epoxy tables for sale covers that route. Commissioning is for when nothing on the market is quite right.
The commissioning process, step by step
1. Gather ideas and set a brief
Before you contact anyone, collect a handful of images you like and a few you do not; both are useful. Our epoxy table ideas page is a good place to start, and the epoxy table guide explains the main styles. Then write a short brief covering:
- What the table is for: dining, coffee, desk, console, boardroom or bar.
- Rough dimensions and the room it will live in, with photos showing light, floor and nearby furniture.
- Colours you want to echo or avoid.
- Any must-haves, such as lighting, a particular timber or an embedded keepsake.
- Your budget band and any date you are working towards.
2. The first conversation
A good maker will ask more questions than you expect. How many people use the table daily? Are there children or pets? Does the room get strong afternoon sun? Is there underfloor heating? The answers shape timber choice, resin type and finish. This is also when you hear an honest view on whether your idea will work. A deep clear river beside a south-facing window, for example, may need a different approach than you first imagined.
3. Design and quotation
Next comes a proposal: usually a sketch or simple drawing with dimensions, the proposed timber and resin, the base design and the finish, plus a quote and a provisional schedule. Expect the quote to separate out major elements, because slabs, resin volume and lighting each move the price significantly. Ask what is included, such as delivery, installation and aftercare, so there are no surprises later.
4. Choosing the slabs
For timber-based designs, this is often the most exciting stage. The maker shows you the actual boards available, by photo or in person, and how they could be arranged. With custom live edge furniture, two slabs from the same log can be book-matched so the grain mirrors across the river, or a single wide board can be kept whole with resin filling only its natural voids. Our live edge epoxy table page explains how slab shape decides the look. Once you approve the slabs, they are usually reserved for your project and a deposit is taken.
5. Resin colour samples
Colour on a screen never matches colour in a room. Ask for physical samples or test pours, viewed in the light of the room where the table will sit. Translucent tints change dramatically with depth, so a sample poured at the real thickness is far more reliable than a swatch. Our guide on how to colour epoxy resin explains the difference between pigment pastes, translucent dyes and metallic powders, and the ocean and metallic epoxy pages show what layered and swirled effects can achieve.
6. Lighting and special features
If the table is to glow, the lighting is designed now, not added later. Fibre optic strands are set into the mould before the pour, while LED channels and wiring routes are planned into the base. Our lighting hub, the fiber optic resin table guide, explains the options. Anything connected to mains power should be wired and tested by a competent person, with the driver and switch somewhere you can reach.
Practical extras can be built in at this stage too. On our own tables we have fitted USB-C and USB charging sockets for up to three phones, illuminated switches, remote or app-controlled RGBW underglow, a Wi-Fi smart switch so the lights can be turned on and off with Alexa or Google Home, COB edge lighting, and power from a 12V supply, a LiFePO4 battery for cable-free use, or both. Decide on these early, because the wiring routes and battery space are planned into the frame before any resin is poured. Our LED epoxy table guide shows how one of our coffee tables was wired underneath.
7. The build
With the design signed off, the workshop gets to work. The timber is flattened and sealed, a mould is built and levelled, and the resin is poured, often in several stages so thick sections cure without overheating. The slab then rests for days before it is demoulded, flattened, sanded through many grits and finished. A good maker keeps you informed with progress photos at key moments, such as the pour, the first reveal after demoulding and the final finish. At Go Bespoke, builds are often filmed for our YouTube channel.
8. Approval, delivery and installation
Before delivery you should see the finished table, in person or by video in daylight. Delivery is planned around access: a dining top can weigh over 100 kilograms, so stairs, doorways and parking all matter. On site, the top is fixed to the base with fittings that allow the timber to move, levelled to your floor and checked. Lit tables are tested in place.
9. Aftercare
You should receive written care instructions covering cleaning, heat, sunlight and any oil or polish refresh. Ask how the maker handles a problem that appears months later. Most surface marks on epoxy furniture can be polished or refinished, and a maker who stands behind their work will help.
Typical timescales and budgets
For a commissioned dining table, around six to twelve weeks from approved design to delivery is typical, and longer for lit, very large or multi-piece commissions. Budgets follow size and complexity rather than a fixed list, so treat any figure as a broad guide: in the UK, bespoke coffee tables commonly start from around £1,000, while dining tables typically run from about £3,000 upwards. Rare slabs, deep rivers and lighting raise the price. A clear brief and an honest budget at the start help a maker suggest the right timber and design for it.
Beyond the table: custom epoxy furniture
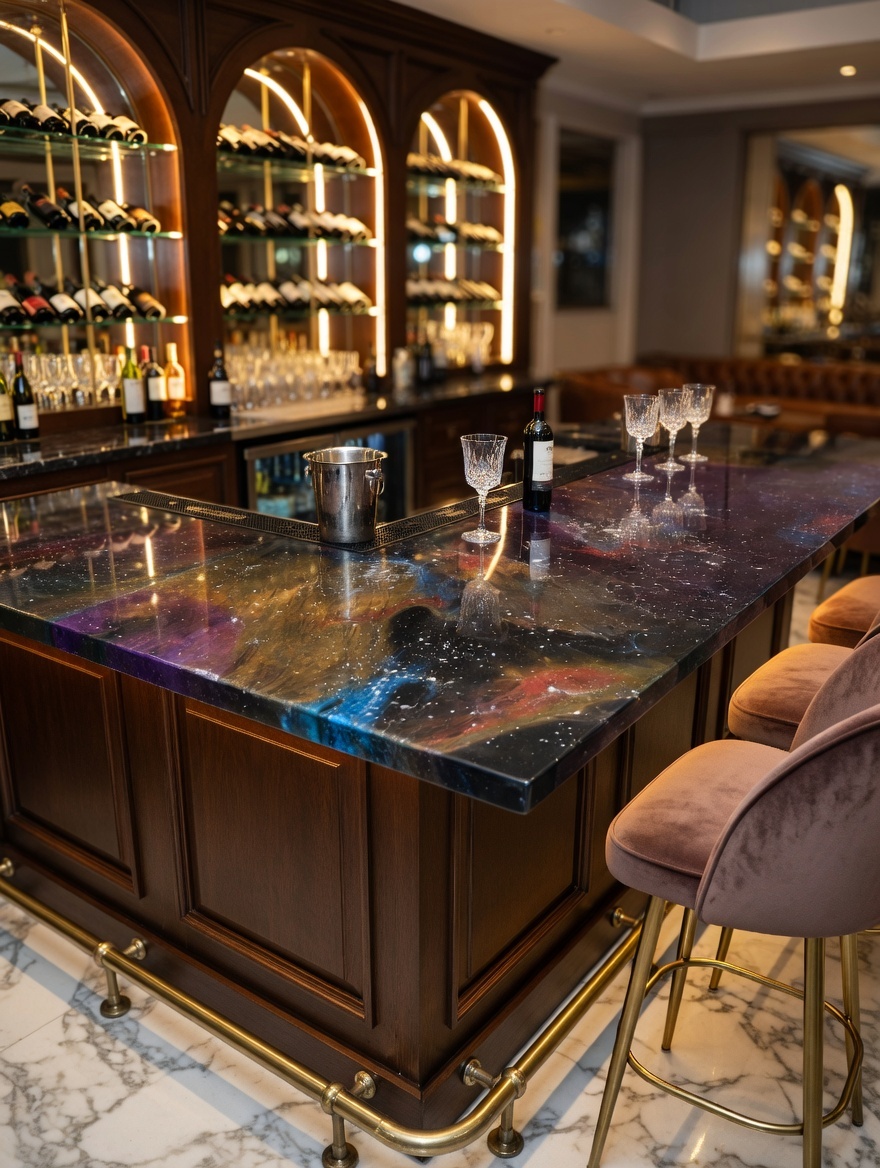
Many commissions start with a table and grow. The same techniques make desks, console tables, headboards, alcove shelving, vanity tops, bar counters and reception desks, and a set of pieces from the same log in matching resin reads as a family. Our resin furniture page shows how epoxy furniture works beyond the dining room. For businesses, a logo cast into a reception desk or a brand colour running through a boardroom table turns functional furniture into part of the interior identity.
Tips for a smooth commission
- Share measurements of the room, not just the table, including doorways and stairs.
- Decide early whether lighting is wanted; it cannot easily be added after the pour.
- Approve slabs and colour samples in person or by daylight video.
- Agree the payment stages, schedule and what happens if a slab reveals a hidden flaw.
- Be realistic about deadlines; resin cannot be rushed without risking the result.
Top 10 most-watched on YouTube
Video 1 of 10 — one of the most-viewed YouTube videos for “custom epoxy tables: commissioning a bespoke resin table”: Woodworking: Transforming a Found Roadside Wood Piece into a Beautiful Epoxy Resin Table by Woodworking Tools & Fix (3,994,522 views as of 13 October 2026).
Curious where the slab-and-resin look comes from? Wikipedia’s article on live edge furniture traces the style from early American settlers to George Nakashima’s mid-century work, and notes how some makers leave natural cracks open while others fill them with resin.
Watch it being made
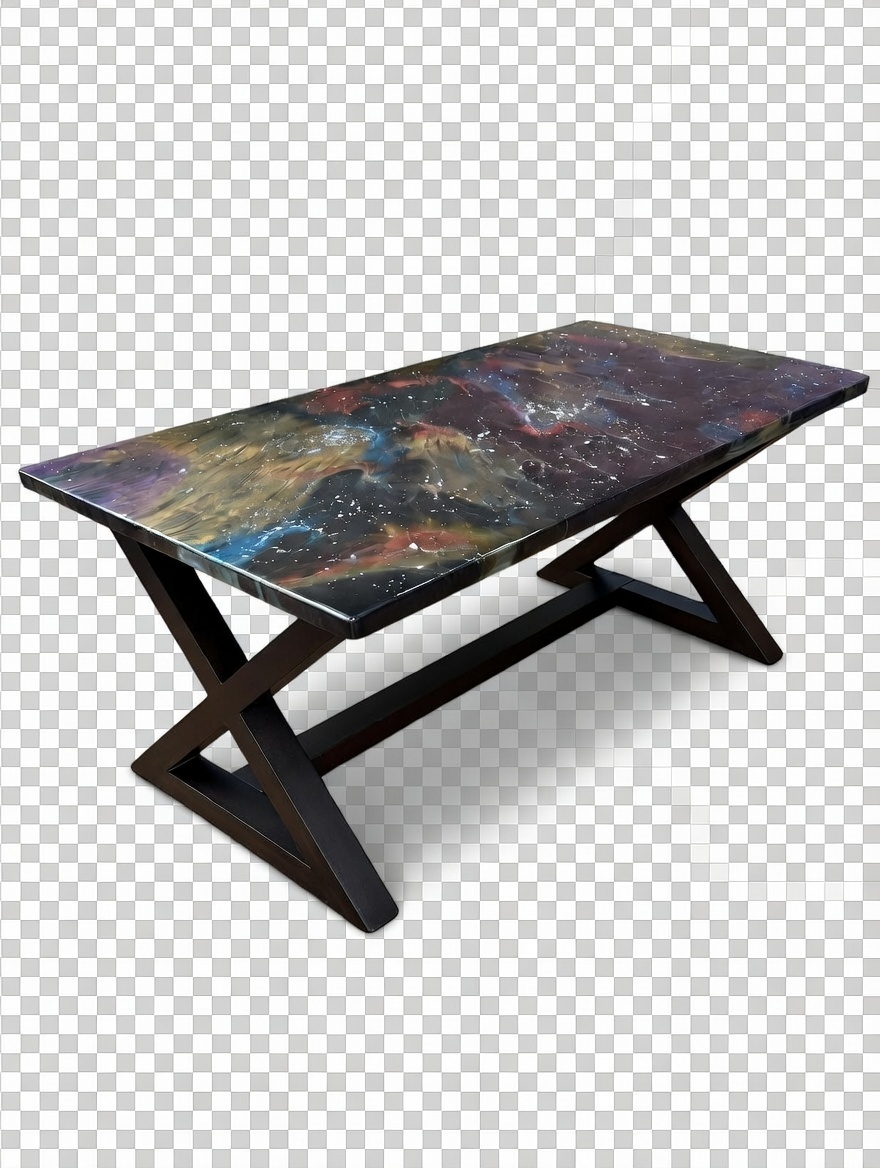
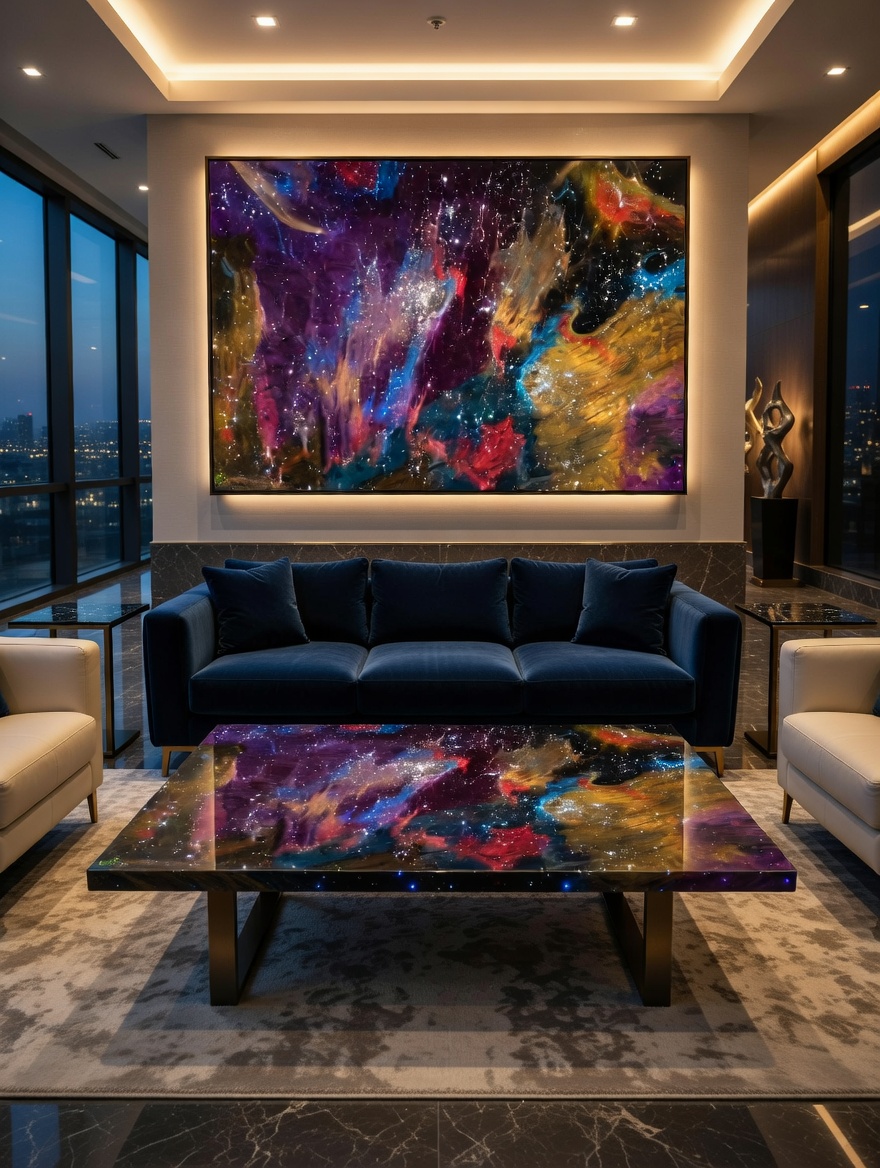
See one of our tables come together in the workshop: a nebula resin top with fibre optic stars, from the first pour to the lights going on.
Resin art nebula resin table with fibre optic art. More builds on the Go Bespoke YouTube channel.
Frequently asked questions
How long do custom epoxy tables take to make?
Typically six to twelve weeks from approved design for a dining table, depending on size, the number of pours, lighting and the workshop’s schedule.
Can I choose the exact wood slabs for my custom resin table?
Yes, and you should. A good maker will show you the actual boards and how they could be arranged before cutting anything.
Can I supply my own timber?
Sometimes, for example a slab from a family tree. It must be properly dried and sound, so expect the maker to check moisture content and condition first, and allow extra time if it needs drying.
Can a custom epoxy table include lighting?
Yes. Fibre optic stars or LED channels can be built in, but they must be planned before the pour.
What do I need to start a commission?
A rough size, photos of the room, a few inspiration images, a budget band and any deadline. That is enough for a first conversation.
Start your commission
Go Bespoke is a London workshop that builds resin and fibre optic tables and films the builds for YouTube. If you have a room, an idea or even just a colour in mind, get in touch to start your bespoke table.