Wood and Resin Table: Choosing Timber, Resin & Design
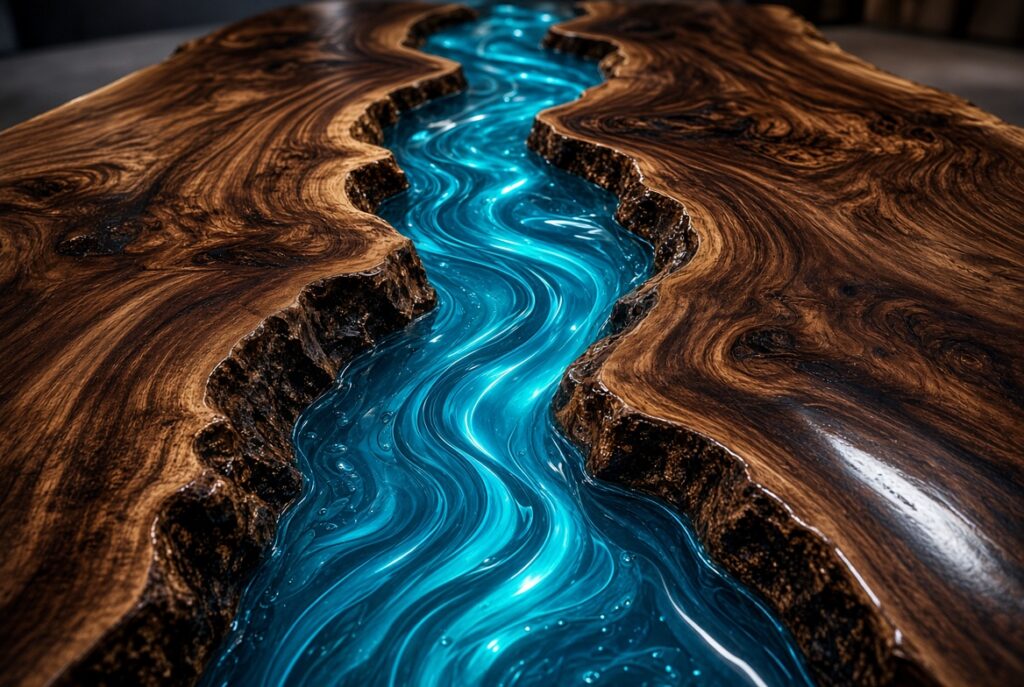
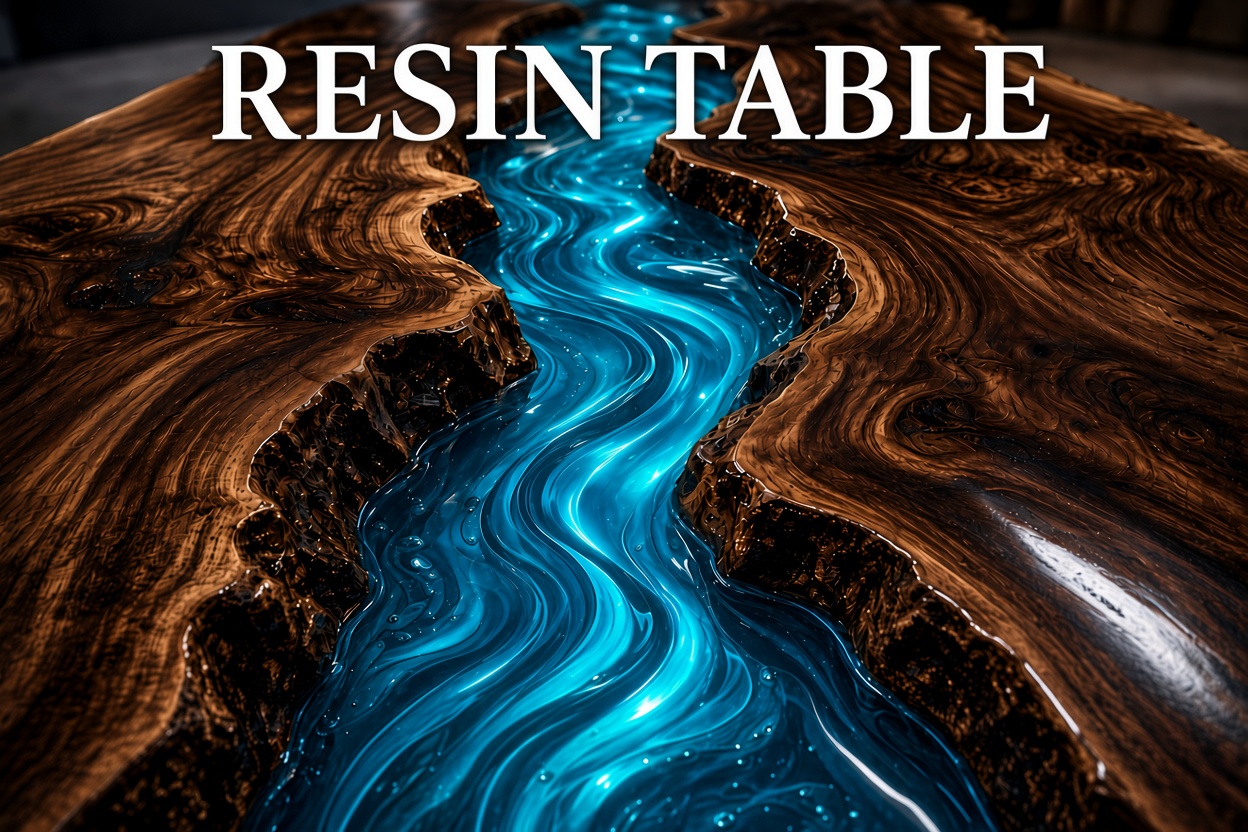
A wood and resin table lives or dies on one decision made long before any resin is mixed: which timber goes with which resin colour. Get the pairing right and the table looks inevitable, as if the river or the inlay could never have been any other shade. Get it wrong and even a perfect pour looks muddy. This guide focuses on that choice, plus the anatomy of a well-designed wood epoxy table, so you can plan a build or brief a maker with confidence.
If you are still deciding whether a resin table is right for your room at all, start with our epoxy table hub, which covers styles, sizes and costs. Here we go deeper into the design itself.
The anatomy of a wood and resin table
Every epoxy resin wood table, from a small side table to a ten-seater, is built from the same five elements. Thinking about each one separately makes the design easier.
- The slabs – one or more boards, often with a natural live edge, that provide the structure and most of the visual warmth.
- The resin field – the poured area between or around the timber: a central river, a border, scattered voids or a full encasement.
- The edges – live edge, squared, chamfered or bevelled. The edge profile sets the tone from rustic to modern.
- The finish – oil, hardwax oil, a lacquer or a full flood coat of table-top epoxy. This decides sheen and how the timber colour reads.
- The base – steel, timber or a combination. It should echo the top, not compete with it.
Proportion matters more than any single feature. As a rule of thumb, a resin river that takes up between a quarter and a third of the table width looks balanced; much wider and the piece reads as a resin table with some wood, which is a different (and pricier) look.
Choosing timber: species and their character
Each species brings its own colour, grain and stability. Slab buying, grading and drying are covered in our guide to live edge slabs; here is how the common choices behave in a resin wood table.
| Timber | Colour and grain | How it ages | Notes for resin work |
|---|---|---|---|
| Walnut | Chocolate brown, purple-grey streaks, creamy sapwood | Tends to warm and lighten slightly | The classic choice; striking contrast with almost any colour |
| Oak | Honey to light brown, strong ray figure | Ambers gently under oil | Very stable once dry; tannins can react with steel fixings |
| Elm | Mid-brown with wild, interlocked grain | Warms gently | Spectacular figure; can move more, so dry thoroughly |
| Ash and olive ash | Pale cream; olive ash has dark brown streaks | Can yellow slightly | Suits pale, Scandinavian palettes |
| Maple and sycamore | Very pale, fine grain | Yellows slightly over time | Shows tinted resin true to colour |
| Spalted beech or burr timber | Black zone lines, swirling figure | Varies | Lots of voids to fill; stabilise soft areas first |
Our dedicated page on the walnut epoxy table covers that species in more detail, as walnut is by far the most requested timber for this style.
Pairing wood with resin colour
The secret to a great wooden resin table is contrast in value (light against dark) and harmony in temperature (warm against cool). A few pairings work again and again:
Dark timbers (walnut, smoked oak, bog oak)
- Translucent blue or teal – the classic river look; the dark wood frames the colour like a riverbank.
- Clear resin – lets the live edge show through the side of the table; see our clear epoxy table guide.
- Opaque white or pearl – modern and graphic, especially with squared edges.
- Black with metallic mica – moody and dramatic; suits restaurant and bar spaces.
Mid-tone timbers (oak, elm, cherry)
- Smoky grey or charcoal translucent – lets the grain lead while adding depth.
- Deep green or emerald – complements the warm honey of oak beautifully.
- Ocean layering with white lacing – explored in our ocean epoxy table ideas.
Pale timbers (ash, maple, sycamore)
- Soft blues and aqua – coastal and calm.
- Black or deep navy – maximum contrast for a bold, modern look.
- Pastel opaque colours – playful in kitchens and children’s rooms.
Before committing, pour sample blocks. Mix a small batch, tint it in several strengths and cast it against an offcut of the actual slab, then oil the timber. Resin always looks different against oiled wood than against bare timber or in the cup. Our guide on how to colour epoxy resin explains pigment ratios, and translucent tints need far less colourant than you might expect.
Choosing the resin for a wood epoxy table
Most wood and epoxy tables need two kinds of resin:
- A deep pour casting resin for the river or voids, poured in thick layers (often 25–50 mm or more per pour, depending on the product) with a slow cure to limit heat. Read our deep pour epoxy guide for depth limits and timings.
- A table-top or coating resin for sealing the slab before the main pour and, optionally, for the final flood coat.
Our comparison of the best epoxy for a river table explains what to look for on data sheets: maximum pour depth, peak exotherm, yellowing resistance and hardness. If the table will sit in a sunny room, a formula with UV stabilisers will keep clear and pale colours fresher for longer; see UV-resistant epoxy resin.
Why moisture content matters
Resin does not move with the seasons; timber does. If a slab is too wet when poured, it shrinks as it dries in a heated home, and the resin either pulls away from the wood, cracks or causes the top to cup. For indoor furniture in the UK, slabs are typically dried to around 8–12% moisture content, and ideally rested in a similar environment to the final room before work starts. Always check with a pin or pinless moisture meter in several places, including the middle of the board.
If you want to understand why wood moves, the Wikipedia article on wood drying, equilibrium moisture content and shrinkage explains it clearly, including why boards shrink more across their width than along their length.
Design choices that change the look
River, border or inlay?
A central river is the best-known layout, but it is not the only one. A resin border around a single slab gives a cleaner rectangle; filled voids and cracks keep the table looking mostly timber; and an off-centre river often looks more natural than a perfectly symmetrical one. Our river table page covers the full range of river shapes.
Edges and profiles
A live edge on the outer sides keeps the organic feel, while squared outer edges with the live edge kept only along the river create a more architectural piece. A small chamfer on the underside makes even a thick top look lighter.
Finish
A hardwax oil gives a natural, satin feel and is easy to repair, though the resin areas will need separate polishing. A full epoxy flood coat gives a deep, glassy and wipe-clean surface that suits dining and café use, but scratches are harder to repair invisibly. Many makers polish the resin areas to a high gloss and then finish the whole top in a satin oil or lacquer so the sheen is consistent.
Base
Black powder-coated steel in U, trapezoid or X shapes suits most resin and wood tables. Timber trestles suit rustic pieces. Whatever you choose, make sure the base is fixed with slotted holes or buttons that allow the top to move slightly across its width.
Typical costs
Costs vary widely with size, timber and resin volume. As broad guides, a DIY coffee table typically needs £300–£800 ($380–$1,000) in slab, resin and finishing materials, while a DIY dining table can typically need £900–£2,500 ($1,100–$3,200) or more. Commissioned tables cost considerably more because of the hours involved in flattening, pouring, curing and finishing. For UK dining tables specifically, see our guide to the resin dining table in the UK.
Watch it being made
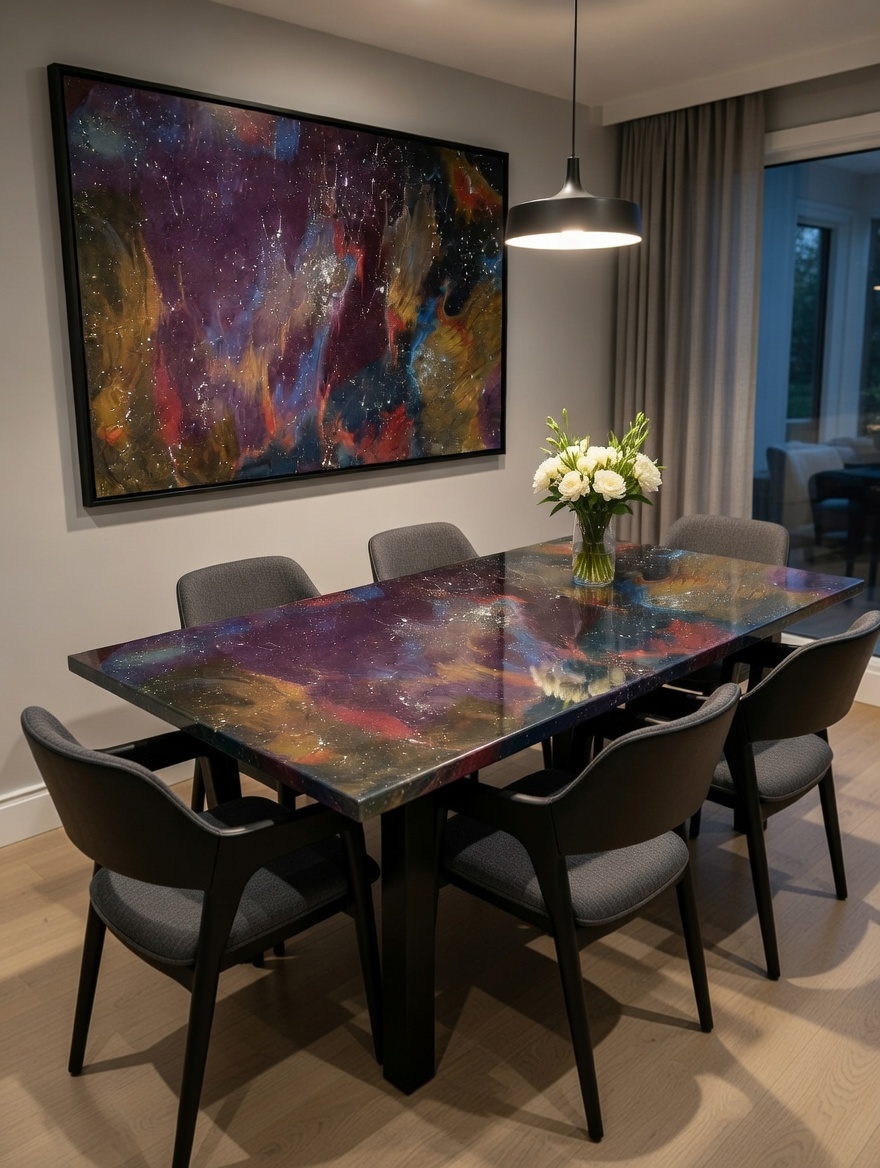
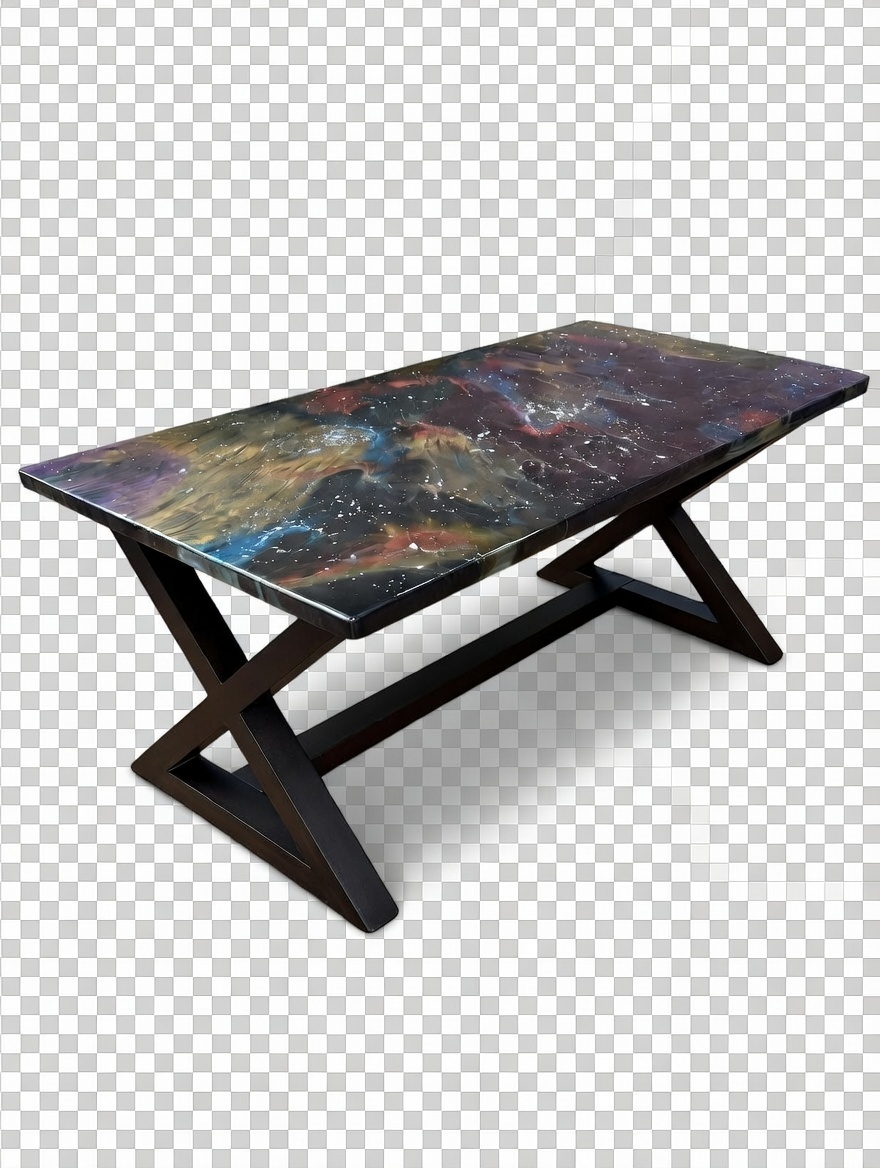
See one of our tables come together in the workshop: a nebula resin top with fibre optic stars, from the first pour to the lights going on.
Resin art nebula resin table with fibre optic art. More builds on the Go Bespoke YouTube channel.
Frequently asked questions
What is the best wood for a wood and resin table?
Walnut is the most popular because its dark tone contrasts with almost any resin colour, but oak, elm, ash and maple all work well. The most important factor is not species but dryness: a properly dried, stable slab matters more than the type of tree.
Can you put epoxy on a wooden table you already own?
Yes, you can apply a flood coat of table-top epoxy to an existing wooden table, but the old finish must be fully removed or thoroughly sanded so the resin can bond. Oily or waxed surfaces cause poor adhesion and fish-eyes. Seal the wood with a thin coat first to stop bubbles rising from the grain.
Do wood and resin tables crack?
They can if the timber was too wet, if the resin was poured too deep for its formula, or if the base restricts wood movement. Dry timber, the right deep pour resin and a base that allows movement prevent most cracking.
Are epoxy wood tables heat resistant?
Cured epoxy softens at relatively low temperatures compared with stone or glass, so hot pans and dishes can mark it. Always use mats and trivets for hot items.
How do you clean a resin and wood table?
Wipe with a soft damp cloth and mild washing-up liquid, then dry. Avoid abrasive pads, solvent cleaners and furniture polishes containing silicone, which can make later repairs difficult.
Planning a one-off wood and resin table for your home? Get in touch with Go Bespoke to talk through timber, colour and size for a bespoke commission.