Epoxy Resin for Beginners: Everything You Need to Start
Updated 9 October 2026
Starting out with epoxy resin for beginners can feel overwhelming: there are dozens of kits, hundreds of videos, and plenty of conflicting advice. The good news is that you need far less than you think to make something beautiful, and most early mistakes are avoidable once you know what they are. This page is a roadmap: what to buy, how to set up a small workspace, which projects to tackle first, and how to move up to bigger pieces like tables.
It deliberately does not repeat the technical detail of measuring, pot life and cure stages. When you are ready to pour, keep our practical guide on how to use epoxy resin open alongside this one.
Epoxy resin for beginners: what it is and why it is worth learning
Epoxy resin is a two-part liquid plastic that cures into a hard, glassy solid. It can coat a surface, fill gaps in timber, preserve objects and carry colour in ways that paint cannot. That versatility is why one skill opens the door to coasters, jewellery, wall art, trays and eventually furniture. At Go Bespoke we are a London workshop that builds resin and fibre optic tables and films the builds for YouTube, and every one of those techniques starts with the same basics covered here.
Your starter shopping list
A sensible first setup typically costs around £50–£120, depending on the size of kit and how many moulds you buy.
Essentials
- A small resin kit: 500 ml to 1 litre of a clear coating or art resin with a simple 1:1 ratio.
- Nitrile gloves: a full box, as you will change them often.
- Graduated mixing cups and stirring sticks: silicone cups are reusable.
- Silicone moulds: two or three simple shapes such as coasters or a tray.
- Safety glasses and a respirator with organic vapour cartridges if your space is not well ventilated.
- A heat gun or small torch for popping bubbles.
- A level surface and a dust cover: a large plastic storage box upside down works well.
Nice to have
- Mica powders and a few liquid pigments (see mica powder for resin).
- Digital scales accurate to 1 g.
- Wet-and-dry sandpaper from 400 to 2000 grit for finishing edges.
- Silicone mat and plastic sheeting to protect your table.
Choosing epoxy resin kits for beginners
Resin kits for beginners vary widely, and the label matters more than the brand name. Look for:
- A 1:1 mix ratio by volume: the easiest to measure accurately.
- A clear maximum pour depth: art and coating resins usually suit layers of a few millimetres; anything deeper needs a casting resin.
- A moderate working time: 30–45 minutes gives you time without rushing.
- Low odour and UV stabilisers: helpful indoors and for pieces that sit near a window.
- A data sheet or clear instructions: a reputable product tells you the cure temperature and times.
Epoxy resin art kits for beginners that bundle moulds and pigments can be good value, but check the resin volume: some include very little. Our guide to choosing an epoxy resin kit compares kit types in more depth.
Setting up a beginner workspace
You do not need a workshop, but you do need a space you can control for a few days.
- Warmth: a room that stays at about 20–25 °C day and night. Unheated garages in winter are the enemy of clear resin.
- Ventilation: an open window or extractor fan, without strong drafts blowing dust onto the surface.
- A level table: check with a spirit level, because resin will find every slope.
- Protection: cover the table and floor; cured drips are hard to remove.
- Pets and children out: curing pieces need to be left undisturbed and out of reach.
How to start resin art: five first projects
Each of these builds a specific skill, so working through them in order is a good way to learn.
- Clear coasters. Teaches accurate measuring, slow mixing and bubble removal with no distractions.
- Coloured or marbled coasters. Adds pigments, mica and simple swirling. Our guide on how to colour epoxy resin explains how much pigment to use.
- Pressed-flower bookmark or coaster. Introduces embedding and layering. Read our step-by-step guide to preserving flowers in resin first.
- A small serving tray or wall panel. Practise flood coats over a larger area and working with cells and lacing, the foundations of epoxy resin art.
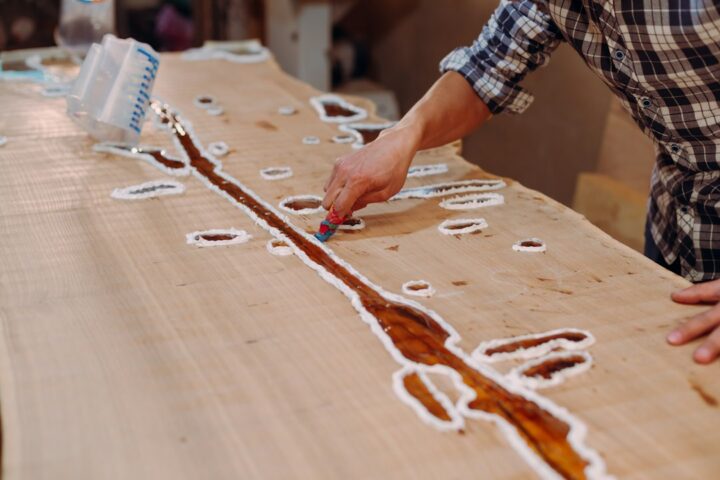
- A chopping-board-sized wood and resin piece. A small offcut with a crack or live edge filled with resin is a miniature table and teaches sealing, sanding and polishing epoxy resin.
Common beginner mistakes
- Guessing the ratio. Resin is chemistry, not baking by eye. Measure every time.
- Mixing too fast or too briefly. Whipping adds bubbles; under-mixing leaves sticky spots. Stir slowly for at least three minutes and scrape the cup.
- Pouring too deep. Art resin poured several centimetres thick can overheat, crack and yellow.
- Working in the cold. Cold resin is thick, cloudy and slow to release bubbles.
- Using the wrong colourants. Acrylic paint, food colouring and anything water-based can stop resin curing properly.
- Demoulding too soon. Wait for the full time on the label; soft resin bends and marks.
- Skipping protection. Skin sensitisation is real and permanent. Gloves every time, and no bare-handed wiping.
- Buying a huge kit first. Start small, learn the behaviour of one product, then scale up.
A realistic learning path
Epoxy resin for beginners is best learned in short, repeated sessions rather than one ambitious weekend. A sensible pace looks something like this:
- Weeks 1–2: three or four batches of coasters, changing one thing at a time (colour, mould, temperature) so you can see what each change does.
- Weeks 3–4: embedding and layering, plus your first sanding and polishing of edges.
- Month 2: a tray, panel or small wood-and-resin piece with a seal coat and a flood coat.
- Month 3 onwards: a side table or larger art piece once your small pours are consistently clear.
Keep a simple notebook of each pour: product, ratio, room temperature, pigment amounts and what went right or wrong. It is the fastest way to stop repeating the same mistake, and it makes troubleshooting much easier when you compare results against the data sheet.
Moving up to bigger projects
Once small pieces come out clear and bubble-free, many people set their sights on furniture. That is a real step up: larger volumes, deep pour resin, sealing timber and building moulds. Our guide to pouring epoxy resin covers technique at scale, and the epoxy table guide walks through the whole process of a first table. If you want a sense of what to aim for, browse our epoxy table ideas.
Top 10 most-watched on YouTube
Video 1 of 10 — one of the most-viewed YouTube videos for “epoxy resin for beginners: everything you need to start”: EPOXY RESIN vs POLYMER CLAY || Awesome DIY Jewelry and Cute Crafts by 5-Minute Crafts (15,729,535 views as of 13 October 2026).
Before your first pour, read the Health and Safety Authority’s epoxy resins information sheet. It explains why skin contact is the main route to dermatitis and sensitisation, and why gloves and eye protection matter from day one.
Watch it being made
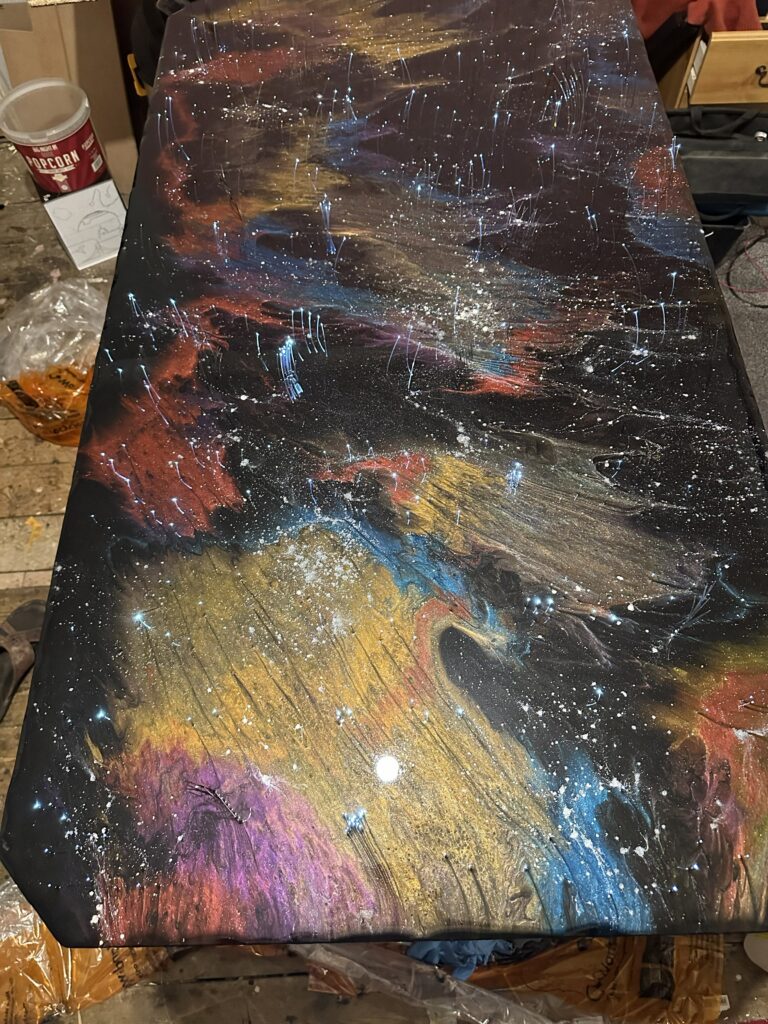
Watch our first light-up resin table being made in the workshop, with dragons and creatures appearing in the resin art, and the colours, pours and finishing shown step by step.
Resin Art Dragons and creatures in resin art table My First Light-Up Resin Table. More builds on the Go Bespoke YouTube channel.
Frequently asked questions
Is epoxy resin for beginners difficult to learn?
Not for small projects. The basics are measuring precisely, mixing slowly and working in a warm room. Most beginner failures come from skipping one of those three.
What is the best epoxy resin kit for beginners?
Look for a clear coating or art resin with a 1:1 ratio, a working time of around 30–45 minutes, UV stabilisers and clear instructions, in a 500 ml to 1 litre size.
What should my first resin project be?
Clear coasters in a silicone mould. They are small, cheap and teach measuring, mixing and bubble removal before you add colour or inclusions.
Is epoxy resin safe to use at home?
It can be used safely at home with nitrile gloves, eye protection and good ventilation, and a respirator for larger pours or small rooms. Keep children and pets away while it cures.
How much does it cost to start resin art?
A basic starter setup typically costs around £50–£120, covering a small kit, moulds, gloves, cups and a heat tool.
Follow along with real builds on the Go Bespoke YouTube channel, where we film everything from small pours to full fibre optic tables.