How to Polish Epoxy Resin
Updated 9 October 2026

Learning how to polish epoxy resin is the step that turns a hazy, scratched slab into something that looks like still water. Cured resin straight from the mould, or freshly flattened with a router, has a frosted surface that hides the colour and depth underneath. Polishing removes those scratches in a careful sequence until light passes cleanly through and reflects back without distortion.
The good news is that the process is methodical rather than mysterious. Like most epoxy resin techniques, it rewards patience far more than expensive kit, and once you understand why each stage exists you can rescue almost any dull surface. This guide covers grit progression, wet sanding, compounds, buffing pads and how to choose between a satin and a high-gloss result.

Why cured resin needs polishing at all
Every abrasive leaves scratches. The trick is that each finer grit replaces the scratches of the previous one with smaller ones, until they become too fine for the eye to see. A router bit, a scraper or a coarse disc leaves deep furrows that scatter light, which is why a flattened top looks milky. Polishing is simply the controlled shrinking of those furrows.
Resin heats up quickly under a machine, and heat can soften the surface and smear compound into swirls, so keeping things cool and clean is half the job.
The grit progression for how to polish epoxy resin
Sanding grits are the backbone of the whole process. Start with the coarsest grit needed to remove the worst defect, and never skip more than one step, otherwise deep scratches survive into the final shine. A typical progression for a flattened table top looks like this:
- 80 to 120 grit: only for levelling high spots, drips or router ridges. Skip this if the surface is already flat.
- 180 to 240 grit: removes the coarse scratches and evens out the whole surface.
- 320 to 400 grit: the last dry stage for most people, leaving a uniform matt sheen.
- 600, 800 and 1000 grit: switch to wet sanding here, and the resin starts to look translucent.
- 1500, 2000 and 3000 grit: the refining stages. The surface becomes almost clear even before compound.
Between grits, wipe the surface and inspect it under a raking light, such as a torch held low and to one side. If you can still see scratches running in the direction of the previous grit, keep going. Light pencil marks across the surface are a useful check: once they vanish, that grit is done.
Wet sanding without the mess
From around 600 grit upwards, wet sanding gives a far better result. Water carries away the fine slurry, stops the paper clogging and keeps the surface cool. Use waterproof abrasive discs on a random orbital sander with a soft interface pad, or work by hand with a foam block for small pieces.
A spray bottle of water with a drop of washing-up liquid is all you need. Keep the surface damp rather than flooded, and make sure no water reaches exposed timber edges, end grain or any electrical parts. On lit furniture, unplug everything and cover openings before you begin. Wipe the slurry off with a microfibre cloth regularly so you can see what is happening.
How to polish epoxy resin with compounds and pads
Once the surface is uniformly refined at 2000 or 3000 grit, compound does the final work. Polishing compounds are liquid or paste abrasives that get finer as they break down. Most finishers use two stages: a cutting compound to remove the last sanding marks, then a finishing polish for clarity and depth.
Pair each compound with its own pad, because cross-contamination drags coarse particles into the final stage. Firmer foam or wool pads cut faster, while soft foam pads refine. Run the polisher at a low to moderate speed, apply a few pea-sized dots of compound, spread it before switching on, and work in overlapping passes across a small area at a time. Let the pad do the work and keep it moving to avoid heat build-up.
When the compound turns clear and starts to dry, wipe it away with a clean microfibre cloth and check the surface under strong light. A second pass is common, especially on dark colours, which show every swirl.
Matt, satin or gloss: choosing your finish
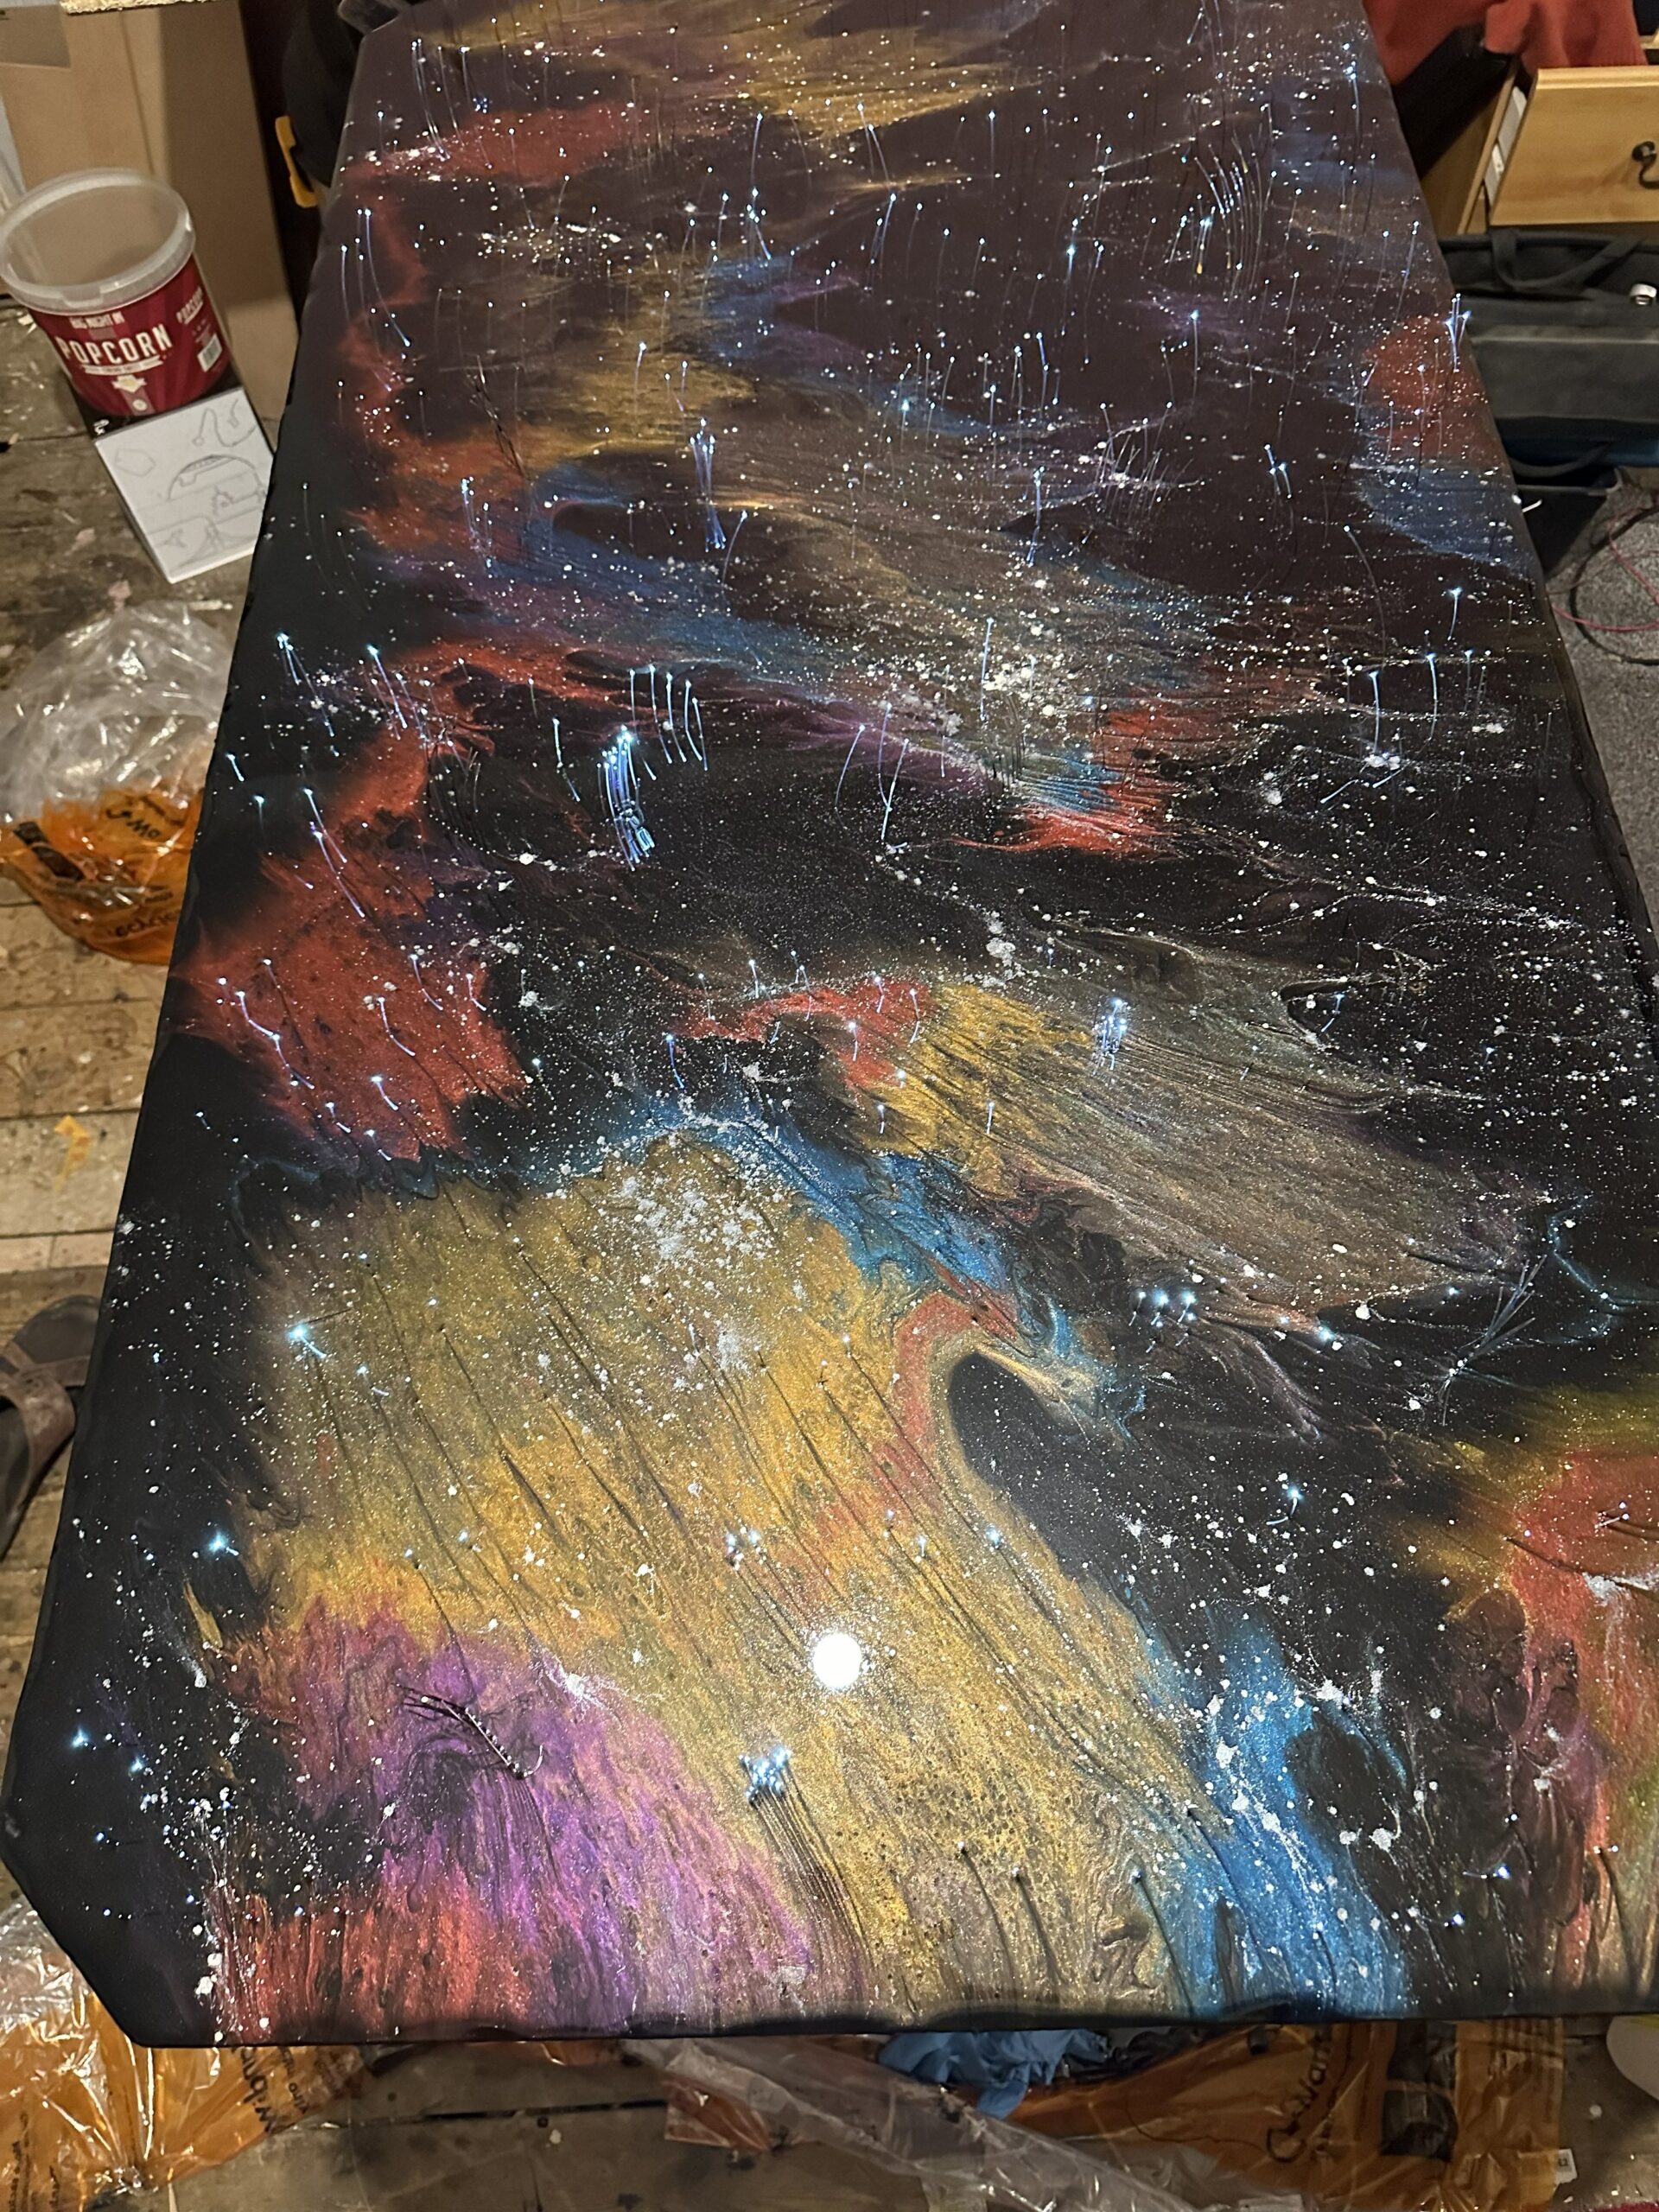
Not every piece should be polished to a mirror. A high gloss shows off depth, colour, fiber optic stars and objects embedded in resin beautifully, but it also shows fingerprints and fine scratches from everyday use. A satin finish hides wear and feels softer to the touch, which suits dining tables and desks.
For a matt or satin look, simply stop at a chosen grit. Stopping at 400 to 600 grit gives a soft matt surface, while 1000 to 1500 grit gives a gentle satin glow. You can then seal it with a hard-wearing satin topcoat or a hard wax oil if the maker of your resin recommends one. For full gloss, carry on through every stage and finish with compound. Some makers prefer to skip polishing entirely and apply a fresh flood coat instead, as in our table top epoxy how to guide, but understanding how to polish epoxy resin gives you a repair skill for life.
Safety and workshop tips
Resin dust is fine and irritating, so dry sanding should always be done with dust extraction, a well-ventilated space and a properly fitted dust mask or respirator. Wear nitrile gloves when handling compounds, and eye protection when using a rotary polisher. Some compounds have a strong smell, so open the windows.
- Fully cure the resin first. Follow the manufacturer’s cure time, and sand later rather than sooner.
- Change discs frequently. A worn disc polishes unevenly and creates heat.
- Clean thoroughly between grits so a single stray coarse particle cannot scratch the surface.
- Work the edges by hand, as machines can burn through a thin layer on corners.
Getting a mirror finish depends on working through the grits in order, and Bob Vila’s guide to sandpaper grit numbers explains the CAMI and FEPA P scales and how to step from coarse to fine without leaving scratches behind.
Frequently asked questions
Can I polish epoxy resin by hand without a machine?
Yes, for coasters, jewellery, small art pieces and the serving board in our epoxy resin tutorial, hand polishing works well. Use wet-and-dry paper wrapped around a foam block, follow the same grit order and finish with a polishing compound on a soft cloth. It is slower, but you have excellent control.
Why does my resin still look cloudy after compound?
Cloudiness after compound usually means scratches from an earlier grit are still there, or the compound pad is contaminated. Go back one or two grits, sand evenly, clean everything and polish again with fresh pads.
How do I restore an old resin table that has lost its shine?
Clean it, then start wet sanding at around 1000 to 1500 grit for light wear, or lower for deeper scratches. Work back up through the grits and compound it. Deep chips may need filling with fresh resin first.
Watch a resin finish come to life
Polishing is easier to understand when you can see the surface change from cloudy to clear. Our YouTube channel, @go-bespoke, shows our resin pieces being built and finished, including the moment a sanded top turns into a mirror.
Top 10 most-watched on YouTube
Video 1 of 10 — one of the most-viewed YouTube videos for “how to polish epoxy resin”: A Burning CIGARETTE in Epoxy Resin / RESIN ART by ResinWoodArt - jedrek29t (16,389,357 views as of 13 October 2026).
Want a glass-like finish on a piece you already own? Get in touch for a bespoke quote.