Live Edge Wood: Slabs, Furniture & Design Guide
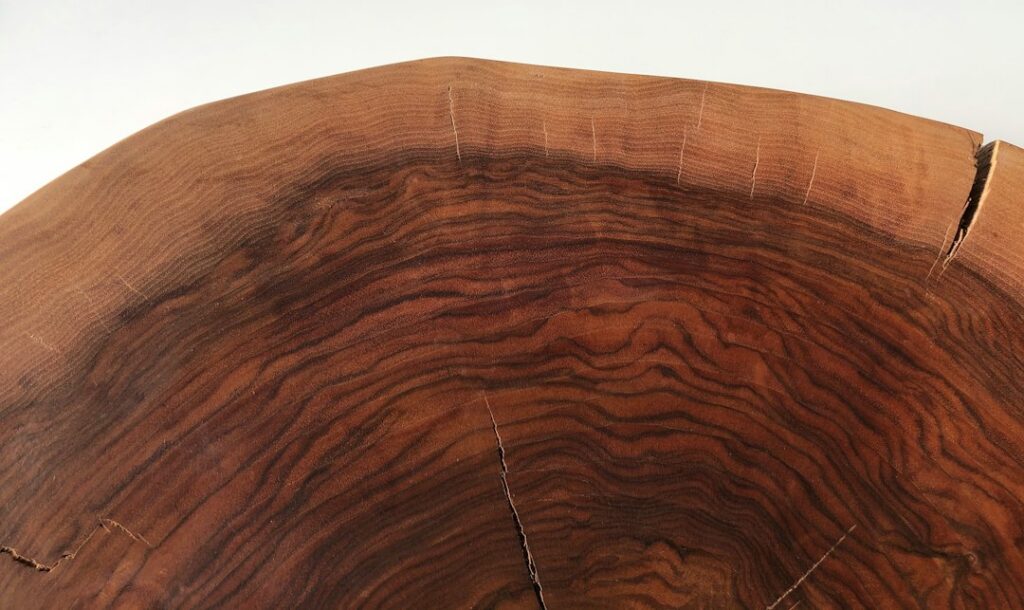
Few materials bring a room to life quite like a slab that still shows the outline of the tree it came from. Live edge wood keeps the natural, uncut edge of the trunk – the waves, burls, bark seams and sapwood stripe that a sawmill would normally square off – and turns it into the focal point of a table, shelf, bench or counter. This guide walks through everything we have learned working with slabs in the workshop: which species to choose, how slabs are cut and dried, the furniture they suit, how to finish them and how to look after them for decades.
Whether you are buying a single board for a weekend project, weighing up live edge furniture for a new dining room or thinking about commissioning a bespoke piece, the sections below will help you ask the right questions before any money changes hands.
What is live edge wood?
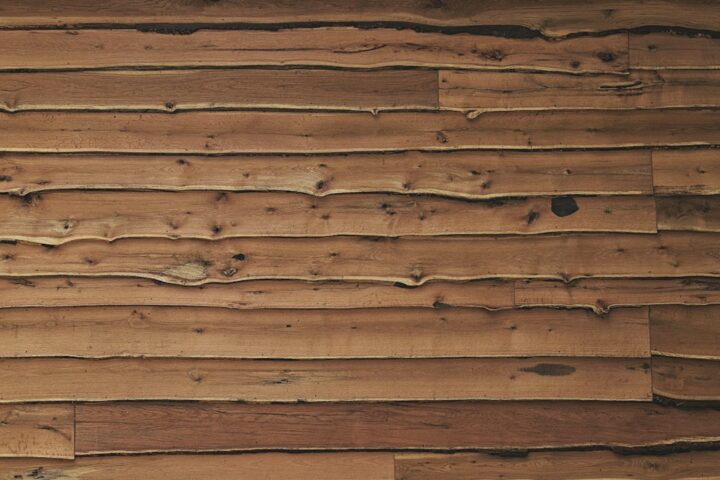
“Live edge” simply means that one or both long edges of a board follow the natural contour of the log rather than a straight saw cut. The slab is usually flat-sawn straight through the trunk, so each board carries the profile of the tree at that height. Depending on how it has been cleaned, the edge may keep its bark, show the pale sapwood layer underneath, or be wire-brushed back to firm, rippled timber.
The appeal is that no two pieces are the same. Knots, cracks, spalting (dark lines left by fungi before the wood dried), crotch figure where a branch splits off, and natural voids all become features rather than defects. That character is also why live edge woodworking needs a little more planning than working with machined boards: you are designing around what the tree gives you.
Slab, board or round?
- Slabs – wide, thick boards (typically 40–100 mm) cut along the length of the trunk. The classic choice for dining and coffee tables.
- Boards and planks – thinner (25–40 mm) pieces with one or two live edges, ideal for shelves, mantels and benches.
- Cookies or rounds – cross-sections cut across the trunk. Striking, but very prone to splitting as they dry, so they need careful handling.
- Bookmatched pairs – two consecutive slabs opened like a book so the grain mirrors along a centre joint, often with a resin river between them.
Choosing a species for live edge furniture
Species drives the colour, hardness, weight, price and how much movement you can expect. These are the timbers we see most often in UK and US workshops.
| Species | Colour and figure | Hardness | Best uses |
|---|---|---|---|
| Walnut (black or European) | Chocolate heartwood, creamy sapwood, rich figure | Medium-hard | Dining and coffee tables, desks |
| Oak (European, white, red) | Honey to light brown, medullary ray fleck | Hard | Dining tables, benches, mantels, counters |
| Elm | Warm brown, wild interlocking grain | Medium | Statement tables, river tables |
| Ash | Pale, straight grain, bold growth rings | Hard | Shelving, light-toned tables |
| Maple / sycamore | Very pale, sometimes spalted or figured | Hard | Contemporary pieces, desks |
| Cherry | Pinkish brown that darkens with light | Medium | Side tables, consoles |
| Olive and burl woods | Dense, swirling, high contrast | Very hard | Small tables, boards, accent pieces |
Walnut is the most requested species for good reason: it machines cleanly, takes a finish beautifully and pairs well with both black steel and coloured resin. If you are drawn to that look, our walnut epoxy table guide shows how the dark heartwood plays with clear and tinted pours. Oak is the hard-wearing choice for busy family tables, while elm offers the most dramatic edges and is a favourite for river designs.
Questions to ask about any slab
- What species and where was it grown? Local, storm-felled or urban timber often has the most character.
- How was it dried, and what is its current moisture content?
- Is it flattened, or still rough-sawn with twist and cup?
- Are there cracks, ingrown bark or voids – and are they stable?
- Has any insect activity been treated (kiln drying normally deals with this)?
How slabs are milled and dried
Large slabs are usually cut with a chainsaw mill or a wide band mill straight after felling. Green timber can hold well over its own dry weight in water, and all of that has to leave slowly and evenly or the slab will split, cup or check.
Air drying
Freshly cut slabs are stacked flat on level bearers with spacer sticks (“stickers”) every 400–600 mm, ends sealed with wax or a dedicated end-grain sealer, and kept under cover with good airflow. The old rule of thumb is roughly one year per inch (25 mm) of thickness, so a 75 mm slab may spend around three years air drying. In the UK climate, air drying will only take timber down to about 15–20% moisture content.
Kiln drying
Indoor furniture needs to sit at a moisture content close to the room it will live in – typically around 8–12% for a centrally heated home. Kiln drying finishes the job in a controlled way and also kills insects and larvae. Ask for a moisture meter reading on any slab you buy; if a seller cannot give one, assume it needs more time.
Flattening
Even well-dried slabs move. Before finishing, they are flattened with a router sled or a wide-belt sander, then sanded through the grits (typically 80, 120, 180, 240 and sometimes higher for oil finishes). Allow the slab to acclimatise in the room where it will be worked for at least a couple of weeks before final flattening.
Live edge wood furniture: what works best
Almost any flat surface can be made from a natural-edged board, but some pieces suit the material better than others.
Dining tables
The flagship piece. A single wide slab, a bookmatched pair or a slab with a resin river can seat four to ten people. Thickness of 45–60 mm feels substantial without being unmanageable, and steel trapezoid, U-shaped or X-shaped legs keep the focus on the top. For the resin route, see our guides to the live edge epoxy table and the classic river table.
Coffee and side tables
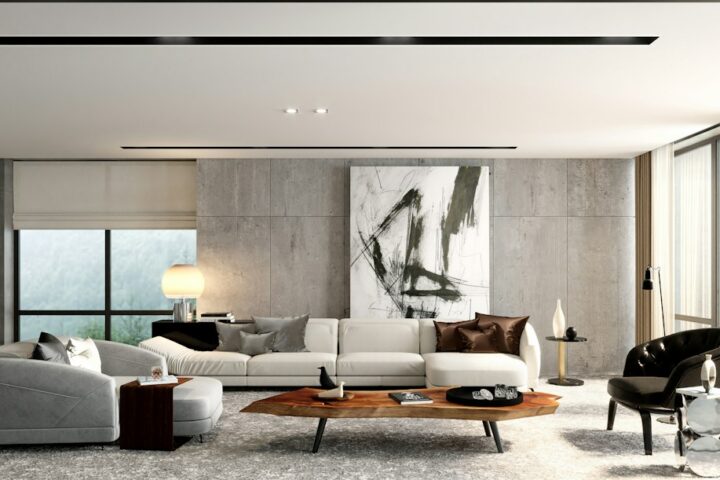
Shorter offcuts, crotch sections and burls make excellent coffee tables because their wild figure can be appreciated up close. Hairpin legs or a solid slab base suit a low, chunky top. Our resin coffee table guide covers the options if you want to fill voids or add colour.
Shelves, mantels and benches
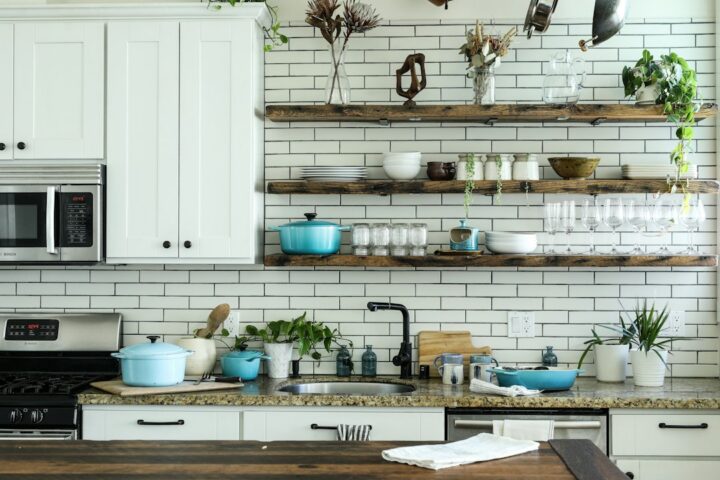
Floating shelves with a natural front edge are one of the easiest ways to bring the look into a home. Use concealed steel shelf brackets rated for the load and keep boards to 40–50 mm thick so the fixings can reach deep enough. Benches work well with a single live edge facing outwards and a sawn edge against the wall or table.
Desks, counters and bar tops
Hardwood slabs make superb desks and breakfast bars. For kitchens, the finish matters more than the species – a heat- and water-resistant coat is essential. Our bar top epoxy guide explains how a flood coat protects a counter, and the epoxy countertops hub covers the wider picture.
Working with live edge: practical tips
Live edge woodworking is forgiving in some ways – nobody expects a perfectly straight line – and demanding in others. These are the steps that make the biggest difference.
- Remove loose bark. Bark tends to separate as wood dries. Most makers pry it off with a blunt chisel and clean the edge with a nylon or brass wire brush, keeping the ripples of the cambium layer underneath.
- Stabilise cracks. Fill cracks and checks with epoxy so they cannot grow, and add butterfly (bowtie) keys across any crack that runs towards an end. Our guide to epoxy wood filler covers mixing, tinting and sanding back.
- Fill voids. Knot holes and bark inclusions can be flooded with clear or black resin. Tape the underside, seal the surrounding wood with a thin coat first to reduce bubbles, and pour in layers within the product’s depth limit.
- Allow for movement. Wood expands and contracts across its width with the seasons. Fix tops to bases with slotted holes, figure-eight fasteners or Z-clips, never rigid glue across the grain.
- Sand the edge by hand. Use flexible sanding sponges and abrasive brushes on the live edge so you do not flatten its texture.
- Wear protection. Fine hardwood dust is a respiratory irritant and some species are sensitisers. Use extraction, a fitted dust mask or respirator, and gloves when handling resin.
If you want to follow a full build from rough slab to finished piece, our step-by-step how to make a live edge table guide covers flattening, filling, legs and finishing in detail.
Finishing options
The finish decides how the piece looks, feels and wears. There is no single best option – it depends on use.
| Finish | Look and feel | Durability | Maintenance |
|---|---|---|---|
| Hardwax oil | Natural, low sheen, tactile | Good; water-resistant once cured | Easy spot repairs, re-oil every 1–3 years |
| Penetrating oil (Danish, tung) | Warm, close to bare wood | Moderate | Frequent top-ups |
| Polyurethane / lacquer | Satin to gloss film | High scratch and water resistance | Harder to spot repair |
| Epoxy flood coat | Deep, glassy, wet look | Very water-resistant; can scratch and is not highly heat-resistant | Polish out light scratches |
Epoxy is popular on tables with resin rivers or filled voids because it unifies the surface. If you go that way, read our guides to table top epoxy and epoxy sealer for wood first – a thin seal coat before the flood coat is the single best defence against bubbles rising out of open grain.
Combining natural edges with resin and light
Natural slabs and resin are a natural pairing. The irregular edge creates a shoreline for a resin river, voids can become glowing pools, and bark seams can be filled with coloured or metallic pours. Some of our favourite pieces combine walnut or elm with deep blue resin for an ocean epoxy table look, or add embedded light for a fibre optic resin table that glows after dark.
If you are new to resin, the epoxy resin hub explains the different types – coating, casting and deep pour – and which suits filling, coating or a full river.
Caring for live edge pieces
- Keep humidity steady. Aim for a room humidity of roughly 40–60%. Avoid placing pieces right next to radiators, wood burners, underfloor heating hot spots or in direct, all-day sunlight.
- Use coasters and mats. Hot pans and wet glasses are the main enemies of any finish.
- Clean gently. A damp cloth with a drop of mild washing-up liquid, then dry. Avoid silicone polishes, which make future refinishing difficult.
- Refresh oil finishes. When the surface starts to look dry or water stops beading, clean and apply a thin maintenance coat.
- Check the edge. Dust collects in the ripples – a soft brush keeps it looking crisp.
- Watch for movement. A small hairline crack in the first winter is not unusual; it can usually be filled. Large, growing cracks suggest the slab was not dry enough.
Costs: what to expect
Prices vary widely with species, size, figure and drying method, so treat these as broad ranges only.
- Rough, air-dried slabs – typically £150–£800 ($200–$1,000) for a table-sized piece of a common hardwood; exceptional walnut, elm burr or wide oak can cost far more.
- Kiln-dried, flattened slabs – typically 30–60% more than rough timber because of the drying and machining time.
- Finished shelves and mantels – typically £80–£400 ($100–$500) each depending on length and species.
- Bespoke dining tables – typically from around £1,500 ($2,000) for a simple oak or ash top to several thousand for wide walnut or resin river designs.
Custom live edge furniture costs more than mass-produced pieces because each slab has to be selected, dried, flattened and finished individually, and because the best slabs are genuinely scarce. You can browse our custom epoxy tables page and the river tables for sale guide to see how size and species affect price.
Buying tips
- See the slab in person or ask for photos of both faces, both edges and both ends.
- Ask for a moisture reading taken on the day.
- Check for twist by sighting along the length – some flattening loss is normal, so buy a little thicker than your target.
- Budget for finishing, legs and delivery; large slabs are heavy and may need two or three people to move.
- If buying a finished piece, ask how the top is attached to allow for seasonal movement.
Slabs have to be dried properly before they become furniture. Wikipedia’s guide to wood drying covers moisture content, air and kiln drying and the common defects that cause cracks and warping in live edge timber.
Watch it being made
See one of our tables come together in the workshop: a nebula resin top with fibre optic stars, from the first pour to the lights going on.
Resin art nebula resin table with fibre optic art. More builds on the Go Bespoke YouTube channel.
Frequently asked questions
What does live edge mean?
It means the edge of the board follows the natural outline of the tree trunk instead of being sawn straight. The bark is usually removed, but the shape, sapwood and texture of the outer trunk are kept as a design feature.
What is the best wood for live edge tables?
Walnut is the most popular for its colour and workability, oak for durability, and elm for dramatic grain and edges. The best choice depends on the look you want, the room’s use and your budget rather than one species being best overall.
How long does a slab need to dry?
Air drying takes roughly one year per 25 mm of thickness, then kiln drying or acclimatising indoors brings it down to around 8–12% moisture content for use in a heated home. Always check with a moisture meter rather than relying on age alone.
Do you leave the bark on live edge wood?
Usually not. Bark tends to loosen as the wood dries and can harbour insects, so most makers remove it and wire-brush the edge. If you want to keep it, it must be well attached and sealed with thin epoxy or a penetrating finish.
How do you stop live edge slabs from cracking?
Dry them slowly with sealed ends, bring them to the right moisture content before working, stabilise existing cracks with epoxy or butterfly keys, and attach the top so it can move freely across its width.
Thinking about a dining table, desk or shelf built around a slab you will love for decades? Get in touch with the Go Bespoke workshop to talk through species, sizes and finishes for a bespoke commission – or watch our builds on the Go Bespoke YouTube channel.
All guides in this section
- Live Edge Coffee Table: Styles, Woods & Buying TipsLive edge coffee table buyer's guide: slab vs cookie styles, best woods, sizes, legs and bases, plus with or without resin.
- Live Edge Dining Table: Woods, Sizes & Bespoke OptionsChoosing a live edge dining table: best woods, sizes for 4–10 seats, base styles, finishes and typical UK/US prices, plus bespoke commission…
- Live Edge Shelves: 25 Ideas for Kitchens & Living Rooms25 live edge shelves ideas for kitchens, living rooms, corners and bathrooms, with wood choices, sizes, finishing and styling tips.
- Live Edge Slabs: Species, Drying & What to Look ForLive edge slabs explained: popular species, kiln vs air drying, the moisture content to aim for, defects to check and how slabs…
- Live Edge Table: How to Choose the Right Slab TableChoosing a live edge table? Compare slab and river styles and timbers, check moisture, cracks and bark, and learn what really drives…