Resin Crafts: 50+ Projects, Supplies & Beginner Tips
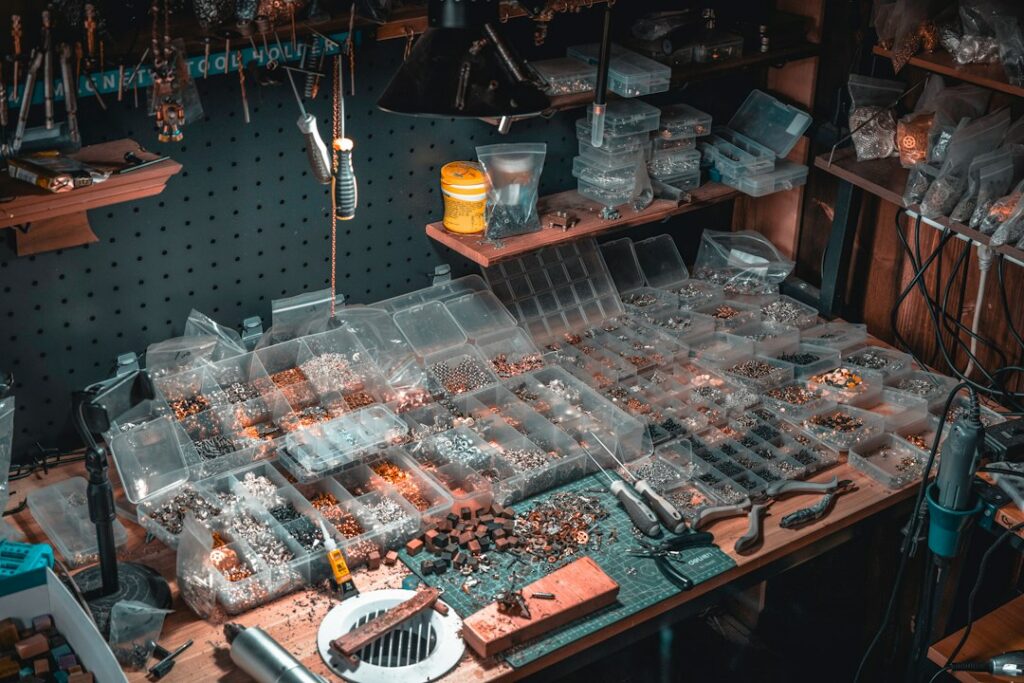
Resin crafts are one of the most rewarding ways to start making things at home. With a small kit, a few silicone moulds and a well-ventilated corner of the kitchen table, you can turn out coasters, pendants, keyrings, trinket trays and wall clocks that look like they came from a gallery shop. The same chemistry we use in the workshop for full-size tables works at a much smaller scale, and small pieces are cheap, quick and forgiving, which makes them the ideal place to learn.
This guide is the starting point for everything small-scale on Go Bespoke. It covers what resin crafts actually involve, which resin to choose, the kit you need, a difficulty ladder of more than 50 projects, safety, finishing and the mistakes that catch out nearly every beginner. If you are brand new to the material, read our epoxy resin for beginners guide alongside it.
What are resin crafts?
Resin crafts are small decorative or useful objects made by mixing a liquid resin with a hardener, colouring it or adding inclusions, and pouring it into a mould or onto a surface where it cures into a hard, glass-like solid. Most people mean two-part epoxy when they talk about epoxy crafts, but UV-curing resin is popular for jewellery, and some makers use polyurethane casting resins for fast production pieces.
What makes crafting with epoxy so appealing is control. You can suspend dried flowers, glitter, wood offcuts or photographs inside the resin; swirl pigments to imitate agate, marble or the sea; and sand and polish the cured piece to a deep gloss. If you want the background chemistry, our explainer on epoxy resin covers how the two parts react and why ratios matter.
Choosing the right resin for crafts
Using resin for crafts starts with matching the resin to the job. Three types cover almost every small project:
| Resin type | Typical pour depth | Working time | Best for |
|---|---|---|---|
| Coating / art epoxy (often 1:1) | 3–6 mm per layer | 20–45 minutes | Coasters, trays, doming over prints, resin art panels |
| Casting epoxy (often 2:1 or 3:1) | 10–50 mm per pour, depending on product | Several hours | Paperweights, spheres, chunky keyrings, small blocks |
| UV resin (single part) | 1–3 mm per layer | Until exposed to UV light | Jewellery, bezels, small repairs, sealing charms |
Always follow the depth limit on the bottle. Pouring a coating epoxy too thick is the single most common cause of overheating, cracking and yellowing in small casts. For a detailed look at light-cured resin, see our UV resin guide, and if clarity matters most (for flowers or embedded photos), our guide to clear epoxy resin explains what to look for on a label.
The basic resin craft kit
You do not need much to begin, but a few items make the difference between frustration and clean results. A ready-made resin art kit is a sensible shortcut, provided it includes enough resin to practise with. Either way, aim for:
- Resin and hardener – 500 ml to 1 litre total is plenty for a dozen coasters or several jewellery sets.
- Graduated mixing cups – measure by volume or use digital scales if your resin specifies weight.
- Silicone stir sticks – reusable and less likely to whip in air than wooden lolly sticks.
- Silicone moulds – start with coasters, a tray and a pendant set. Our hub on resin molds explains shiny versus matte moulds and how to look after them.
- Colourants – mica powders, alcohol inks and resin-specific pigment pastes. Our mica powder guide covers shimmer effects.
- Nitrile gloves, safety glasses and a respirator with organic vapour cartridges if you work for long sessions or in a small room.
- A heat gun or small torch for popping surface bubbles.
- A level, dust cover and silicone mat or polythene sheet to protect your work surface.
- Sandpaper (120–3000 grit) and polishing compound for finishing edges.
Keep the room between roughly 20 and 25°C while you work and while the pieces cure. Cold resin is thick, traps bubbles and can cure soft or cloudy.
The resin crafts difficulty ladder: 50+ project ideas
The fastest way to improve is to climb in small steps. Each level below introduces one new skill. Pick two or three projects from a level, make them well, then move up.
Level 1: First pours (simple moulds, one colour)
- Clear coasters with a pressed leaf
- Single-colour pastel coasters
- Glitter keyrings
- Letter and initial keyrings
- Bookmarks with dried petals
- Fridge magnets (glue a magnet to the back once cured)
- Small trinket dishes
- Dice using a dice mould
- Cabochons for rings and cufflinks
- Drawer knobs (cast around a threaded insert)
Level 2: Colour and inclusions
- Pressed flower coasters in layers
- Geode-style coasters with crushed glass
- Ocean coasters with white lacing cells
- Marble-effect trays
- Agate slice coasters with gold leaf edges
- Wood and resin keyrings from offcuts
- Shell and sand pendants
- Glow-in-the-dark bracelets
- Ring dishes with gold flakes
- Earring sets in matching colourways
- Pen blanks for turning
- Christmas baubles and tree ornaments
Preserved flowers deserve special care because moisture causes browning; our guide to preserving flowers in resin explains how to dry them properly first. Colour-mixing techniques are covered in depth in how to colour epoxy resin, and luminous projects are covered in our glow-in-the-dark epoxy guide.
Level 3: Larger moulds and layered pours
- Serving trays with handles
- Rolling trays and desk trays
- Jewellery boxes with lids
- Candle holders and tea-light cups
- Plant pots and succulent planters
- Bookends
- Phone stands
- Paperweights with suspended objects
- Resin spheres
- Pyramids and obelisks
- Photo blocks
- Pet memorial keepsakes
- Wedding bouquet keepsakes
- Chess and draughts pieces
Level 4: Surface work and mixed media
- Wall clocks on wood or resin discs
- Cheeseboards with a resin river edge (resin kept off the cutting area)
- Wooden serving boards with resin inlays
- Domed art prints and canvas panels
- Resin-coated mirrors and frames
- Tumblers and cups coated externally
- Coated vinyl record clocks
- Mosaic tiles and splashback samples
- Name plaques and house signs
- Resin petri dish art
Level 5: Advanced small builds
- Lamp bases with fibre optic strands
- Night lights with LED puck bases
- Knife and tool handles
- Bowls turned from wood-resin hybrid blanks
- Small side-table tops
- Stool seats
- Guitar pickguards and inlays
- Terrarium-style display pieces
Level 5 is where resin crafts start to overlap with furniture. If lighting interests you, our fibre optic lamp page shows how strands carry light through a cast, and our epoxy table hub picks up where small builds end. For freestyle panels and wall pieces, head to resin art and epoxy resin art.
Step by step: your first epoxy resin craft
Here is a reliable routine for a set of four coasters, the classic first project in crafts using epoxy resin.
- Prepare the space. Level the surface, cover it, set out gloves, cups, sticks and colourants. Make sure the moulds are clean, dry and dust-free.
- Work out quantities. A 10 cm round coaster mould filled 6 mm deep needs about 47 ml. Four coasters need roughly 190 ml, so mix around 200–210 ml to allow for waste. Our epoxy quantity guide shows the volume formula.
- Measure precisely. Pour each part into separate cups, then combine. Ratio errors cause sticky or soft spots that never fully harden.
- Mix slowly for the full time on the label, usually three to five minutes, scraping the sides and bottom. Transfer to a second cup and mix again briefly to catch unmixed resin.
- Colour and pour. Split the batch into cups, add a small amount of colourant to each (under about 6% of the resin volume for most pigments), and pour slowly from low height.
- Remove bubbles. Pass a heat gun or torch quickly over the surface after a few minutes. Do not linger: silicone moulds can scorch.
- Cover and cure. Most craft epoxies are demouldable at 24–48 hours and reach full hardness in about seven days.
- Finish. Sand sharp edges, then polish or brush a thin coat of resin over the edges for shine. See how to polish epoxy resin.
Safety when crafting with epoxy
Resin crafts are safe enough for a home workshop when you treat the uncured material with respect. The main risk with liquid epoxy is skin sensitisation: repeated contact can trigger an allergy that becomes permanent, after which even small exposures cause reactions. Practical rules:
- Wear nitrile gloves every time, and change them if they are splashed. Latex is less resistant.
- Work with a window open or extraction running. Use a respirator with organic vapour cartridges for long sessions, heated resin, or if you sand cured resin (add particulate filters for dust).
- Wear safety glasses when mixing and pouring.
- Keep children and pets away from the work area and curing pieces.
- Never mix large batches in a deep cup and leave them standing: the reaction gives off heat and can smoke.
- Let leftover mixed resin cure fully before disposal; do not pour liquid resin down the drain.
The Irish Health and Safety Authority publishes a short, clear information sheet on epoxy resin hazards and controls that is worth reading once. If you plan to make anything that will touch food, read our guide to food-safe epoxy first: most craft resins are only described as food-contact safe after a full cure, and even then not for cutting surfaces.
Resin craft supplies: what to buy and what to skip
Craft shops sell an overwhelming range of accessories. These are worth paying for:
- Good-quality silicone moulds with a glossy interior. A shiny mould gives a shiny piece, saving hours of polishing. Our guide to resin casting molds covers making your own.
- A small pressure pot or vacuum chamber only once you are making jewellery or casting clear blocks regularly. For coasters and trays, slow mixing and a heat gun are enough.
- Resin-specific pigments. Acrylic paint and food colouring add water and can stop resin curing properly.
Things you can safely skip at the start: specialist mixing drills (they whip in air at small volumes), dozens of glitter colours, and expensive mould sets in shapes you will only use once.
Typical costs
A starter setup with resin, moulds, pigments, gloves and cups typically costs £40–£90 ($50–$110). After that, a coaster typically costs well under £2 ($2.50) in resin, while a large serving tray may use £8–£15 ($10–$20) of material depending on size and resin type.
Common mistakes in resin craft and how to avoid them
- Sticky or soft patches – usually inaccurate measuring or too little mixing. Measure carefully and use the two-cup method.
- Cloudy resin – too cold, moisture in inclusions, or too much colourant. Warm the room and dry everything you embed.
- Bubbles around inclusions – seal porous items (paper, wood, dried flowers) with a thin coat of resin first and let it set.
- Cracks and yellowing in thick pieces – using coating resin beyond its maximum depth. Switch to a casting resin or pour in layers.
- Dust and hair in the surface – always cover curing pieces with a box or tub.
- Uneven trays – pouring on an unlevel surface. Check with a spirit level each time.
For a broader view of what resin is and how it differs from other plastics, the Wikipedia article on epoxy chemistry, uses and health effects is a reliable overview.
Where to go next
Once you can produce clean, bubble-free coasters and trays, branch out into whichever direction excites you most. Jewellery makers usually move towards UV resin and small bezels; home décor makers move towards trays, clocks and wood-resin boards; and those who catch the bug often end up building furniture. When you are ready to combine resin with timber, our live edge wood hub covers choosing slabs, and the epoxy countertops and epoxy floor hubs cover larger coatings.
Watch it being made
Watch our first light-up resin table being made in the workshop, with dragons and creatures appearing in the resin art, and the colours, pours and finishing shown step by step.
Resin Art Dragons and creatures in resin art table My First Light-Up Resin Table. More builds on the Go Bespoke YouTube channel.
Frequently asked questions
What is the best resin for crafts?
For beginners, a 1:1 coating or art epoxy is the easiest all-rounder for coasters, trays and keyrings because the ratio is simple and it self-levels well. For thicker pieces such as paperweights, use a casting epoxy rated for the depth you need. For small jewellery, a UV resin saves time. Look for low-odour, non-yellowing formulas with a clear data sheet.
Is epoxy resin safe for crafts at home?
Yes, with sensible precautions. Wear nitrile gloves and safety glasses, ventilate the room, keep children and pets away, and avoid skin contact with liquid resin. Once fully cured, most craft epoxies are inert and safe to handle.
How long do resin crafts take to cure?
Most craft epoxies can be removed from the mould after 24–48 hours and reach full hardness in about seven days at 20–25°C. Casting resins may take longer. UV resin cures in a few minutes under a UV lamp, layer by layer.
Can I use resin crafts outdoors?
Epoxy yellows over time in direct sunlight. Pieces for outdoor use, such as garden signs, should be made with a UV-stabilised resin and, ideally, finished with a UV-protective coating, and even then will age faster than indoor pieces.
What can I put in resin crafts?
Dried flowers, leaves, glitter, mica powder, gold leaf, shells, sand, crushed glass, wood offcuts, photos (sealed first) and small trinkets all work. Avoid anything wet, fresh or oily, as moisture causes cloudiness and decay.
Why are my resin crafts bendy after demoulding?
Thin pieces can feel flexible when demoulded at 24 hours because the resin has not reached full hardness. Leave them flat for several more days. If they remain bendy after a week, the cause is usually an incorrect ratio, insufficient mixing or a cold room.
Want to see these techniques in action? Watch our builds and pours on the Go Bespoke YouTube channel, and when you are ready to scale up, start with our resin art guide.
All guides in this section
- Craft Resin: Best Epoxy for Small Craft ProjectsCraft resin explained: doming vs casting epoxy, what to look for on the label, how much you need, kits, extras and safety…