Preserving Flowers in Resin: A Step-by-Step Guide
Updated 15 October 2026
Preserving flowers in resin turns a fleeting bouquet into something you can keep for decades: a wedding posy captured in a clear block, a single rose from a first date, or garden blooms set into a set of coasters. It looks simple, but resin is unforgiving with fresh plant material. Moisture causes browning, trapped air rises as bubbles, and petals float to the surface at the worst moment. This step-by-step guide covers drying, sealing, choosing moulds, layering pours and the small habits that separate cloudy, brown results from crisp, colourful ones.
Go Bespoke is a London workshop that builds resin and fibre optic tables and films the builds for YouTube; this is the process we recommend for resin flowers.
Preserving flowers in resin: why fresh flowers fail
A fresh petal is mostly water. Seal that water inside epoxy and it has nowhere to go: over days or weeks it breaks down the plant tissue, and the colour turns tea-brown or grey. Moisture also reacts with curing resin, leaving cloudy patches around the flower. The single most important rule of preserving flowers in resin is therefore simple: the flowers must be completely dry before they meet resin. Dried flowers for resin should feel papery and slightly crisp, with no cool or soft areas at the base of the petals or in the centre.
How to preserve flowers in resin: choosing a drying method
There are three practical drying methods. Which one you choose depends on whether you want the flower to keep its three-dimensional shape or lie flat.
Silica gel (best for shape and colour)
Silica gel crystals draw moisture out quickly while supporting the petals so they keep their form. It is the go-to method for roses, peonies, ranunculus and other full blooms.
- Pour 2–3 cm of silica gel into an airtight plastic container.
- Trim the stem to about 2 cm and set the flower head upright in the gel.
- Spoon more gel gently around and between the petals until the flower is fully buried, keeping the petals in their natural position.
- Seal the lid and leave for 3–7 days, depending on the size and thickness of the bloom. A tight rosebud may need longer than an open daisy.
- Tip off the gel slowly and brush away remaining grains with a soft paintbrush.
Silica gel can usually be dried out in a low oven and reused. Wear a dust mask when pouring fine-grade gel.
Pressing (best for flat pieces)
Pressed flowers suit coasters, bookmarks, jewellery and thin layers within a tabletop. Place the flowers between sheets of absorbent paper inside a heavy book or a flower press and leave for two to four weeks, changing the paper after the first few days. Flat-faced flowers such as pansies, violas, cosmos, ferns and hydrangea florets press beautifully. Pressed petals are thin, so they are also the least likely to trap air.
Air drying (simple, but less colourful)
Hanging flowers upside down in a dark, dry, well-ventilated room for two to three weeks works well for lavender, statice, gypsophila and grasses. Colours fade and petals shrink more than with silica gel, which can be a lovely vintage effect, but it is not the right method if you want a vivid rose to look freshly cut.
Sealing dried flowers before the pour
Even a fully dried flower is porous. When liquid resin soaks into the petals, it can darken them and push out tiny streams of air. Sealing first prevents both problems.
- Spray sealer: two or three light coats of clear acrylic or resin-compatible spray sealer, allowing each to dry. Hold the can at a distance so you do not flatten delicate petals.
- Brushed resin: a thin coat of mixed epoxy painted onto the petals with a soft brush. It seals and slightly stiffens the flower, which helps it stay put during the main pour.
- Dipping: for small, sturdy flowers, a quick dip in thin resin then hanging to drip and cure.
Let sealer or resin coats cure fully before casting. This is also the moment to check colour: if a rose has darkened during drying, a sealed flower will look about the same once encased.
Choosing a mould and the right resin
Silicone moulds are the standard choice for epoxy flowers because cured resin releases cleanly. Common keepsake formats include:
- Coasters: 5–10 mm deep, ideal for pressed flowers and petals.
- Blocks and cubes: 5–10 cm deep, used for a single rose or a small bouquet.
- Spheres and domes: show a single bloom from every angle.
- Bookends, paperweights and photo blocks: often combining flowers with a printed photo or wedding invitation.
Match the resin to the depth. A coating or art resin is designed for thin layers of a few millimetres. For blocks, use a slow-curing casting resin; a deep pour epoxy resin releases heat gently and gives bubbles more time to escape. Pouring a thin coating resin too deep can overheat, crack and yellow, and can even scorch the flowers inside. A UV resistant epoxy resin is worth the small extra cost for keepsakes that will sit on a sunny shelf. If you are buying for the first time, our guide to choosing an epoxy resin kit explains what to look for on the label.
Step by step: layering pours for flowers in resin
Flowers float, so most successful attempts at preserving flowers in resin are built in layers rather than one big pour. Work in a room around 20–24 °C, wear nitrile gloves, and keep the space well ventilated.
- Measure accurately. Use the ratio on your resin, by volume or weight as specified. Our practical guide on how to use epoxy resin covers measuring, mixing and pot life in detail.
- Mix slowly. Stir for 3–5 minutes, scraping the sides and bottom, without whipping air in. Warming the bottles in a bowl of warm water first thins the resin and releases bubbles more easily.
- Pour a base layer. Pour 5–15 mm into the mould and let it reach a soft gel, typically a few hours. This gives the flower a clear cushion so it is not touching the mould face.
- Place the flowers. Set them face down if the mould will be viewed from the bottom. Dab a little fresh resin under each one to anchor it to the gelled layer.
- Pour around, not over. Add the next layer slowly at the edge of the mould, letting resin creep up around the petals rather than splashing on top. Use a cocktail stick to nudge petals back into place and coax out trapped air.
- Repeat. Continue in layers, following the maximum depth per pour on your product, until the flower is fully covered.
- Cure and demould. Leave covered and undisturbed for the full cure time, often 24–72 hours for casting resin, before demoulding.
Avoiding browning, bubbles and cloudiness
- Browning: almost always moisture. Dry longer than you think necessary, and never use flowers that have been in a humid bathroom or kitchen.
- Bubbles around petals: seal the flowers, pour in thin layers, and pass a heat gun or small torch briefly over the surface. Do not linger, as heat can scorch petals and warp moulds.
- Floating flowers: anchor each one to a gelled layer, or pin it with a small dab of resin first.
- Cloudy resin: cold workshops, damp air or incomplete mixing. Keep resin and room warm and scrape the mixing cup thoroughly.
- Yellowing over time: keep finished pieces out of direct sunlight and choose a UV-stabilised resin.
Once demoulded, sharp edges and mould marks can be sanded and brought back to a glassy finish. Our guide on how to polish epoxy resin takes you through the grits.
Keepsake ideas: wedding bouquets, coasters and blocks
Wedding bouquets are the most popular keepsake. Ideally, start drying within a day or two of the wedding, before petals begin to wilt. A full bouquet is usually dismantled: the best blooms are dried in silica gel for a centrepiece block, while smaller flowers and leaves are pressed for matching coasters or a ring dish. Some people add a strip of ribbon from the bouquet or a printed date, sealed in the same way as the flowers.
Beyond weddings, flowers work beautifully in jewellery, serving trays, clock faces and, at a larger scale, in tabletops. A shallow pressed-flower layer under a clear flood coat on a resin coffee table creates a meadow you can rest a cup on. For more decorative ideas using pigments and texture alongside botanicals, explore our resin art guide, and for general pouring technique see the main guide on how to pour epoxy resin.
Safety and care
Wear nitrile gloves and eye protection, work in a ventilated room, and use a respirator with organic vapour cartridges if you are casting regularly or in a small space. Keep children and pets away while resin is curing. Clean finished pieces with a soft damp cloth only, avoid solvents, and keep them away from heat sources and strong sunlight.
Top 10 most-watched on YouTube
Video 1 of 10 — one of the most-viewed YouTube videos for “preserving flowers in resin: a step-by-step guide”: Preserving Flowers In Epoxy Resin - Easy DIY Guide by Art 'N Glow (656,836 views as of 13 October 2026).
Thorough drying is what stops petals browning inside the resin, and Iowa State University’s guide to drying flowers covers air drying and desiccants such as silica gel in useful detail.
Watch it being made
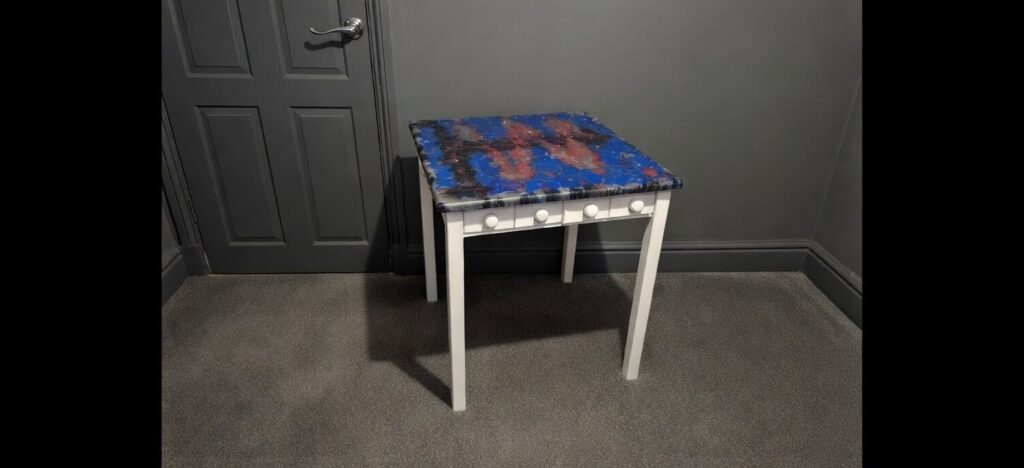
Watch our first light-up resin table being made in the workshop, with dragons and creatures appearing in the resin art, and the colours, pours and finishing shown step by step.
Resin Art Dragons and creatures in resin art table My First Light-Up Resin Table. More builds on the Go Bespoke YouTube channel.
Frequently asked questions
How long do flowers need to dry before putting them in resin?
Silica gel usually takes 3–7 days, pressing two to four weeks, and air drying two to three weeks. The flower should feel completely papery, including the base of the petals and the centre.
Can you put fresh flowers in resin?
It is not recommended. The water in fresh flowers causes browning, rot and cloudy resin over time. Always dry flowers thoroughly first.
How do you preserve a rose in resin?
Dry the rose upright in silica gel for around a week, seal it with spray sealer or a thin brushed resin coat, then cast it in a deep mould using a slow-curing casting resin poured in layers.
Why did my resin flowers turn brown?
Browning is caused by moisture left in the petals or by heat from a resin poured too thick in one go. Dry the flowers longer and use a casting resin within its recommended pour depth.
What is the best resin for epoxy flowers?
For coasters and thin pieces, a clear art or coating resin works well. For blocks deeper than about 2 cm, use a low-heat casting or deep pour resin, ideally with UV stabilisers.
Want to see resin work in progress? Subscribe to our Go Bespoke YouTube channel, or get in touch if you would like a keepsake built into a bespoke piece.