Epoxy Floor Guide: DIY Coatings, Costs & Finishes
A good epoxy floor turns tired grey concrete into a hard-wearing, glossy surface that shrugs off oil, dust and dropped tools. It is one of the most popular home improvement projects for garages, basements and utility rooms, and with the right preparation it is well within reach of a careful DIYer. The catch is that epoxy flooring is unforgiving: almost every failure people see online, from peeling patches to bubbles and hot-tyre marks, comes back to preparation, product choice or temperature rather than the resin itself.
We work with epoxy every week in our London workshop, mostly pouring tables and resin art, and the same chemistry rules apply on the floor as on the bench. This guide explains what an epoxy floor actually is, where it works (and where it doesn’t), what the different epoxy floor coatings do, how a DIY job runs from start to finish, what it typically costs, and when you are better off calling in a professional installer.
What is an epoxy floor?
An epoxy floor is a floor finished with a two-part thermosetting resin: a resin (part A) and a hardener (part B) that react chemically once mixed and cure into a rigid plastic layer bonded to the surface beneath. On homes, that surface is nearly always concrete. Unlike paint, which dries as solvent or water evaporates, epoxy cures by reaction, so it builds a thicker, harder and more chemical-resistant film.
People use the terms loosely, so it helps to separate three things:
- Epoxy floor coating – a thin film, typically 0.2–0.5 mm, rolled onto concrete. This is what most garage kits and DIY products are.
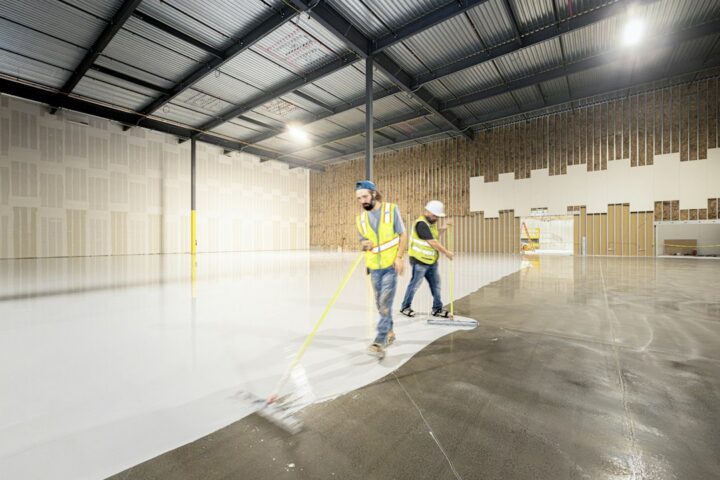
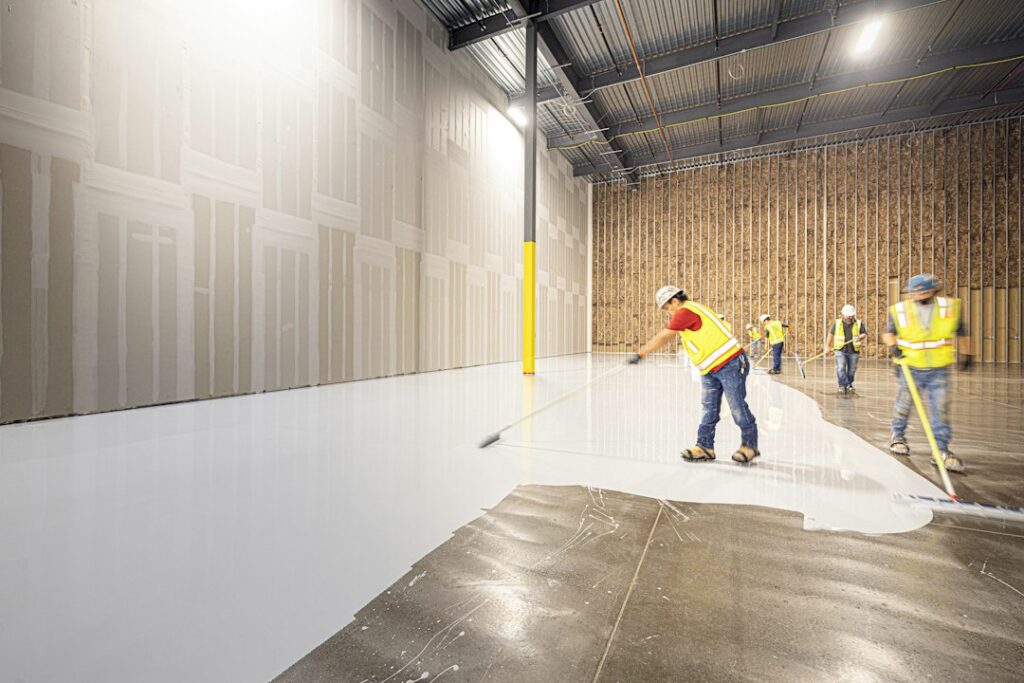
- Epoxy resin flooring (self-levelling) – a thicker poured system, typically 2–4 mm or more, spread with a notched squeegee and spiked roller to give a seamless, glass-smooth finish.
- Resin flooring in general – an umbrella term that also covers polyurethane, polyaspartic and methyl methacrylate (MMA) systems. These are often used as topcoats over epoxy or in commercial settings.
For most homeowners the realistic choice is between a rolled coating and a thicker self-levelling floor, with or without decorative flakes or metallic pigments.
Where epoxy flooring works best at home
Garages
The garage is the classic home for floor epoxy. It hides oil stains, makes sweeping easy, brightens the space and resists the salts and grit that come in on tyres. A garage floor also has the toughest demands: hot tyres, jacks, dropped spanners and winter moisture. We cover it in depth in our dedicated garage guide.
Basements and cellars
Basements suit epoxy well because the finish seals dusty concrete and is easy to clean. The big risk is moisture coming up through the slab, which can lift a coating within months. Testing for moisture (see below) is essential before you commit.
Kitchens, utility rooms and living spaces
Residential epoxy flooring is increasingly used in open-plan kitchens and living areas, often with metallic epoxy effects that swirl like marble or molten metal. Indoors, think about comfort and appearance: epoxy is hard underfoot, can be slippery when wet without an anti-slip additive, and standard epoxies can yellow in strong sunlight. Our guide to UV resistant epoxy resin explains why a UV-stable topcoat matters near big windows and bifold doors.
Where epoxy is a poor choice
- Over timber floors or floating subfloors that flex – the rigid coating cracks.
- Over damp slabs with no damp-proof membrane, unless you use a specific moisture-tolerant primer.
- Outdoors in full sun, where most epoxies chalk and yellow; outdoor concrete usually needs a UV-stable system.
- Over old coatings, tiles or paint without removing them or confirming compatibility.
Types of epoxy floor coatings
| System | Typical thickness | Best for | DIY friendly? |
|---|---|---|---|
| Water-based epoxy | 0.1–0.2 mm per coat | Light-use garages, dust-proofing | Yes – easy, low odour, but least durable |
| Solvent-based epoxy | 0.1–0.25 mm per coat | Primers, sealing porous concrete | Yes, with good ventilation |
| 100% solids epoxy (rolled) | 0.25–0.5 mm per coat | Garages and workshops with car traffic | Yes, but short working time |
| Self-levelling epoxy | 2–4 mm | Seamless, glass-like interiors, metallic floors | Possible for confident DIYers |
| Flake (chip) system | Base + flakes + clear topcoat | Garages; hides imperfections, adds grip | Yes – very forgiving |
| Polyaspartic/polyurethane topcoat | Thin topcoat | UV and scratch resistance over epoxy | Harder – very fast cure |
The single biggest quality difference is solids content. A 100% solids product leaves all of what you roll on as cured film, whereas a 50% solids water-based product loses roughly half its wet thickness as it dries. That is why cheap one-coat garage paints labelled as epoxy rarely last as long as a proper two-part system.
DIY or professional epoxy floor?
| Factor | DIY | Professional |
|---|---|---|
| Preparation | Acid etch or hired grinder; dust control is hard | Industrial diamond grinding with vacuum extraction |
| Products | Retail kits, often thinner | Thicker, trade-only systems |
| Finish | Good with flakes; harder with clear or metallic | Consistent, seamless results |
| Typical lifespan | Typically 2–8 years depending on kit and prep | Typically 10–20 years with care |
| Time | A long weekend plus cure time | Often 1–3 days |
DIY makes sense for a single garage or workshop where a flake finish will hide minor imperfections. Hire a pro for large areas, metallic or clear self-levelling floors in living spaces, slabs with damp problems, or anywhere a failure would be expensive to strip and redo.
How to apply an epoxy floor: the DIY process
1. Test the concrete
Check the slab is at least 28 days old if new. Tape a 45 cm square of clear plastic sheet to the floor for 24 hours: if condensation forms underneath or the concrete darkens, you have a moisture issue to address first. Sprinkle water on the surface too – if it beads rather than soaks in, there is a sealer or contamination that must come off.
2. Repair and clean
Fill cracks and spalls with an epoxy repair mortar. Degrease oil stains thoroughly; any oil left in the pores will push the coating off. Sweep and vacuum everything.
3. Profile the surface
Epoxy needs a rough, open surface to grip – roughly like 120-grit sandpaper. A rented diamond floor grinder with a vacuum gives the best result. Acid etching is the cheaper DIY route but is less reliable on dense or previously sealed slabs. Wear a properly fitted respirator rated for dust (P3/FFP3) while grinding.
4. Prime
Many systems use a thin primer coat to penetrate porous concrete and reduce bubbles from outgassing. Apply it when the slab temperature is falling (late afternoon) rather than rising, which reduces pinholes.
5. Mix and apply the base coat
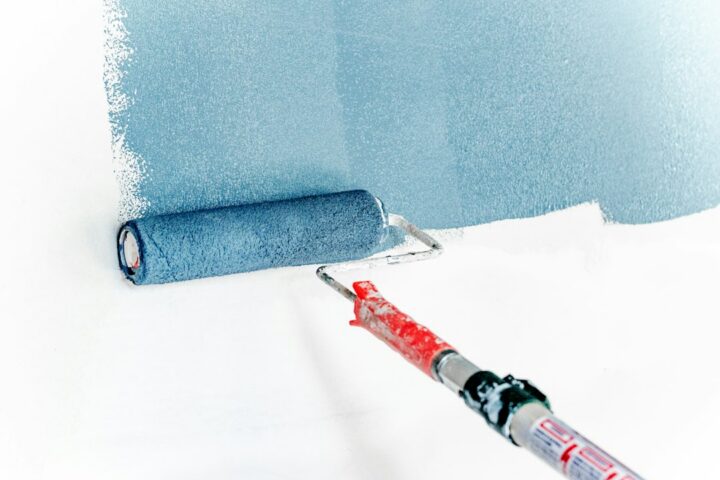
Mix part A and part B in the exact ratio stated, with a paddle on a slow drill for the time the manufacturer specifies, scraping the sides. Pour it out in a ribbon on the floor rather than leaving it in the bucket, where heat builds and shortens pot life. Cut in edges with a brush, then roll in sections. If you are new to two-part resins, our guide on how to use epoxy resin explains mixing and working time in detail.
6. Broadcast flakes (optional)
While the base coat is wet, throw decorative flakes up and let them fall evenly. Light coverage gives a speckled look; full broadcast hides the base entirely and adds texture.
7. Topcoat
Once the base has reached the recoat window, scrape off loose flakes and apply a clear topcoat. Add an anti-slip aggregate if the floor will get wet.
8. Cure
Typically allow 24 hours for light foot traffic, 3 days for normal use and 5–7 days before parking a car, depending on temperature.
Temperature, ventilation and safety
- Work with air and slab temperatures in the range the product specifies, typically 15–25°C. The slab should be at least 3°C above the dew point to avoid blushing.
- Cold slows the cure and can leave a greasy, cloudy surface; heat shortens working time dramatically.
- Ventilate well. Wear nitrile gloves, eye protection and long sleeves – epoxy is a common cause of skin sensitisation. A respirator with organic vapour cartridges is strongly recommended for solvent-based products and in enclosed spaces.
- Keep children and pets away until cured, and never let mixed resin sit in a bucket – it can get hot enough to smoke.
How much epoxy do you need?
Coverage depends on the product and thickness. As a rough guide, a 100% solids coating covers typically 4–6 m² per litre per coat (about 160–250 sq ft per US gallon), while a 3 mm self-levelling floor needs about 3 litres per m². Porous concrete soaks up more on the first coat, so add 10–15% for waste. Our epoxy calculator guide walks through volume maths that apply to floors as well as tables.
Epoxy floor cost
Prices vary with region, slab condition and system, so treat these as typical ranges only:
| Option | Typical cost (UK) | Typical cost (US) |
|---|---|---|
| DIY water-based kit | £5–£12 per m² | $0.50–$1.50 per sq ft |
| DIY 100% solids or flake kit | £12–£30 per m² | $1.50–$4 per sq ft |
| Professional flake garage floor | £40–£80 per m² | $4–$9 per sq ft |
| Professional metallic or self-levelling | £60–£120+ per m² | $6–$15+ per sq ft |
Grinder hire, crack repair, primer and anti-slip additives can add noticeably to a DIY budget, so price the whole system rather than the coating alone.
Decorative finishes
Beyond plain colour, epoxy resin floors can be finished with flakes, quartz aggregates, mica powder pigments for pearlescent effects, metallic swirls or even glow-in-the-dark epoxy details for steps and edges. The techniques used to colour epoxy resin on art pieces carry over to floors, but always keep pigment loading within the manufacturer’s limit or the cure can suffer.
How long does an epoxy floor last?
A well-prepared, properly applied residential epoxy floor typically lasts 5–10 years in a busy garage and longer in light-use rooms; thin DIY water-based coatings may need recoating within a few years. Lifespan depends far more on surface preparation and film thickness than on brand. Signs it is time to recoat include dulling, wear paths, lifting at edges or yellowing.
Cleaning and maintenance
- Sweep or dust-mop regularly; grit acts like sandpaper on the gloss.
- Mop with warm water and a pH-neutral cleaner. Avoid citrus and vinegar cleaners, which can dull the finish.
- Wipe spills of oil, brake fluid and solvents promptly.
- Put mats under kickstands, jacks and furniture feet.
- A fresh topcoat after a few years can restore the gloss without starting again.
Common epoxy floor mistakes
- Skipping grinding or etching and rolling straight onto smooth, sealed concrete.
- Coating a slab with rising damp.
- Mixing by eye instead of measuring the ratio exactly.
- Mixing too much at once and running out of working time.
- Applying in a cold garage in winter.
- Driving on the floor before it is fully cured, causing hot-tyre pickup.
To see what a full DIY job involves, This Old House walks through applying an epoxy coating to a garage floor, from degreasing and etching the slab to mixing the two parts, rolling the base coat and broadcasting decorative flakes.
Watch it being made
See one of our tables come together in the workshop: a nebula resin top with fibre optic stars, from the first pour to the lights going on.
Resin art nebula resin table with fibre optic art. More builds on the Go Bespoke YouTube channel.
Frequently asked questions
Is an epoxy floor worth it?
For garages, workshops and basements, usually yes: it makes concrete easier to clean, brighter and more resistant to stains. For living spaces it is a design choice; it looks striking but is hard underfoot and needs careful installation.
Can I put epoxy flooring over tiles?
It is possible with the right primer and thorough abrasion of the glaze, but grout lines can telegraph through and loose tiles will crack the coating. Most installers recommend removing tiles or using a thick self-levelling system.
Is epoxy floor coating slippery?
A glossy coating can be slippery when wet. Adding an anti-slip aggregate to the topcoat or using a flake finish greatly improves grip.
How long before I can walk on an epoxy floor?
Typically 12–24 hours for light foot traffic, around 72 hours for normal use, and 5–7 days before heavy loads or cars, depending on temperature.
What is the difference between epoxy and resin flooring?
Epoxy flooring is one type of resin flooring. Resin flooring also includes polyurethane, polyaspartic and MMA systems, which are often chosen for UV stability, flexibility or very fast curing.
Can I use table epoxy on a floor?
No. Table and art epoxies are formulated for clarity and slow curing, not abrasion and chemical resistance. Use a floor-rated system; table resins and craft epoxy resin kits are best kept for furniture and art.
Next steps
Start with a moisture test and an honest look at the slab, then choose a system that matches how the space is used. If you are new to working with two-part resins, our epoxy resin for beginners guide is a good primer. To see epoxy in action at our workshop, subscribe to our YouTube channel, where we film every pour from mixing to final polish.
All guides in this section
- Best Garage Floor Epoxy Kit: What to Buy & What to AvoidHow to choose a garage floor epoxy kit: solids %, real coverage, flakes, prep and price per sq ft, plus what to…
- Concrete Epoxy: Coating & Painting Concrete FloorsConcrete epoxy guide: moisture and contamination tests, new vs old slabs, CSP surface profile, prep steps, indoor/outdoor uses and typical costs.
- DIY Epoxy Garage Floor: Step-by-Step Coating GuideDIY epoxy garage floor walkthrough: moisture test, grinding, crack repair, primer, base coat, flakes, top coat, cure times and a full tool…
- Epoxy Basement Floor: Moisture, Prep & Best CoatingsEpoxy basement floor guide: test for moisture and hydrostatic pressure, prep concrete, pick the right coating, stay safe and finish on a…
- Epoxy Coating: What It Is, Types & Where to Use ItWhat is an epoxy coating? Types, build thickness, coverage and top coats for floors, metal, wood and tables, plus prep, cure times…
- Epoxy Floor Paint vs True Epoxy Coating: Which to UseEpoxy floor paint vs 2-part epoxy coating: durability, cost, prep and when epoxy garage floor paint is enough for your concrete floor.
- Epoxy Garage Floor: Coatings, Costs & Lifespan ExplainedEpoxy garage floor guide: 100% solids vs water-based, flake finishes, hot-tyre pickup, typical cost per m² and sq ft, and a DIY…
- Epoxy Paint: How It Works and Best Uses at HomeEpoxy paint explained: 1K vs 2K products, best uses on floors, bathrooms, metal and boats, and how to prep and apply it…
- Epoxy Wood Floor Coatings: Can You Epoxy Timber Floors?Can you put epoxy on a wood floor? Epoxy wood floor prep, flexible coatings, plywood subfloors, costs and river-style resin inlays explained.
- Industrial Epoxy Flooring vs Residential: Key DifferencesHow industrial epoxy flooring differs from residential coatings in thickness, urethane cement, chemical resistance and cost, and whether a home needs one.
- Metallic Epoxy Floor: Designs, Costs & How It Is DoneMetallic epoxy floor guide: marble, ocean and lava designs, how the layers are laid, typical costs, slip resistance and whether DIY is…
- Repainting Epoxy Floor Coatings: Recoat Without PeelingRepainting epoxy floor coatings? Test adhesion, scuff sand, pick a compatible top coat and learn when to strip and redo so the…