Epoxy Floor Paint vs True Epoxy Coating: Which to Use
Updated 15 October 2026
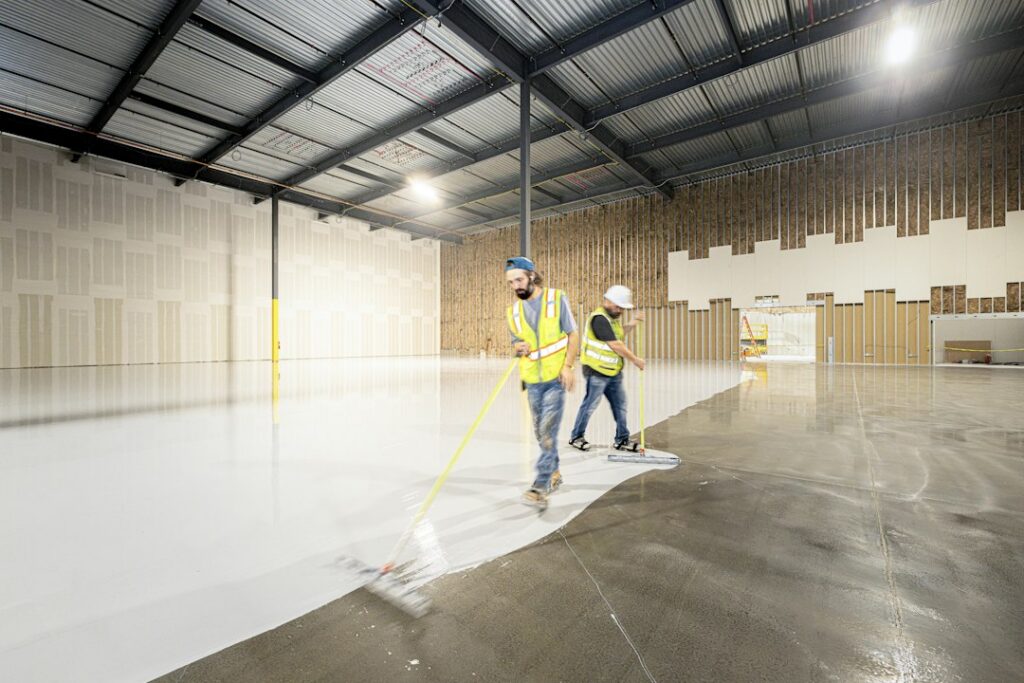
Two tins can both say “epoxy” on the front and behave completely differently once they’re on your garage floor. One is a single-pack paint with a little epoxy added for toughness; the other is a genuine two-part resin coating that chemically cures into a thick, hard film. Knowing which is which is the key to choosing epoxy floor paint that suits your space, your budget and how hard you’ll use the floor.
This comparison sits within our main epoxy floor guide. Below we explain how the two product types differ, where paint is perfectly adequate, and when a true coating is worth the extra cost and effort.
What is epoxy floor paint?
In most DIY stores, products sold as “epoxy garage floor paint” are one-part, epoxy-fortified (or epoxy-modified) paints. They are usually acrylic or latex-based, with a small amount of epoxy ester added to improve adhesion and hardness. You open the tin, stir and roll it on like ordinary masonry paint – no mixing, no pot life.
A true two-part epoxy coating, by contrast, comes as a resin (Part A) and a hardener (Part B). Once mixed, they react chemically and cure into a cross-linked plastic film that’s much harder and thicker than paint. If you want the background on the chemistry, our explainer on epoxy resin covers it, and our wider guide to epoxy paint looks at the whole product category beyond floors.
Side-by-side comparison
| Feature | 1-part epoxy-fortified paint | 2-part epoxy coating |
|---|---|---|
| Mixing | None | Resin + hardener at a set ratio |
| Typical film per coat | Thin, similar to standard floor paint | Thicker; 100% solids systems build substantially more |
| Hardness and abrasion | Moderate | High |
| Hot tyre resistance | Poor to fair | Good, especially high-solids |
| Chemical and oil resistance | Fair | Good to excellent |
| Working time | Unlimited until the tin dries | Limited pot life, often 30–60 minutes |
| Recoating later | Easy – scuff and repaint | Needs sanding or abrading for adhesion |
| Typical lifespan in a domestic garage | A few years before touch-ups | Many years with good prep |
| Typical material cost | Typically £0.20–£0.50 / $0.25–$0.60 per sq ft | Typically £0.50–£2.50 / $0.60–$3 per sq ft |
When paint is enough
A one-part product is a sensible choice when:
- The floor sees light foot traffic – a utility room, shed, hobby room or a garage used mainly for storage.
- You want a quick refresh to brighten dusty concrete and make sweeping easier.
- You’re on a tight budget or plan to repaint every few years anyway.
- The slab has some moisture issues and you’d prefer a more breathable finish (check the product’s guidance).
- You want to recoat easily without heavy sanding later.
When you need a true epoxy coating
Go for a two-part system when:
- You park cars daily – hot tyres can soften and lift thin paint, a problem known as “hot tyre pickup”.
- The floor sees oil, fuel, brake fluid or salt from winter roads.
- You use the space as a workshop with rolling tool chests, jacks or dropped tools.
- You want decorative flakes, a metallic finish or a thick gloss look.
- You want the finish to last as long as possible before maintenance.
For commercial units, forklifts or chemical spills, even a DIY coating may be underspecified – see our comparison of industrial vs residential epoxy flooring.
For garages specifically, a boxed garage floor epoxy kit is the most common DIY route to a two-part coating, and our step-by-step epoxy garage floor guide walks through the whole application.
Preparing concrete for any epoxy floor paint
Whichever you choose, preparation decides how long it lasts. Paint is a little more forgiving, but both fail on dirty, sealed or damp concrete.
- Clear and degrease: remove everything, scrub oil stains with a concrete degreaser and rinse well.
- Test absorbency: drip water on the slab. If it beads up, the surface is sealed or too smooth and needs profiling.
- Check moisture: tape a square of plastic sheet down for 24 hours; dampness underneath means you need to address moisture first or choose a moisture-tolerant primer.
- Profile: etch porous slabs (many kits supply a citric etch) or diamond-grind dense, power-floated or previously coated floors. Grinding gives the most dependable bond.
- Repair: fill cracks and pits with an epoxy repair compound and let it cure.
- Vacuum thoroughly: dust left behind is a common cause of peeling.
Our concrete epoxy guide goes deeper into slab repair and primers.
Application tips
- Temperature: apply when the air and slab are roughly 10–30°C (50–86°F) and the floor is at least 3°C above the dew point. Cold, damp British garages in winter cause slow cures and poor adhesion.
- Cut in first: brush the edges, then roll the main area with a 9-inch (230 mm) short-nap roller on an extension pole.
- Thin coats: with paint, two thin coats beat one heavy one. With two-part epoxy, follow the stated coverage rate to get the intended film thickness.
- Work in sections: keep a wet edge and work towards the exit.
- Anti-slip: add an anti-slip aggregate to the final coat where floors get wet.
- Cure times: typically foot traffic after around 24 hours and cars after 5–7 days for two-part coatings; paint may be ready sooner for walking but still needs several days before vehicles. Always follow the label.
Safety
- Wear nitrile gloves and eye protection; epoxy components can cause skin sensitisation.
- Ventilate well with doors open and fans running. For solvent-based or 100% solids epoxy, wear a respirator with organic vapour cartridges.
- Use a dust mask rated P3/N95 or better while grinding concrete, ideally with a grinder connected to an extraction vacuum.
- Keep ignition sources away from solvent-based products.
Common mistakes
- Expecting a one-part paint to survive daily hot tyres.
- Painting over a sealed or glossy slab without grinding.
- Applying two-part epoxy over old paint – it will only be as strong as the paint underneath.
- Skipping the moisture test.
For a step-by-step look at what a true two-part coating involves, This Old House shows how to apply an epoxy coating to a garage floor, from cleaning and etching the concrete to rolling on the final coat.
Watch it being made
See one of our tables come together in the workshop: a nebula resin top with fibre optic stars, from the first pour to the lights going on.
Resin art nebula resin table with fibre optic art. More builds on the Go Bespoke YouTube channel.
Frequently asked questions
Is epoxy floor paint as good as epoxy coating?
Not for heavy use. One-part epoxy-fortified paint is easier and cheaper but thinner and softer. A two-part coating is far tougher and resists hot tyres and chemicals better.
How long does epoxy paint on a garage floor last?
One-part paint typically needs touching up after a few years in a used garage, while a well-prepared two-part system can typically last many years before it needs recoating.
Can you put epoxy floor paint on concrete without etching?
Only if the concrete is already porous and clean enough for water to soak in. Sealed, smooth or contaminated slabs need etching or grinding first, or the coating is likely to peel.
Can I put a two-part epoxy over existing garage floor paint?
It isn’t recommended. The coating’s bond depends on the paint layer underneath, so old paint should be ground off back to sound concrete first.
Is epoxy paint slippery when wet?
Gloss finishes can be. Adding an anti-slip aggregate to the final coat or broadcasting decorative flakes gives better grip.
Still deciding? Browse the rest of our epoxy floor articles, or see how we use resin in furniture on the Go Bespoke YouTube channel.