Epoxy Basement Floor: Moisture, Prep & Best Coatings
Updated 15 October 2026
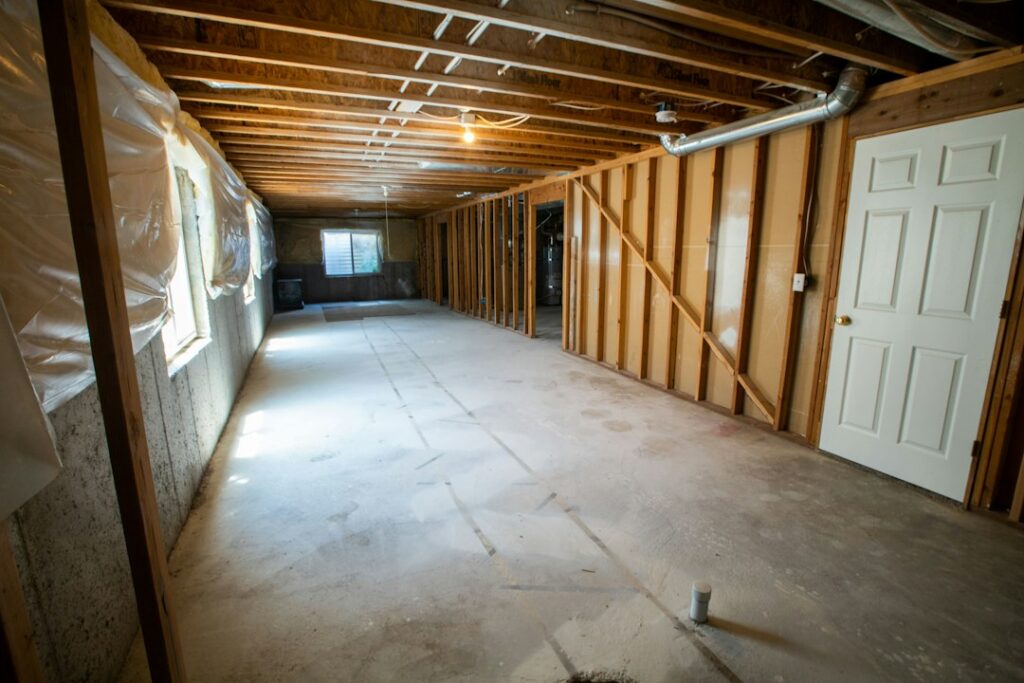
Basements are where flooring projects go to fail. A coating that would last for years in a dry garage can bubble, peel and lift within months below ground, and almost always for the same reason: moisture coming up through the slab. Done properly, though, an epoxy basement floor is one of the most cost-effective ways to turn a damp, dusty concrete cellar into a bright, washable space for a gym, playroom, utility room or workshop. This guide focuses on the basement-specific issues: hydrostatic pressure, moisture testing, vapour barriers, comfort and keeping the project on budget.
For the fundamentals of resin floors in general, including coating types and costs, start with our main epoxy floor guide.
Why an epoxy basement floor needs special care
A basement slab sits in contact with the ground, often below the water table for part of the year. Groundwater pushing against the slab creates hydrostatic pressure, which drives water vapour (and sometimes liquid water) up through the concrete. Concrete is porous, so that moisture travels until it hits whatever is on top.
Epoxy forms a dense, low-permeability film. When moisture vapour gets trapped underneath, pressure builds, and the result is blisters, white bloom, debonding and peeling. That is why moisture testing and, where needed, a moisture-mitigating primer are not optional extras in a basement; they are the main event.
Other basement factors include:
- Cold slabs – epoxy cures slowly below about 10–13°C, and condensation can form on cold concrete.
- Poor ventilation – fumes linger, and humidity stays high.
- Older concrete – may lack a damp-proof membrane (DPM) beneath it, may be contaminated with oil, paint or adhesive, or may have a weak, dusty surface.
Step 1: diagnose water and moisture
Before buying anything, find out what the slab is doing.
Look for warning signs
- Standing water, puddles or tide marks after rain – a drainage or tanking issue to fix first; no coating will solve it.
- White, powdery deposits (efflorescence) – salts carried up by moisture.
- Dark damp patches, especially near walls and in winter.
- A musty smell or high humidity readings.
The plastic sheet test
Tape a roughly 60 × 60 cm square of clear polythene tightly to the floor on all four edges and leave it for 24–72 hours. Condensation under the sheet means moisture is coming up through the slab; darkened concrete under a dry sheet also indicates moisture. If the top of the sheet is wet, the issue is condensation from humid air.
Proper moisture testing
The plastic sheet test is a quick check, not a measurement. For more confidence, use a calcium chloride test kit or an in-situ relative humidity (RH) probe. Coating manufacturers specify their own maximum readings, and those limits are what matter: follow the data sheet for the product you plan to use.
Step 2: choose the right system for your slab
| Slab condition | Typical approach |
|---|---|
| Dry, sound concrete, readings within limits | Standard epoxy primer and 100% solids or water-based epoxy coat, optional topcoat |
| Moderate moisture vapour, no liquid water | Moisture-tolerant / vapour-mitigating epoxy primer first, then build coats |
| Active leaks or regular flooding | Fix drainage, tanking or sump first; a coating alone will fail |
| Cracked, uneven or dusty concrete | Repair cracks, grind, then apply a self-levelling screed or primer before coating |
Water-based epoxy is more breathable and easier to apply but thinner and less durable. Solvent-free (100% solids) systems build thicker, tougher coats. Our comparison of industrial vs residential epoxy flooring explains the trade-offs, and the epoxy floor paint guide covers the lighter, paint-style products often used in basements.
Step 3: prepare the concrete
Prep is about 80% of the result. For a basement epoxy floor:
- Clear and clean. Remove everything, sweep, and degrease oil spots with a concrete degreaser.
- Remove old coatings. Paint, adhesives and sealers usually need grinding off.
- Profile the surface. Diamond grinding (hire shops rent floor grinders with dust extraction) gives the best bond. Acid etching is a weaker alternative and adds moisture to a slab you are trying to keep dry, so grinding is usually preferred in basements.
- Repair. Fill cracks and holes with an epoxy crack filler or repair mortar; grind repairs flush.
- Vacuum thoroughly. Use an industrial vacuum; dust is the enemy of adhesion.
- Warm and dry the room. Run a dehumidifier for several days and bring the space to the temperature on the data sheet, typically 15–25°C, keeping the slab at least 3°C above the dew point.
The concrete epoxy guide goes deeper into grinding, crack repair and primers.
Step 4: apply the coating
- Primer – roll on the primer (moisture-mitigating if needed) at the coverage rate specified, commonly around 4–6 m² per litre.
- Base coat – mix in small batches, cut in the edges with a brush, then roll the field in sections, keeping a wet edge. Spiked shoes let you walk back in if you broadcast flakes.
- Decorative flakes or anti-slip – broadcast while wet if you want texture and grip, which is helpful in utility areas and near stairs.
- Topcoat – a clear epoxy or polyurethane/polyaspartic topcoat adds scratch and UV resistance.
Typical cure: light foot traffic after 24 hours, furniture after about 72 hours, and full cure in around seven days at normal room temperatures. Cold basements take longer.
Safety
Basements trap fumes. Use fans to push air out through a window or door, wear a respirator with organic vapour cartridges (A-type filters in the UK) for solvent-based or 100% solids products, plus nitrile gloves and eye protection. Turn off any pilot lights or ignition sources if using solvent-borne products, and keep children and pets out until curing is complete.
Comfort: making a basement floor warmer
Epoxy on bare concrete feels hard and cold underfoot. Ways to improve comfort:
- Add area rugs or interlocking foam tiles in gym and play zones.
- Choose lighter, warmer colours; they make a basement feel brighter and more inviting.
- Consider an insulated floating floor in living areas instead of a coating, especially if the slab is very cold.
- Control humidity long term with a dehumidifier; drier air feels warmer and protects the coating.
Finishing a basement on a budget
A DIY epoxy basement floor kit for a single room is typically £150–£600 ($200–$750) in materials, plus grinder hire. Professional installation typically ranges from around £30–£80 per m² ($3–$8 per sq ft) or more for moisture mitigation, flake systems or significant repairs. Ways to save:
- Coat only the high-traffic or wet areas and use rugs elsewhere.
- Choose a solid colour rather than a full flake or metallic system.
- Do the prep yourself and hire a pro only for the coating if needed.
Many of the same products are sold for garages; see the guides on the garage floor epoxy kit and the epoxy garage floor for how to compare kits. If you want a decorative finish, metallic epoxy can turn a basement into a showpiece, but it needs careful technique.
When to hire a professional
Call in a specialist if you have active water ingress, high moisture readings, a slab without a DPM showing persistent damp, extensive cracking, or a large area to grind. A damp or waterproofing specialist may need to deal with tanking or drainage before any coating goes down.
Below-ground slabs are rarely truly dry. Wikipedia’s article on basements explains damp, tanking and drainage, and the US National Institutes of Health has a technical bulletin on vapour pressure and testing concrete slabs before any floor finish goes down.
Watch it being made
See one of our tables come together in the workshop: a nebula resin top with fibre optic stars, from the first pour to the lights going on.
Resin art nebula resin table with fibre optic art. More builds on the Go Bespoke YouTube channel.
Frequently asked questions
Is epoxy good for basement floors?
Yes, on a dry, sound slab it is durable, easy to clean and brightens the space. Where there is moisture vapour, a moisture-tolerant primer is essential; with active leaks, fix the water problem first.
Will basement floor epoxy stop moisture?
Standard coatings do not stop moisture and can blister if vapour is trapped beneath them. Vapour-mitigating epoxy primers are designed to reduce transmission within set limits, but they do not fix leaks or flooding.
How long does an epoxy basement floor last?
With good preparation and normal residential use, a quality system can typically last many years; thin epoxy floor paints wear faster. Moisture problems are the most common cause of early failure.
Can you put epoxy over a painted basement floor?
It is not recommended. The old paint is the weakest layer and may peel, taking the epoxy with it. Grind it off back to clean, sound concrete first.
What is the difference between basement epoxy floor paint and a full epoxy coating?
Epoxy floor paints are thinner, often water-based, and easier to apply but less durable. Full systems are thicker, usually 100% solids, and offer better wear and chemical resistance.
For more on preparing and coating concrete, read our epoxy paint guide, and watch practical resin techniques on the Go Bespoke YouTube channel.