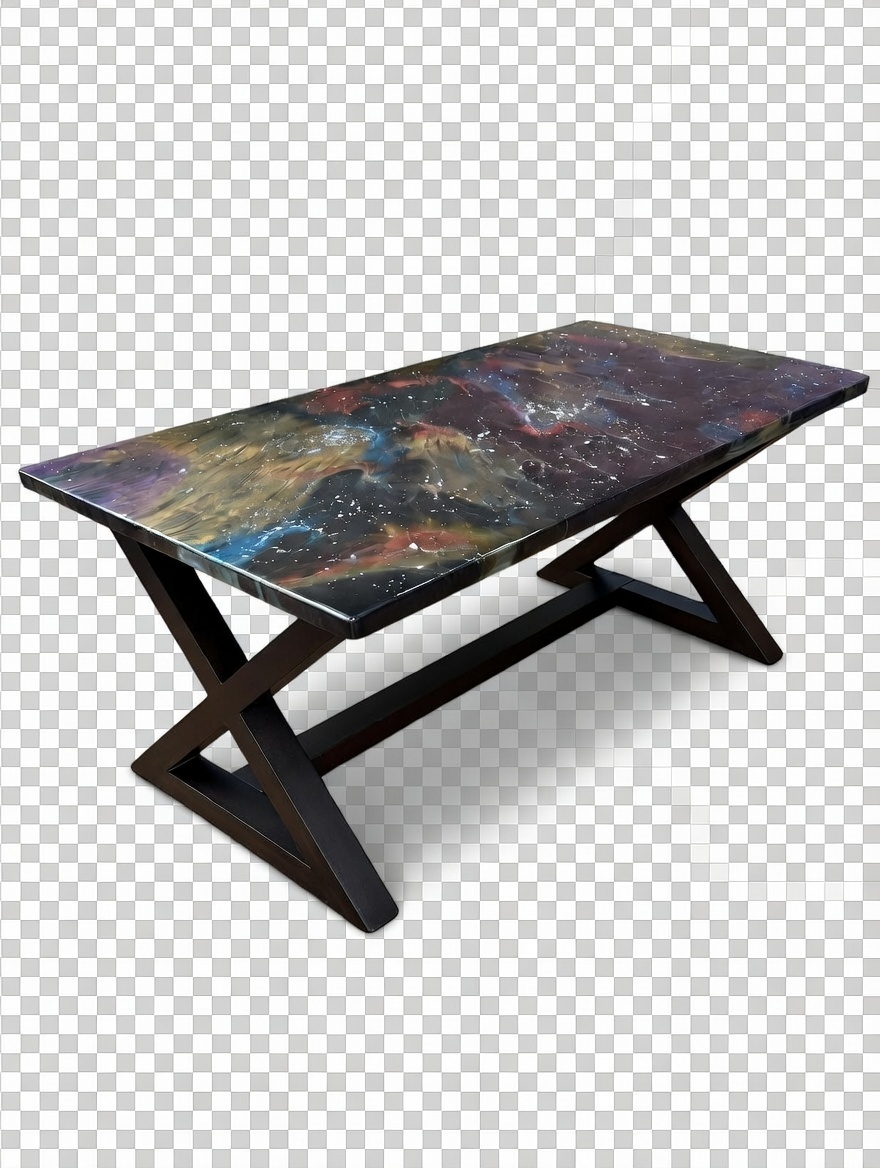
Epoxy Resin for Tables
Updated 14 October 2026

Choosing the right epoxy resin for tables is less about finding one perfect product and more about matching a formula to each job the table asks of it. A single dining table might use three different resins: one to seal the timber, one to fill a deep river channel, and one to lay a glassy, hard-wearing surface over the top. Once you understand those categories, a confusing shop shelf turns into a simple shopping list.
This guide walks through the main families of epoxy resin for tables, what each one is designed to do, and how to decide which belongs in your project. It is a map of the territory rather than a deep dive into any single product, so you can plan a build, brief a maker or simply understand why a bespoke table takes the time it does.

Why epoxy resin for tables comes in different families
All two-part epoxies share the same basic idea: a resin and a hardener react to form a rigid plastic. What changes between products is how fast that reaction runs, how runny the liquid is, and how much heat it gives off along the way. A table is an unusual object because it combines thick sections, thin films and large flat areas in one piece, and no single formula handles all three gracefully. A fast, thick resin that is perfect for a thin coat would overheat and crack if poured ten centimetres deep. A slow, watery casting resin that behaves beautifully in a deep river would run off the edges of a flat top and take days to reach a usable hardness. That is why manufacturers split their ranges by job, and why experienced makers keep more than one type on the workshop shelf.
Deep pour epoxy: the river and void filler
Deep pour epoxy resin is the workhorse of river tables, encased slabs and big void fills. It is formulated to release heat slowly, so it can go down in thick layers without cracking, yellowing or boiling. The trade-off is time: it can stay liquid for many hours and may need several days before it is hard enough to flatten. Its low viscosity lets bubbles rise and escape on their own, which helps with clarity in thick sections and is vital for a clear epoxy table. Reach for it when the resin is a structural, visible part of the table, such as the channel between two live edge boards or a full encasement of a slab. Every product has a stated maximum layer depth, and respecting that figure is the single most important rule when working with it.
Table top and coating epoxy: the protective skin
Table top epoxy resin, sometimes sold as coating or bar-top resin, is designed for thin layers of a few millimetres. It is thicker in the tub, self-levels across a flat surface and cures faster and harder than deep pour formulas, giving a tough, glossy finish that shrugs off everyday knocks. This is the resin used for flood coats over a finished river table, for sealing a timber top before a pour, and for giving painted or embedded surfaces a glass-like skin. Because it cures quickly it also generates more heat for its volume, so it must never be poured deep. Think of it as varnish’s much tougher cousin: it is there to protect and to make colours and grain glow, rather than to fill space.
Casting and art epoxy: small pieces and fine detail
Between those two sit casting and art resins. Casting resin is usually a medium-depth formula for moulded objects such as coasters, handles, inlays and decorative inserts that may later be set into a table. Art resin is tuned for pouring on panels and canvas, with a working time that suits manipulating colour and a finish that looks good straight from the cure. For table work these are supporting players. You might cast a resin inlay for a tabletop, fill a narrow crack or knot hole, or create a decorative panel for a matching side table. Using them for a full river pour risks heat problems, while using them for a large flood coat may leave a softer surface than a dedicated coating resin.
Choosing epoxy resin for tables by job
The easiest way to choose is to list every task your table involves and assign a resin to each one. A typical plan looks like this:
- Sealing the timber: a thin coat of table top epoxy brushed into the wood to lock in trapped air and stop bubbles rising into the main pour.
- Filling cracks and knots: a casting or table top resin, often tinted black or bronze, for shallow defects.
- The river or encasement: deep pour epoxy, in one or several layers within its stated depth.
- The finish: a table top flood coat for a high-gloss epoxy table top, or an oil or hardwax finish over the sanded resin for a satin, tactile feel.
- Decorative extras: art or casting resin for inlays, coasters or matching accessories.
Mixing brands within a single table is usually best avoided, because different chemistries can bond unpredictably. Staying within one manufacturer’s range of deep pour and coating products keeps adhesion, colour and cure behaviour consistent from the first layer to the last.
Practical factors beyond the label
Once the category is settled, a few practical points shape the final choice. Temperature matters enormously: most epoxies want a warm, stable room, and a cold garage in a British winter will slow curing and cloud the finish. Clarity and UV stability matter if the table will sit near a sunny window, where a UV resistant epoxy resin earns its keep. Smell and fumes matter if you are working at home. Whatever epoxy resin for tables you settle on, work in a well-ventilated space, wear nitrile gloves and eye protection, and use a respirator with organic-vapour cartridges, particularly when mixing, torching and sanding. Cured epoxy is inert, but sanding dust is fine and irritating, so extraction and a dust mask belong on the list too. Finally, read the technical data sheet for each product or epoxy resin kit, as it gives the mixing ratio, working time and recoat window in plain figures.
For a plain-English explanation of why a resin and hardener turn into such a tough, chemical-resistant solid, Britannica’s entry on epoxy sets out the chemistry of epoxide rings, curing agents and cross-linking in a few short paragraphs.
Frequently asked questions
Can I use one epoxy for the whole table?
Some hybrid products claim to cover both medium pours and coating, and they can work for small or shallow pieces. For a proper river table with deep channels, most makers use a deep pour resin for the fill and a separate table top resin for the coating, because each performs far better in its own role.
What happens if I pour coating epoxy too deep?
The reaction concentrates heat in the thick section, which can make the resin smoke, crack, yellow or ripple as it cures. In the worst cases the mould itself distorts. Always keep coating resin to the thin layers stated by the manufacturer.
Which epoxy gives the hardest surface for a dining table?
A dedicated table top or bar-top coating usually cures harder and more scratch resistant than deep pour formulas. Many makers flood coat over a deep pour river for that reason, or apply a tough oil-based topcoat after sanding.
Watch our resin tables come to life
See how different resins work together in finished pieces on the Go Bespoke YouTube channel, @go-bespoke, where we share builds, pours and lighting tests from the workshop.
Top 10 most-watched on YouTube
Video 1 of 10 — one of the most-viewed YouTube videos for “epoxy resin for tables”: Fantastic Epoxy Resin Crafts And Miniature Ideas That Will Amaze You || DIY Jewelry And Home Decor by 5-Minute Crafts Recycle (9,015,694 views as of 13 October 2026).
Not sure which resin your table needs? Get in touch for a bespoke quote.