Repainting Epoxy Floor Coatings: Recoat Without Peeling
Updated 17 October 2026
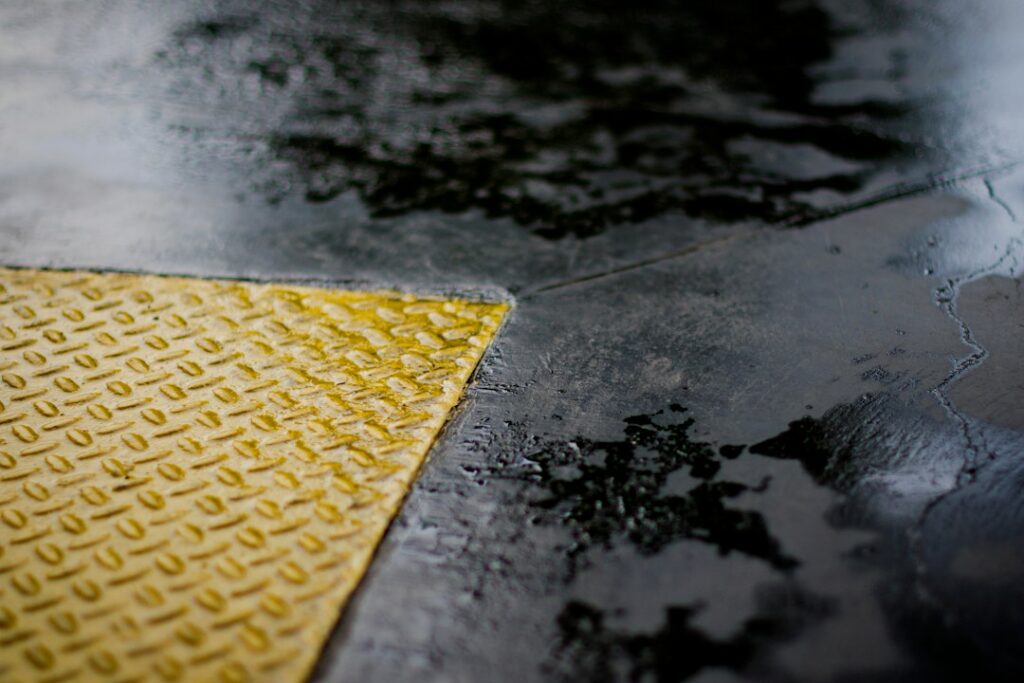
An epoxy floor that once looked like glass can, after a few years of hot tyres, dropped tools and winter grit, start to look tired: dull traffic lanes, fine scratches, a few chips by the door. The good news is that repainting epoxy floor coatings is usually far less work than the original install, as long as the old coating is still bonded to the concrete. The bad news is that a new coat laid over a glossy, contaminated or failing surface will peel off in sheets, often within weeks. This guide walks through how to judge the old coat, prepare it properly and choose a top coat that will actually stick.
If you are new to resinous floors, start with our epoxy floor guide for the basics of systems, finishes and costs, then come back here for the recoat process.
Recoat, refresh or strip? Deciding before repainting epoxy floor coatings
Every recoat job falls into one of three categories. Get this wrong and repainting epoxy floor coatings simply paints over a problem.
- Refresh (top coat only): the coating is firmly bonded everywhere, with wear limited to dullness, light scratches and a few small chips. A scuff sand and one new clear or tinted top coat is enough.
- Repair and recoat: mostly sound, but with isolated chips, hot-tyre lift marks or small delaminated patches. Cut out and fill the damaged areas, then recoat the whole floor so the finish is uniform.
- Strip and redo: the coating is peeling in large areas, lifting at the edges, bubbling from below or powdery. Usually this means poor original prep or moisture coming up through the slab, and no top coat will fix it. The old material has to come off by diamond grinding or shot blasting.
If more than about a fifth of the floor is lifting or hollow, stripping is typically cheaper than chasing repairs.
Step 1: Test adhesion of the existing coating
The tape (cross-hatch) test
In a few spots, including a high-traffic lane and a corner, use a sharp utility knife to score a small grid of six cuts by six cuts about 2mm apart, right through to the concrete. Press a strip of strong duct tape firmly over the grid, wait a minute and rip it off sharply. If only flakes at the cut edges come away, adhesion is good. If whole squares lift, the coating is weakly bonded and you should plan to strip.
The tap and scrape test
Tap the floor with the handle of a screwdriver or a coin, listening for hollow sounds that indicate a void beneath. Try to push a scraper under the edge of any chip. If the coating peels away easily in sheets beyond the chip, the bond has failed in that area.
Check for moisture
Tape a 600mm square of clear plastic sheet to the bare concrete in a chipped area (or near the walls) and leave it for 24 hours. Droplets underneath or a darkened slab mean moisture vapour is rising, which is a common cause of peeling, especially on below-grade slabs. Our guide to the epoxy basement floor covers moisture-tolerant primers in more detail.
Step 2: Identify what the old coating is
Not every “epoxy” floor is true two-part epoxy. Many DIY garage floors were done with water-based epoxy-modified paint, and the right recoat depends on what is there. Our comparison of epoxy floor paint vs true epoxy coating explains the differences.
| Existing coating | How to spot it | Compatible recoat |
|---|---|---|
| 100% solids or high-build epoxy | Thick, hard, glossy; resists solvent wipe | Epoxy, polyurethane or polyaspartic top coat after sanding |
| Water-based epoxy paint | Thin film; may soften slightly with solvent; worn through in lanes | Same product family; avoid heavy solvent-borne coats |
| Polyurethane or polyaspartic top coat | Very glossy, scratch resistant; often over a flake floor | Usually same chemistry; check the maker’s recoat guidance |
| Acrylic or latex floor paint | Soft, scratches with a fingernail, lifts with solvent | Strip before any epoxy goes on |
A simple solvent test helps: rub a small area with a cloth dampened in acetone or xylene for 30 seconds. If the coating softens, smears or transfers colour, it is not a cured two-part system and strong solvent-borne products laid over it may wrinkle or lift. If in doubt, coat a test patch of about 1 square metre first and run the tape test on it after a few days.
Step 3: Clean and degrease thoroughly
Contamination is the main reason a recoat peels. Tyre residue, oil and silicone car-care sprays all stop new resin bonding.
- Scrub with a dedicated concrete or floor degreaser diluted as directed, using a stiff deck brush or a rotary scrubber.
- Pay extra attention to tyre tracks and drip spots; repeat until water beads evenly rather than repelling in patches.
- Rinse twice with clean water and squeegee out. Allow at least 24 hours to dry, longer in cold or damp weather.
Step 4: Repair chips, cracks and failed patches
Cut back any loose coating to a firm edge with a scraper or an oscillating tool, feathering the edge with 80-grit sandpaper so the repair does not show as a ridge. Fill chips and small gouges with an epoxy patching compound or the base coat thickened with fumed silica. Cracks in the concrete itself should be opened slightly and filled with a flexible or rigid crack filler depending on whether they move; our guide to coating concrete with epoxy covers crack repair options. Let repairs cure, then sand flush.
Step 5: Scuff sand the whole floor
A cured epoxy surface is too smooth for anything to grip. The entire floor must be abraded to a uniform dull finish. Typical approaches:
- Floor buffer with sanding screen: a hired rotary floor machine fitted with a 100- to 120-grit sanding screen is the fastest DIY method for a single or double garage.
- Random orbital sander: fine for small areas and edges, using 80- to 120-grit discs.
- Diamond grinder: only needed if you are stripping or the surface is very uneven.
Leave no gloss anywhere; shiny low spots become weak points. Wear an FFP3 dust mask or respirator while sanding, along with eye protection. Afterwards vacuum thoroughly, then wipe with a lint-free cloth lightly dampened with the solvent recommended by your top coat maker, and let it flash off.
For another walkthrough of floor prep and application, Bob Vila’s guide to applying epoxy floor paint is a useful companion read.
Step 6: Choose a compatible top coat
When repainting epoxy floor surfaces, choose the top coat by use and budget:
- Clear or tinted epoxy: adds build and fills fine scratches, but most epoxies amber in sunlight. Best in enclosed garages and workshops.
- Polyurethane top coat: thinner, more UV stable and more scratch resistant than epoxy. A very common choice for refreshing a sound epoxy base.
- Polyaspartic: fast curing, UV stable and tough, but with a short pot life that makes it tricky for first-timers.
Look for products that state they can be applied over sanded, cured epoxy, and follow the stated recoat window. Many garage floor epoxy kits include a separate clear top coat that works for refreshes. If the floor will see forklift or heavy trolley traffic, read our industrial vs residential epoxy flooring comparison before choosing a thin residential product.
Step 7: Apply the new coat
- Check conditions: slab and air temperature typically 13–30°C, and the slab at least 3°C above the dew point to avoid blushing.
- Cut in edges with a brush along walls and around drains.
- Mix in small batches exactly to the stated ratio, scraping the sides of the container, and pour out onto the floor promptly to extend working time.
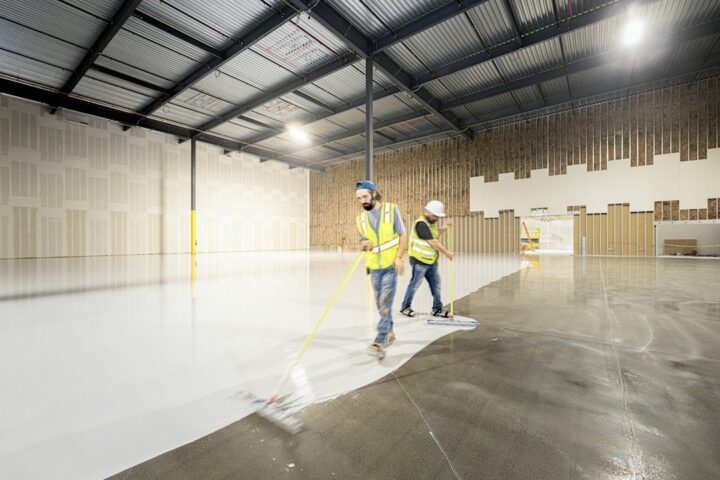
- Roll in sections of around 1–2 square metres with a 6–10mm nap, lint-free roller, keeping a wet edge and back-rolling in one direction.
- Add anti-slip grit to the final coat if the floor gets wet; garages with wet cars are slippery when glossy.
Coverage for a thin clear top coat is typically 6–10 square metres per litre; use our epoxy quantity guide to estimate for thicker coats. Keep the door open and run a fan for ventilation, and wear nitrile gloves and a respirator rated for organic vapours when using solvent-borne products.
Cure times before use
As a typical guide for epoxy and polyurethane top coats at around 20°C: foot traffic after 24 hours, light items after 48–72 hours, and cars after 5–7 days. Cold garages slow this considerably. Polyaspartics can be much faster; always follow the product sheet. Hot tyres on soft coating are the classic cause of “hot tyre pickup”.
Costs and lifespan
A DIY refresh with a clear top coat is typically £80–£250 ($100–$300) in materials for a single garage, plus sander hire. A full strip and new system costs typically several times that, more again if done professionally. A well-prepared top coat on a sound base typically lasts 3–7 years in a domestic garage before needing another refresh. For a wider look at coating options, see our epoxy garage floor guide and our overview of epoxy coating types.
Watch it being made
See one of our tables come together in the workshop: a nebula resin top with fibre optic stars, from the first pour to the lights going on.
Resin art nebula resin table with fibre optic art. More builds on the Go Bespoke YouTube channel.
Frequently asked questions
Can you repaint an epoxy garage floor?
Yes. If the existing coating passes an adhesion test, you can repaint an epoxy garage floor after degreasing, repairing chips and sanding the whole surface dull. If it is peeling in large areas, strip it first.
Do I need to sand epoxy before recoating?
Almost always. Unless you are still within the manufacturer’s recoat window (often within 24–48 hours of the previous coat), cured epoxy must be scuff sanded so the new coat has a mechanical key.
Can I put regular floor paint over epoxy?
It is not recommended. Acrylic and latex floor paints bond poorly to cured epoxy and wear quickly under tyres. Use an epoxy, polyurethane or polyaspartic product designed for recoating.
Why is my new epoxy coat peeling?
The usual causes are contamination such as tyre residue or oil, insufficient sanding, moisture in the slab, or an incompatible coating underneath. Run the tape and moisture tests to find out which.
Want to see resin and epoxy being mixed, poured and finished up close? Watch our builds on the Go Bespoke YouTube channel, and read our epoxy paint guide for more on choosing coatings.