Wood Rot Repair Epoxy: Fix Rotten Wood for Good
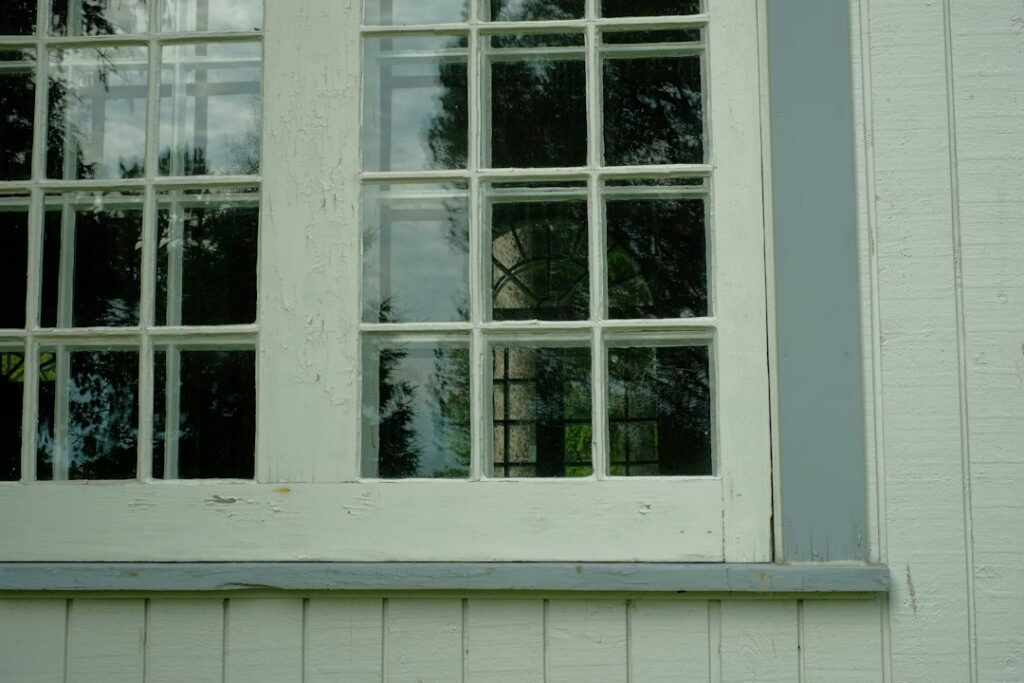
A soft, crumbly corner on a window sill or the bottom of a door frame does not have to mean ripping the whole thing out. Wood rot repair epoxy lets you keep the sound timber, harden what is left of the weakened fibres and rebuild the missing shape with a filler that will not shrink, crack or rot itself. Done properly, the repair is often stronger than the wood around it and, once painted, almost invisible. This guide walks through the two-stage process the professionals use, a liquid consolidant followed by an epoxy filler, for windows, doors, fascia boards and outdoor furniture, and explains when a repair is not the right answer.
New to two-part products? Read our guide to how to pour epoxy resin for the basics of ratios, temperature and working time first.
Why wood rot repair epoxy works
Wood rots when fungi feed on timber that stays damp, leaving it soft, spongy or cracked into small cubes. Traditional fillers shrink, crack as the wood moves or let moisture back in. Epoxy has three advantages:
- It penetrates. A thin, low-viscosity epoxy consolidant soaks deep into weakened fibres and sets hard, turning soft wood into a firm base.
- It bonds. An epoxy filler grips the consolidated wood rather than just sitting in the hole.
- It does not shrink or rot. Cured epoxy is waterproof and gives fungi nothing to feed on.
The hardening happens through a chemical reaction between resin and hardener rather than by drying, which is why these products cure solid even deep inside a repair; our main guide to epoxy resin explains the chemistry.
Epoxy repair systems are a specialist version of the products in our epoxy wood filler guide. The consolidant stage is what makes repairs to genuinely rotten wood last.
Is the wood worth repairing?
Before you buy anything, push a bradawl or small screwdriver into the area. Rotten wood lets the point sink in easily or crumbles. Probe outwards until you reach firm timber to find the real size of the problem.
- Good candidates: sill corners and noses, the bottoms of door frames and casement windows, the ends of fascia boards, garden furniture legs and rails, gate posts above ground.
- Usually better replaced: structural timbers such as joists, lintels and load-bearing posts, or pieces where more than about half the section is soft. A new section spliced in, or a full replacement, is the safer route.
- Call a specialist: in the UK, true dry rot (a fungus that spreads through masonry and can show white, cotton-wool-like strands and rust-coloured spore dust) needs professional investigation and treatment. Epoxy does not cure it.
Most important of all, find out why the wood got wet. A failed paint film, a blocked drip groove, missing putty, or a sill with no fall to shed water will rot your repair’s neighbours next. Fix the source as part of the job.
What you will need
- A two-part epoxy wood consolidant (thin, water-like liquid)
- A two-part epoxy repair filler or paste (putty-like, sandable)
- Chisels, a sharp knife, a scraper and a multi-tool or rotary tool to remove rot
- A drill with a 5–6mm bit for injection holes
- A heat gun or hairdryer for drying, and a moisture meter if you have one
- Mixing board, spreaders, filling knives and a cheap brush or syringe
- Abrasive paper (80, 120, 180 grit) or a sanding block
- Exterior primer, undercoat and topcoat
- Nitrile gloves, safety glasses and a dust mask
Small wood rot repair epoxy kits typically cost around £20–£60 ($25–$75); larger professional packs cost more but go much further. Both products are two-part epoxy, so mix them exactly as the instructions state.
Fixing wood rot with epoxy: step by step
1. Remove the rot
Cut and scrape away all wood that is crumbly or that you can easily dig into, back to firm timber. Leave wood that is slightly soft but still holds together; the consolidant will harden it. Shape the hole with slightly undercut sides if you can, so the filler is locked in.
2. Dry the timber thoroughly
Epoxy does not bond well to wet wood. Let the area dry out under cover, helped with gentle heat from a hairdryer or heat gun on a low setting (never char the wood). Many repair systems ask for moisture content below about 18–20%; a pin meter takes the guesswork out, and our guide to live edge slabs explains how to take reliable readings. In wet weather, tape plastic sheeting over the repair to keep rain off for a few days first.
3. Drill injection holes
Drill a grid of holes, about 5–6mm across and 25–50mm apart, into the softened wood around the cavity, going most of the way through the weak area but not out the other side. These give the consolidant a route deep into the timber.
4. Apply the consolidant
Mix the consolidant and brush, pour or syringe it into the holes and over the exposed wood. Keep feeding it until the wood will not take any more. Leave it until it is hard or tacky, as the instructions specify; many systems want the filler applied while the consolidant is still slightly tacky for the best bond.
5. Fill and build the shape
Mix the filler to an even colour with no streaks. Press the first layer firmly into the hole to make good contact, then build up the shape slightly proud of the finished surface. For large or deep repairs, work in layers of the thickness the maker recommends. Missing corners can be formed against a temporary batten or a piece of plastic-wrapped card. Bulk out big voids with a glued-in block of sound timber.
6. Shape and sand
Some fillers can be carved with a sharp chisel at the “cheese-hard” stage, which is much easier than sanding hard epoxy later. Once fully cured, sand flush with 80 grit, then 120 and 180 to feather the edges into the surrounding wood.
7. Prime and paint
Epoxy is not UV stable, so outdoor repairs must be painted. Prime the repair and any bare wood, then undercoat and topcoat the whole component, not just the patch, so the paint film is continuous and sheds water.
Repairs by location
Window sills and frames
Sills rot first at the front corners and joints, where water sits. Rebuild the nose with a slight downward fall so rain runs off, and check that the drip groove underneath is clear. If putty or glazing beads have failed, replace them at the same time. Older windows may carry lead paint, so avoid dry sanding or burning off old layers; wet abrade and use a suitable respirator, or get the paint tested first.
Door frames and thresholds
The feet of door frames sit close to wet ground and splash-back. After the epoxy repair, make sure paint covers the end grain at the bottom of the frame and that any gap to the step is sealed with an exterior sealant.
Outdoor furniture
Benches and tables usually rot where legs touch the ground or where rails trap rainwater. Consolidate and fill, then raise the feet on small plastic or rubber pads so the end grain no longer sits in puddles. On clear-finished hardwood, a tinted filler helps disguise the repair. Our guide to epoxy for wood explains how different coating and filling epoxies behave outdoors.
Common mistakes to avoid
- Leaving rot behind. Filling over soft, crumbly wood traps the problem. Dig back to firm fibre or consolidate everything that remains.
- Repairing damp wood. Moisture stops the consolidant soaking in and weakens the bond. Dry it out first.
- Working in the cold. Most epoxies cure slowly or poorly below about 10°C. Pick a mild, dry day or warm the area.
- Skipping the paint. Bare epoxy degrades in sunlight and the surrounding bare wood will start rotting again.
- Ignoring the cause. If water keeps getting in, the next rot patch is only a few winters away.
How long does an epoxy wood rot repair last?
A repair made on dry, consolidated timber and kept well painted can last for many years, often as long as the surrounding joinery. The epoxy itself does not decay; failures usually come from rot continuing in untreated wood nearby or from neglected paint. Check painted woodwork each spring and touch up cracks promptly.
If you want to understand what is happening inside the wood, Wikipedia’s article on wood-decay fungi explains the difference between brown, white and soft rot, and the USDA Forest Products Laboratory’s chapter on the biodeterioration of wood covers the conditions fungi need and how to deny them.
Safety
Wear nitrile gloves whenever you handle uncured epoxy, as repeated skin contact can cause sensitisation. Wear safety glasses when chiselling and drilling, and a dust mask when sanding or clearing out mouldy, rotten wood. Work in fresh air and keep heat guns away from solvents and dry debris.
Watch it being made
Watch our first light-up resin table being made in the workshop, with dragons and creatures appearing in the resin art, and the colours, pours and finishing shown step by step.
Resin Art Dragons and creatures in resin art table My First Light-Up Resin Table. More builds on the Go Bespoke YouTube channel.
Frequently asked questions
Can epoxy fix rotted wood?
Yes, for non-structural rot. Remove the crumbly wood, harden what remains with a liquid epoxy consolidant, then rebuild the shape with an epoxy filler. Structural timbers that are badly decayed should be replaced.
Is epoxy better than wood filler for rot?
For exterior rot, generally yes. Epoxy fillers do not shrink, bond strongly and stay waterproof, whereas many standard fillers crack as the wood moves and let water back in.
Do I need to remove all the rotten wood before using epoxy?
Remove anything crumbly or easily dug out. Slightly soft but intact wood can stay if you saturate it with consolidant, which hardens it into a sound base.
Can you paint over epoxy wood repair filler?
Yes, and outdoors you must. Sand it smooth, then prime, undercoat and topcoat as you would bare timber.
How long does epoxy wood rot repair take to cure?
Typically a few hours to a day before sanding, depending on product and temperature; allow longer in cool weather.
Prefer to see epoxy techniques in action? Our build videos on the Go Bespoke YouTube channel show resin and timber work up close, and our guide to epoxy sealer for wood covers protecting new timber before rot can start.