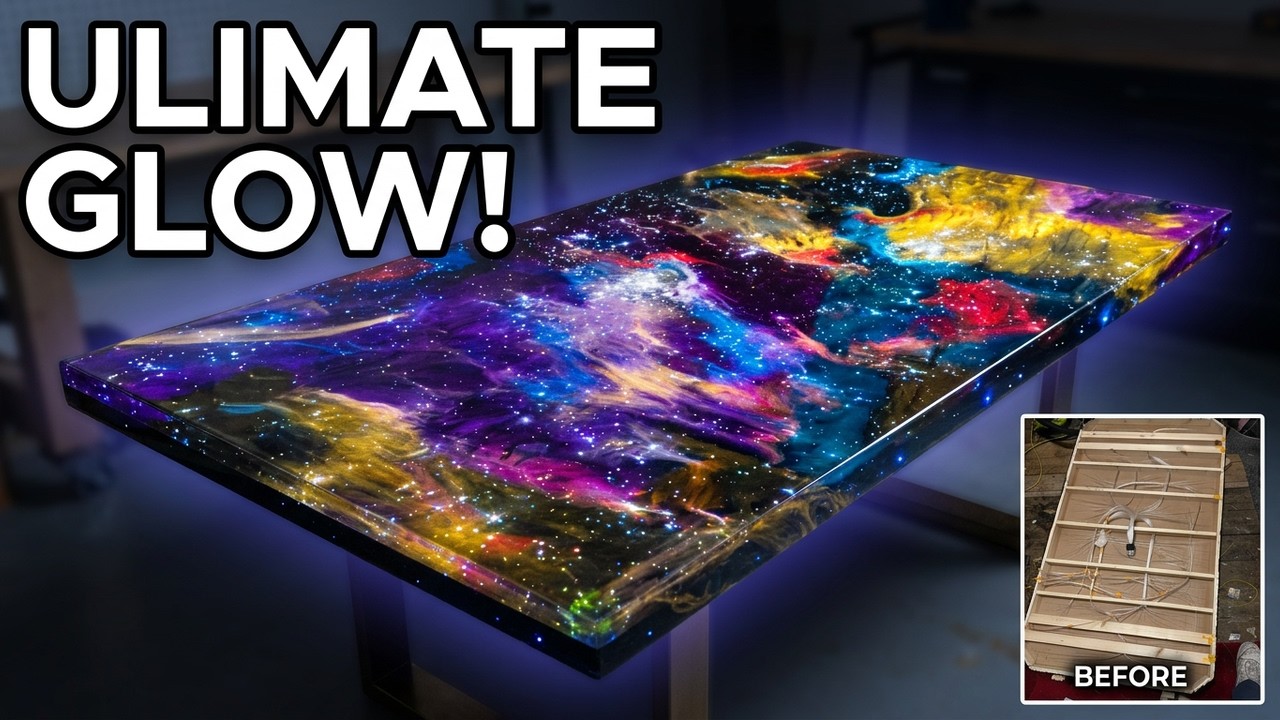
Fiber Optic Resin Table: The Complete Guide to Starry Resin Tables
Updated 9 October 2026
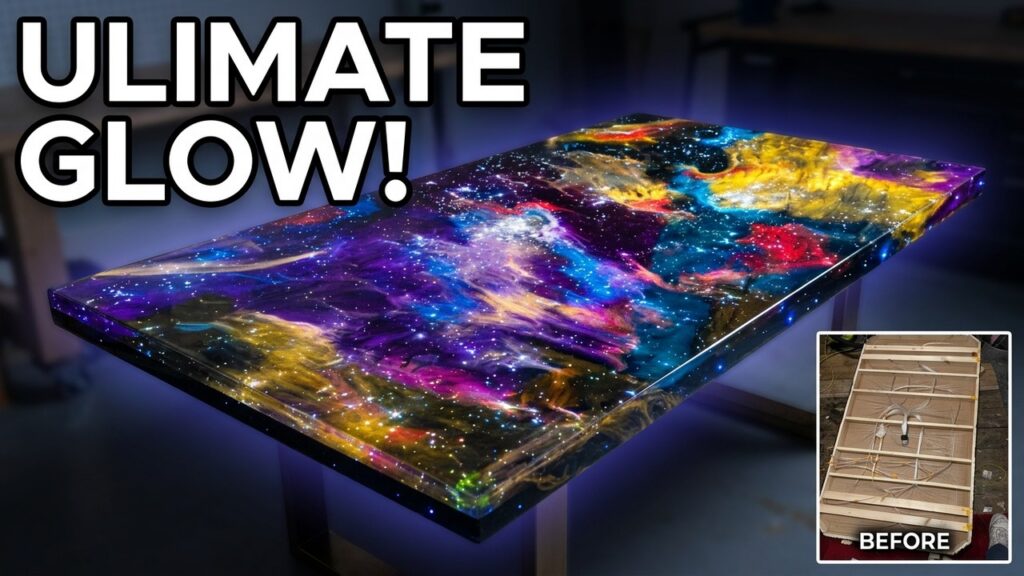
A fiber optic resin table turns a piece of furniture into a night sky. Switch off the room lights and hundreds of tiny points glow up through a dark, glassy top, some bright, some faint, some gently twinkling, as though you are looking down into deep space rather than at a table. No other lighting method gives quite the same effect, because each star is the polished tip of a single strand of fibre carrying light from a hidden source underneath.
This guide brings together everything you need to plan one: how fibre optics work in resin, the galaxy and starry night designs they suit, choosing between end glow and side glow fibre, picking a light engine, planning star density, drilling and installing the strands, pouring around them, trimming and polishing, hiding the electrics, typical costs and long-term care. At Go Bespoke, a London workshop that builds resin and fibre optic tables and films the builds for YouTube, these are the questions we hear most often.
What is a fiber optic resin table?
A fibre optic resin table, sometimes simply called a fiber optic table, is a resin or resin-and-timber top with hundreds of acrylic (PMMA) optical fibres set into it. One end of each strand finishes flush with the polished surface; the other end runs down through the top and is gathered with all the others into a tight bundle that plugs into an LED light source. Light enters the bundle, travels along every strand and emerges at the surface as a pinpoint.
The fibres carry no electricity and produce no heat at the surface, which is one of the reasons fibre optics suit dining and coffee tables so well. All of the electrics live in one box under the table, and the top itself is just resin, timber and plastic. If you would rather light a table with strips, our guide to the LED epoxy table covers that approach, and the general build sequence for any cast top is in our complete epoxy table guide.
Galaxy and starry night resin table designs
Most fibre optic tables fall into two families of design.
- Galaxy resin table: layered nebula colours such as violet, magenta, teal and deep blue swirled through black, with stars clustered in bands and denser around the brightest clouds. Real telescope imagery is the best reference; pick one image and follow it.
- Starry night resin table: a darker, calmer surface, usually black or midnight blue, with stars scattered more sparsely and a handful of brighter feature stars, sometimes arranged as recognisable constellations.
Colour in the resin is the canvas and the fibres are the stars, so the two have to be planned together. Opaque black or very dark blue makes the points stand out most sharply. Heavily pearlescent pigment can hide stars set just below the surface, so keep the shimmer in the mid layers and use it lightly. Our page on how to colour epoxy resin explains pigment ratios, and mica powder for resin covers the shimmer side. For a table that keeps glowing with the power off, fibres combine well with glow in the dark epoxy in the darker areas.
Choosing fibre: end glow vs side glow
Optical fibre for resin comes in two types that do completely different jobs.
End glow fibre keeps light inside the strand and releases it at the tip. Set flush with the surface, each tip becomes a crisp point of light, which is exactly what a star should be. Almost every starry table uses end glow fibre for the star field.
Side glow fibre is built to leak light along its whole length, so the strand itself glows like a thin neon line. It is useful for outlining a river, tracing the rim of a top, drawing a comet tail or linking stars into constellation lines. It is softer than a tip, brightest near the light source and dimmer at the far end, so long runs are often fed from both ends.
Fibre diameters
| Diameter | Typical use | Notes |
|---|---|---|
| 0.75mm | Faint background stars, dense fields | Very flexible, easy to thread in large numbers |
| 1mm | The bulk of most star fields | Reads clearly from a seated position |
| 1.5mm | Feature stars, constellations | Brighter and stiffer; use sparingly |
| 2mm and above | Occasional hero stars | Takes up a lot of room in the light engine port |
Mixing diameters is the secret to realism. A real sky has a few bright stars, more medium ones and countless faint ones, so weight your mix towards the finer strands. Buy good quality PMMA fibre: it should look glassy rather than milky, spring back from a gentle loop without kinking, and show a bright, even dot when a cut sample is lit with a torch.
Light engines, LED illuminators and remote control
The light engine (also called an illuminator or light source) is a compact box containing a high-output LED, optics to concentrate the beam, a driver and a port that holds the fibre bundle. Everything you see on the surface starts here, so it deserves as much thought as the design.
- Port size: every engine has a maximum bundle diameter. Overfill it and the outer strands sit outside the brightest part of the beam and look dim. Treat the maker’s recommended fibre count as a ceiling.
- Colour: a plain white engine gives the most convincing stars. RGB engines mix colours but their white often looks tinted; RGBW adds a true white channel and is the better choice if you want colour modes as well.
- Twinkle wheels: a slowly rotating patterned disc between the LED and the bundle shades different strands in turn, so stars shimmer. It adds a small motor and a little noise; electronic twinkle avoids moving parts but can look less random.
- Control: radio frequency (RF) remotes work through wood and resin, so the receiver can be fully hidden; infrared needs line of sight. Wi-Fi controllers add app control, schedules and voice assistants.
- Large tables: splitting the star field across two engines usually gives more even brightness than one overloaded unit.
The same light source technology drives free-standing pieces too; our guide to the fiber optic lamp shows how it works on a smaller scale.
Planning star density and layout
Draw the top full size on paper or hardboard and mark every star with a dot, using a different colour for each fibre diameter. Then step back and look at it from across the room. Real skies are uneven: dense clusters, a band of the Milky Way, near-empty patches of black. Even spacing looks like a pegboard.
As a rough guide, a calm starry night top might have a few hundred strands across a coffee table, while a dense galaxy dining table can run well over a thousand. More strands mean more drilling, more threading and a larger bundle, so decide early whether the design or the light engine sets the limit. On the same drawing, mark where the legs and frame rails will land, where the bundle will gather underneath and where the light engine will sit, so no strand has to cross a leg or rail to get there.
How to install fiber optics in resin
Installation is careful, repetitive work rather than difficult work. The usual sequence is:
- Prepare the timber. Flatten, clean and seal the slabs before drilling, because flattening afterwards tears out around the holes. See our guide to sealing wood for epoxy.
- Decide what the fibres pass through. Stars in the timber need holes straight through the wood; stars floating in the resin come up through a base board or the mould floor. Many tables use both.
- Drill. Use a bit the same size as the strand or very slightly larger, keep holes vertical with a pillar drill or drill guide, and clamp a sacrificial board underneath to stop breakout. Angled holes point the light sideways and the star looks dim from above. Wear eye protection and a dust mask.
- Raise the mould. Fibres exit downwards, so the mould sits on supports with clear space beneath, and every seam is sealed with extra care.
- Thread from below. Push each strand up until 10–20mm stands proud of the finished surface, working in sections. Cut each strand long enough to reach the bundle point with slack for trimming.
- Fix the strands. A small dab of hot glue, clear epoxy or acrylic-safe superglue on the underside stops them slipping during the pour. Avoid solvents that can craze acrylic.
- Bundle and test. Gather the tails into a harness, plug it into the light engine and switch on in a dark room. Any dark stars are far easier to fix now than after the pour.
Pouring resin around the fibres
Use a slow-curing deep pour epoxy for thick sections. Acrylic fibre softens at temperatures a fast-curing resin can reach in a thick mass, so respect the maximum layer depth on the data sheet and pour in layers if in doubt. Work in a room around 20–25°C with good ventilation, wear nitrile gloves and a respirator rated for organic vapours, and mix exactly to the stated ratio.
- Pour slowly from one point and let the resin creep around the strands rather than pouring onto them, which pushes them over.
- Check from the side that strands are still vertical before the resin starts to thicken.
- Use a heat gun or torch lightly and at a distance to pop surface bubbles; too much heat can soften the fibre tips.
- Seal the holes in a timber base first so air does not rise around each strand and leave a trail of bubbles.
For river designs, the casting process follows our guide on how to make a river table, with the fibres installed in the mould floor beneath the river.
Trimming and polishing the fibre ends
Once the resin is fully cured (usually several days for deep pour), snip the protruding strands close with sharp flush cutters. Then flatten the top as normal with a router sled or wide sander. The fibre ends are sanded at the same time as the resin, through the same grits, so they finish perfectly level.
Work up from around 80 or 120 grit to at least 2000, then polish. A clean, optically clear tip throws a round, bright point; a scratched or cloudy one looks fuzzy. Our step-by-step guide on how to polish epoxy resin covers the grit sequence and compounds. Keep the sander moving so heat does not build up and soften the fibre ends.
Powering and hiding the light engine
The light engine needs three things: air, access and a tidy cable route.
- Ventilation: engines with fans need clear space around the vents. Never box one into a sealed cavity.
- Access: mount it on a removable panel or bracket so you can reach the controls, clean dust from the fan and replace it in future.
- Bundle support: support the harness so its weight does not pull on the port, and avoid tight bends near the collar.
- Cable route: run mains cable down a hollow leg or along a frame rail. Any fixed wiring, floor boxes or fused spurs should be installed by a qualified electrician.
How much does a fiber optic resin table cost?
Costs vary widely with size, timber, resin volume and fibre count, so treat the following as typical ranges only.
| Item | Typical range |
|---|---|
| Fibre (spools or pre-cut bundles) | £50–£400 |
| Light engine with remote | £60–£350 |
| Deep pour resin for a coffee table | £150–£500 |
| Commissioned table, coffee to dining size | Typically several thousand pounds |
Labour is the hidden cost: drilling and threading hundreds of strands takes days, not hours, which is why commissioned fibre optic tables cost noticeably more than plain resin tables of the same size.
Caring for a fibre optic table
Treat the top like any epoxy surface: microfibre cloths, mild soapy water, coasters for hot mugs and no abrasive pads or solvent sprays. Light scratches can be buffed out with a plastic polish, which also brightens the fibre tips. Underneath, vacuum dust from the light engine vents every few months, check that the bundle is still seated in the port, and switch off at the wall if you notice a burning smell, buzzing or unusual heat. LEDs last a long time, and because the engine is a separate box, it can be replaced without touching the top.
Top 10 most-watched on YouTube
Video 1 of 10 — one of the most-viewed YouTube videos for “fiber optic resin table: the complete guide to starry resin tables”: How To Use Fiber Optic for Mini LED Lights by Evan Designs (82,636 views as of 13 October 2026).
If you want the physics behind those pinpoints of light, Wikipedia’s article on optical fibre explains total internal reflection, the core and cladding, and why light only travels down a strand when it enters within a certain acceptance angle.
Watch it being made
See one of our tables come together in the workshop: a nebula resin top with fibre optic stars, from the first pour to the lights going on.
Resin art nebula resin table with fibre optic art. More builds on the Go Bespoke YouTube channel.
Frequently asked questions
How do you put fibre optic stars in resin?
Drill holes through the base or mould floor, thread end glow fibres up from underneath so a short length stands proud, glue them in place, then pour resin around them. After curing, the strands are trimmed flush and sanded and polished with the surface.
Do fibre optic tables get hot?
No. The fibres carry light, not electricity, so the top stays at room temperature. Only the light engine underneath gets warm, which is why it needs ventilation.
How many fibres does a fiber optic resin table need?
It depends on the size and look. A sparse starry night coffee table might use a few hundred strands, while a dense galaxy dining table can use well over a thousand. Check that your light engine port can take the finished bundle.
Can fibre optics be added to an existing resin table?
Only with difficulty. You would have to drill through cured resin from below without breaking the surface, and the tips would sit at the bottom of the holes rather than flush. It is far better to plan fibres in before the pour.
What is the difference between fibre optic and LED tables?
Fibre optics create individual points of light such as stars, while LED strips create areas or lines of glow such as a lit river. Many tables combine both.
Planning a starry table of your own? Get in touch with Go Bespoke to discuss a bespoke fibre optic commission, or follow our builds on YouTube.
All guides in this section
- Fiber Optic Lamp: How They Work and How to Make One in ResinHow a fiber optic lamp works, what to look for in a fiber optic light kit, and a step-by-step guide to making…
- Glow in the Dark EpoxyGlow in the dark epoxy explained: photoluminescent pigments, how they charge, glow colours and duration, and how much powder to mix in.
- LED Epoxy Table: Lighting Resin Tables With LEDsHow to light an LED epoxy table: LED strips vs fibre optics, IP ratings, heat, edge lighting and underglow, drivers, safety and…
- Resin Lamp: Ocean, Wood & Diorama Lamp IdeasResin lamp ideas from ocean and wood lamps to dioramas, plus how they are made, whether resin lamps are safe and what…